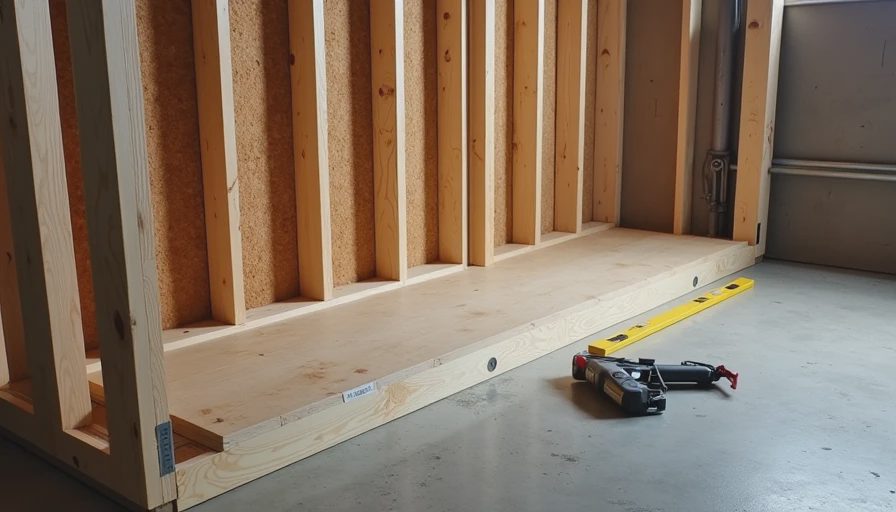
Why Your Basement Framing Decision Matters More Than You Think
Most people walk into a big-box store, grab some 2x4s, and start screwing them to the floor. Six months later they’re dealing with cracks, bowed walls, or an inspector who won’t sign off on the final. I’ve framed over 200 basements the right way, and I’ve fixed plenty that were done wrong. Today we’re talking floating walls versus standard attachment — and why picking wrong can cost you big.
In a basement, the rules are different because concrete moves. It expands, contracts, and settles. What works great upstairs will fight your foundation down here.
Understanding the Two Approaches
Standard Framing (Attached)
This is what most people think of — pressure-treated bottom plate screwed or shot directly into the concrete floor with concrete nails or Tapcon screws, then studs going up to the joists above.
It’s fast and familiar. But in a basement environment, it creates a rigid connection that doesn’t forgive movement. When the floor settles even a tiny bit or the walls experience hydrostatic pressure, something has to give — usually your drywall or your bottom plate connection.
Floating Walls (The Smart Move in Most Cases)
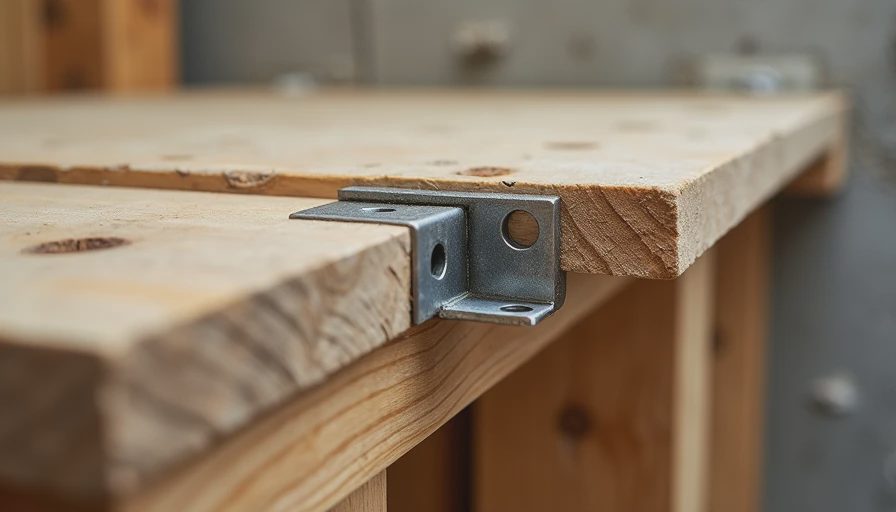
A floating wall sits on the concrete but isn’t rigidly attached to it. The bottom plate rests on the floor (often with a small gap or sill sealer), and the top of the wall is attached to the floor joists above with brackets or nails that allow vertical movement. The wall can “float” as the house settles.
I started using floating walls heavily after seeing too many standard-framed basements develop horizontal cracks at the bottom after just a few years.
Head-to-Head Comparison: What I’ve Seen on Jobs
Strength & Stability
Standard framing feels rock-solid at first. Floating walls can feel slightly less rigid until you understand they’re designed to move independently. Once finished, you can’t tell the difference if done right.
Moisture & Movement Handling
This is where floating walls win. By not pinning the bottom plate tightly, you avoid wicking moisture directly into the wood and allow the floor to move without stressing the entire wall assembly. In Indiana clay soils, this matters a lot.
Code Considerations
Most jurisdictions allow both, but inspectors are stricter about attachment requirements and load paths in basements. I always check local code — in the Indianapolis area, floating walls with proper top connections are widely accepted and often preferred for non-load-bearing walls.
Cost & Speed
Standard framing is slightly cheaper and faster to install. Floating walls require more precise measurements and specialty hardware (like Simpson strong ties or floating wall brackets), but the long-term payoff is worth it.
My Rule of Thumb After 300+ Basements
For most residential basement finishing projects in older homes:
Use floating walls for non-load-bearing partition walls and perimeter walls that aren’t carrying significant structural loads.
Use standard attached framing only when the wall is truly load-bearing or when you have very stable newer foundations with engineered fill.
On my own 1998 colonial basement, I went almost entirely with floating walls. The peace of mind knowing the walls can handle minor settlement without cracking drywall has been worth every extra dollar in hardware.
Step-by-Step Best Practices for Floating Walls
Prepare the floor — Make sure it’s level and clean. Use sill sealer or a capillary break under the bottom plate.
Build the wall flat on the floor — I frame them horizontally first for accuracy.
Leave the proper gap — Usually ½" to ¾" at the top to allow movement.
Secure the top properly — Use appropriate brackets that allow vertical slip but resist lateral movement.
Account for utilities — Plan your electrical and plumbing runs knowing the wall can move slightly.
Common Mistakes That Force Expensive Repairs
Attaching the bottom plate too rigidly — then wondering why cracks appear at the floor joint.
Building walls too tight to the ceiling with no movement gap.
Skipping pressure-treated lumber or proper moisture protection on the bottom plate.
Forgetting to coordinate with your HVAC and electrical guys before closing up the walls.
I once had to rip out an entire wall system on a job in Carmel because the previous crew nailed everything solid and the homeowner later had foundation work done. The movement destroyed their finished surfaces. Expensive lesson for everyone.
When Standard Framing Still Makes Sense
There are situations where I still use attached framing:
Short pony walls or half-walls
Walls that need to transfer significant loads
Situations with extremely stable soil and foundation conditions
Projects with very tight ceiling height constraints where every inch matters
The Bottom Line for Your Project
Don’t default to what’s familiar. In most basements, floating walls are the smarter, longer-lasting choice. They respect the reality of living on a concrete slab that will move over time.
Take the extra time to do it right. Your future self (and your drywall) will thank you.
Because above grade is for the real estate photos.
Below grade is where you actually live.
And the walls down there need to be built with the same respect you’d give the rest of your home.



No letters yet — be the first guest to write.