Basement insulation is one of those jobs that looks simple until you find a damp foundation wall, a crooked rim joist, or a pipe running exactly where your framing needs to go. Done correctly, it makes a lower level warmer, quieter, and cheaper to heat. Done badly, it can trap moisture behind drywall and create a mold problem that stays hidden for years. I have seen both outcomes, and the difference usually comes down to preparation rather than an expensive product.
Start With Water, Not Insulation
Before buying a single batt or foam board, make sure the basement is actually dry. Insulation does not waterproof concrete. It only hides what the wall is doing. Check the floor after heavy rain, inspect the wall-to-floor joint, and look for white mineral deposits, rusty fasteners, peeling paint, or a musty smell. Those are clues that moisture is moving through the assembly.
Fix active leaks first. That can mean extending downspouts, correcting grading, sealing a pipe penetration, repairing a crack, or improving an interior drainage system. A dehumidifier helps with humidity, but it is not a substitute for drainage. Keep basement humidity around 30% to 50% with a basic digital hygrometer. If the concrete stays wet, stop the finishing project and solve that problem.
Also inspect the sill plate, rim joists, plumbing penetrations, and any wood touching the foundation. Replace damaged wood rather than covering it. In one Indianapolis basement, a homeowner had installed fiberglass batts against a wall that looked dry in summer. By the following spring, the lower six inches were gray and soft because rainwater was entering through a crack behind the insulation.
Choosing the Right Material
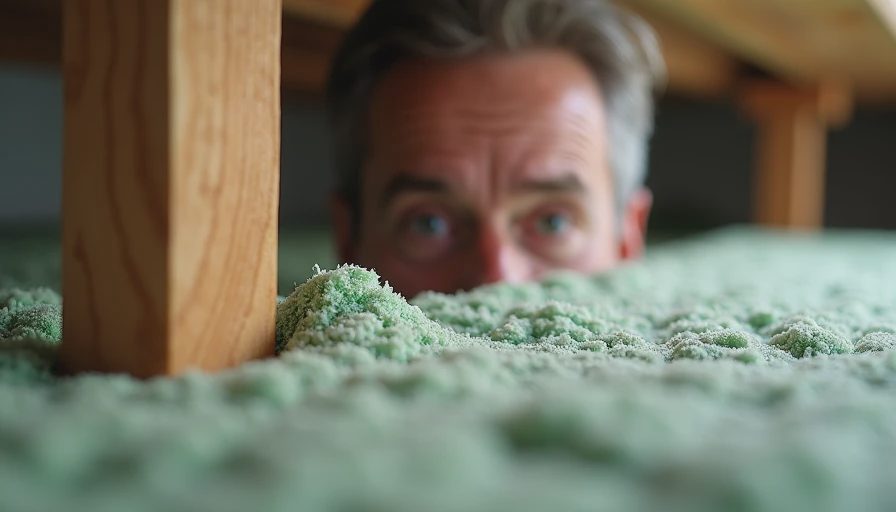
For most poured-concrete basement walls, rigid foam board or closed-cell spray foam is safer than fiberglass placed directly against concrete. Extruded polystyrene, commonly called XPS, is available in panels around 1 to 2 inches thick and typically provides roughly R-5 per inch. Expanded polystyrene, or EPS, usually provides less R-value per inch but can be a cost-effective option when installed continuously and sealed carefully.
A common basement insulation approach is 2-inch rigid foam against the concrete, with framed walls set in front of it. The foam reduces thermal bridging and keeps interior air from reaching a cold wall. Tape or seal panel seams, seal the top and bottom edges, and pay attention to corners. A tiny unsealed gap can carry more cold air than people expect.
Closed-cell spray foam works well around rim joists and irregular foundation surfaces. It costs more, often several hundred dollars for a modest basement when professionally applied, but it air-seals difficult areas better than fiberglass. I use it where the shape makes board installation awkward, not as a magic coating for every wall. Spray foam still requires proper fire protection and must be installed according to local requirements.
Fiberglass batts can be part of a good assembly, but they should not be pressed against a damp concrete wall. They are better used in a framed cavity that has a continuous, appropriate thermal and air-control layer on the foundation side. Do not assume a plastic sheet over the studs automatically improves the wall. In some climates, an interior polyethylene vapor barrier can trap moisture in the wrong direction.
R-Values, Framing, and Fire Safety
The required R-value for basement insulation depends on your climate zone, local code, and whether the wall is above or below grade. Many cold-climate projects land somewhere around R-10 to R-20 for foundation walls, but the exact requirement varies. Check the current residential code adopted in your area before closing the walls. A basement in Minnesota is not built the same way as one in Georgia.
When framing, leave a small gap between studs and concrete if your foam layer already provides the needed contact protection. Use pressure-treated lumber where wood meets concrete, and fasten the bottom plate securely without damaging hidden plumbing. Keep electrical boxes accessible and avoid compressing insulation behind them. Around windows, doors, and utility penetrations, cut neatly and seal the perimeter.
The foam layer generally needs a code-approved thermal barrier, often 1/2-inch gypsum drywall, unless a specific product and local authority allow another finish. This is not optional decoration. Foam can burn rapidly when exposed to fire. Mechanical rooms, furnace areas, and storage spaces may have additional clearance and access rules, especially around combustion equipment.
Basement insulation also affects pipes. Insulate cold-water lines to reduce condensation and protect vulnerable plumbing near exterior walls, but do not bury shutoff valves or cleanouts permanently. Leave service access where future repairs will need it. A finished wall that looks perfect is still a bad wall if a plumber has to cut it open to reach a valve.
What the Project Usually Costs
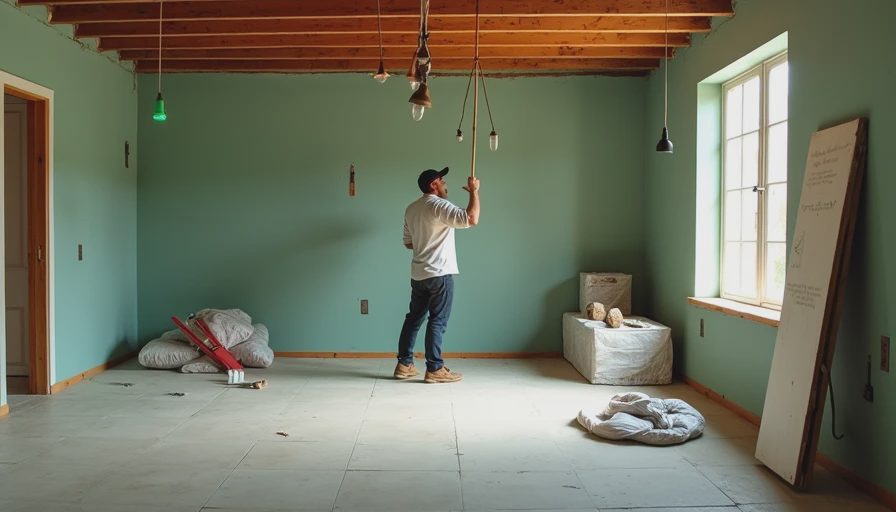
Material prices vary, but a homeowner doing a straightforward basement can expect roughly $1.50 to $4 per square foot for rigid foam, fasteners, tape, sealants, and related supplies. A complete insulated and framed wall assembly costs more once lumber, drywall, electrical changes, and finishing are included. Professional spray foam around rim joists commonly costs a few hundred dollars, while spraying every foundation wall can run into several thousand dollars.
The cheapest option is not always the lowest-cost project. Fiberglass may look inexpensive at the store, but adding a moisture-control layer later, replacing swollen drywall, or cleaning mold destroys that advantage. Spend money first on drainage, air sealing, and a continuous insulation layer. Fancy foil-faced products and extreme R-values are often overkill in a basement that still has water entering through the corner.
Get room dimensions, count windows and doors, and calculate wall area before shopping. Add about 10% for cuts and mistakes. Ask for the product's published R-value, thickness, and installation requirements rather than relying on a shelf label. Keep receipts and photograph utilities before the framing covers them.
A Practical Installation Sequence
First, record humidity and inspect the walls during wet weather. Second, correct leaks and allow the space to dry. Third, seal rim joists and large penetrations. Fourth, install rigid panels with staggered, sealed joints. Fifth, frame the walls with treated bottom plates and plan electrical work. Sixth, fill remaining cavities without compressing the material. Finally, install the required drywall or other thermal barrier before treating the room as finished living space.
Do not skip the inspection points hidden inside the wall. Take pictures of every pipe, cable, cleanout, and crack. Mark measurements from two permanent reference points, because a future homeowner or repair person will not remember where you put anything. Before drywall, walk the entire perimeter with a flashlight and look for gaps at the slab, corners, rim joist, and around windows.
Common Mistakes I Would Avoid
The worst basement insulation mistake is covering a wet wall and hoping the room's new heat will solve it. It will not. Another common error is leaving the rim joist untreated while spending money on high-density batts. The rim joist is a major air-leakage area and deserves careful cutting, sealing, and fire protection.
I also see homeowners install studs tight against uneven concrete, creating pockets where condensation can collect. Others use paper-faced batts backward, staple plastic over everything, or block access to the sump pump. Each shortcut saves an afternoon and can create a repair that costs thousands.
The bottom line is simple: basement insulation should be part of a dry, sealed, code-compliant wall assembly. Fix water first, use continuous foam where it makes sense, seal the rim joists, protect foam with the required thermal barrier, and leave utilities serviceable. Above grade is for the real estate photos. Below grade is where you actually live.

No letters yet — be the first guest to write.