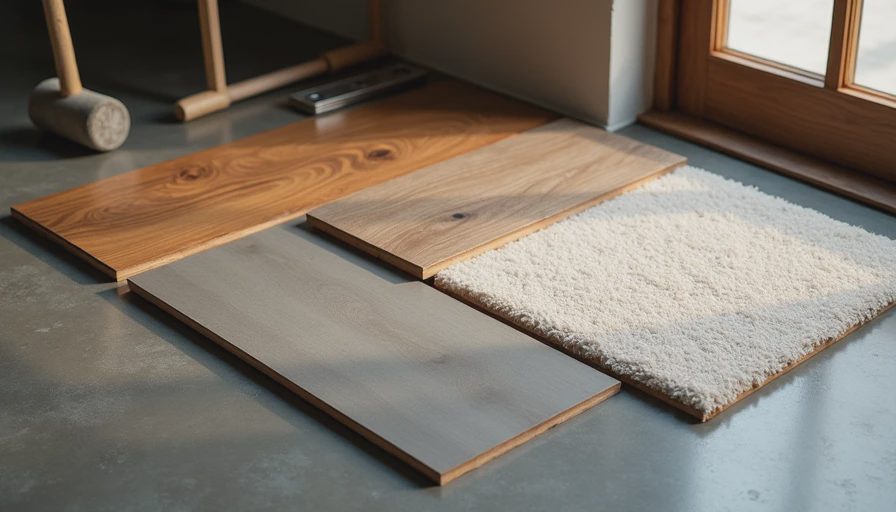
Picking Basement Flooring: Don’t Screw This Up
Hey folks, Ben Harlow here. You’ve waterproofed the walls, framed them right, and now you’re standing on bare concrete wondering what the heck to put on the floor. This decision matters more than most people think.
I’ve seen beautiful basements ruined by the wrong flooring choice. Buckled planks, cracked tiles, moldy carpet — I’ve fixed them all. Today I’m giving you the straight contractor talk on LVP vs. tile vs. carpet for below-grade floors.
Why Basement Floors Are Different
Above-grade floors deal with normal life. Basement floors deal with concrete moisture, temperature swings, and potential water events. You need something tough, stable, and forgiving.
Remember: Above grade is for the real estate photos. Below grade is where you actually live. Your family will be down here in socks, spilling snacks, and dropping toys. Choose wisely.
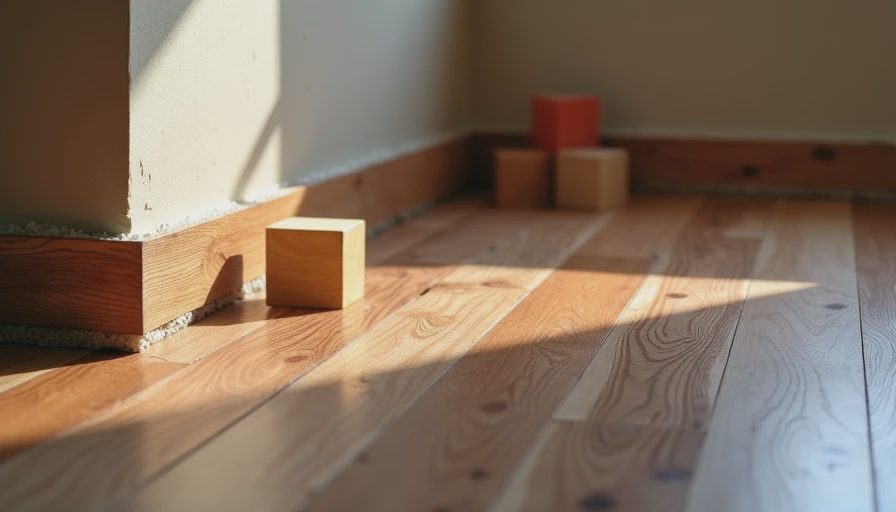
LVP (Luxury Vinyl Plank) – My Go-To for Most Basements
After years on job sites, LVP is what I recommend for the majority of residential basements.
Pros:
Excellent water resistance (especially the better rigid core products)
Easy to install as a floating floor
Warm underfoot compared to tile
Realistic wood looks without the maintenance
Kid and dog friendly
Cons:
Can dent under heavy furniture if you cheap out
Some cheaper versions off-gas initially
Installation requires very flat concrete
In my own basement, I went with a high-quality rigid core LVP. Two years in and it still looks brand new despite kids and tools being dragged across it.
Tile – Tough But Demanding
Ceramic or porcelain tile is nearly indestructible when installed correctly.
Pros:
Extremely durable
Truly waterproof
Easy to clean
Great for bathrooms and high-moisture zones
Cons:
Hard and cold (requires radiant heat for comfort)
Grout lines can trap dirt
Installation is more labor intensive and expensive
Cracks if the concrete moves even slightly
I use tile in basement bathrooms and utility areas where I want maximum durability. For main living spaces, it’s usually overkill unless you love the look.
Carpet – The Risky Choice
I’ll be honest: I’m not a big fan of wall-to-wall carpet in basements.
Pros:
Soft and warm
Great sound absorption
Cheapest upfront cost
Forgiving on uneven floors
Cons:
Moisture magnet
Hard to clean
Holds odors
Can grow mold if water gets underneath
Difficult to replace sections
I’ve ripped out too many moldy carpets from “finished” basements. Only use it in very dry, low-traffic areas with excellent waterproofing underneath — and even then, I prefer area rugs over wall-to-wall.
Real Cost Comparison (2026 Numbers)
From my recent projects around Indianapolis:
LVP: $4.50 – $8.50 per sq ft installed (mid-range rigid core)
Tile: $7 – $14 per sq ft installed (porcelain with thinset)
Carpet: $3 – $6 per sq ft installed (including pad)
For a 600 sq ft finished basement area:
LVP: ~$3,600 – $5,500
Tile: ~$5,000 – $9,000
Carpet: ~$2,200 – $4,000
Don’t forget: LVP often needs no subfloor, while carpet and tile might require additional prep.
What I Actually Recommend
Primary living spaces: High-quality rigid core LVP with waterproof backing.
Bathrooms/utility rooms: Porcelain tile.
Low-traffic dry play areas (rare): Area rugs over LVP or sealed concrete.
In my own ongoing basement project, we’re doing LVP throughout the main area. It’s held up perfectly through two Indiana winters.
Installation Lessons From the Field
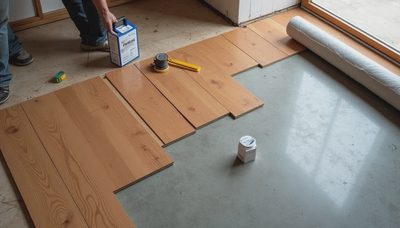
Moisture test the concrete — never skip this.
For LVP, use a good underlayment or rigid core that handles minor imperfections.
Tile needs a solid, flat surface — consider self-leveling compound.
Always leave expansion gaps with LVP.
Acclimate materials for at least 48 hours.
I’ve seen too many DIYers rush this step and pay for it later.
My War Story
One of my early jobs involved a beautiful carpeted basement that flooded during a heavy rain. The homeowners had skipped proper drainage work. We had to remove everything. The smell lingered for months. That’s when I learned: never trust carpet below grade unless you’re 100% certain about the waterproofing.
Other Options Worth Considering
Polished concrete: Great modern look, very durable, but can be cold.
Rubber flooring: Excellent for gyms.
Engineered hardwood: Risky unless you have a very dry basement.
Stick with proven performers for your first big project.
Bottom Line for Your Basement
Choose LVP for most situations — it gives the best balance of performance, cost, looks, and comfort. Spend a little more upfront on quality and you’ll thank yourself for years.
Your basement floor needs to handle real life, not just look good in photos. Test, prepare properly, and pick based on actual conditions, not trends.
Got a specific situation or budget? Tell me in the comments and I’ll give you my honest take.
Now get out there and put something down that’ll last. Your future self (and your knees) will appreciate it.
Above grade is for the real estate photos. Below grade is where you actually live.

No letters yet — be the first guest to write.