Basement finishing looks straightforward until you are standing on cold concrete with a tape measure, a framing nailer, and three different opinions about vapor barriers. Done correctly, basement finishing gives your family a useful rec room, office, bedroom, or workout area without adding a second-story addition. Done badly, it hides water, traps moisture, and forces you to remove expensive drywall in a few years. I have repaired enough failed projects to know that the order of operations matters more than the paint color.
Start with water, not walls
Before buying studs, walk the entire basement after a heavy rain. Look for damp spots, white mineral deposits, rust around support posts, peeling paint, and musty smells. A dry floor today does not prove the room is safe to finish. Check the sump pump, discharge line, window wells, floor drains, and the joint where the wall meets the slab. A small crack that stays dry is often manageable; active seepage is not something drywall will solve.
Repair exterior grading and downspouts first. Water should drain away from the foundation, not collect beside it. If the basement has recurring seepage, an interior drain tile system and sump basin can cost several thousand dollars, but that is cheaper than rebuilding finished walls. Do not spend $3,000 on an oversized backup pump for a basement that has never taken water. A quality primary pump, a tested float switch, and a battery backup sized for your risk are usually the practical approach.
Humidity matters even when there is no visible leak. Keep the space near 30 to 50 percent relative humidity with a dehumidifier that has a continuous drain. Concrete releases moisture for a long time, and an inexpensive pin meter can help you identify suspicious framing or sheathing before it gets covered.
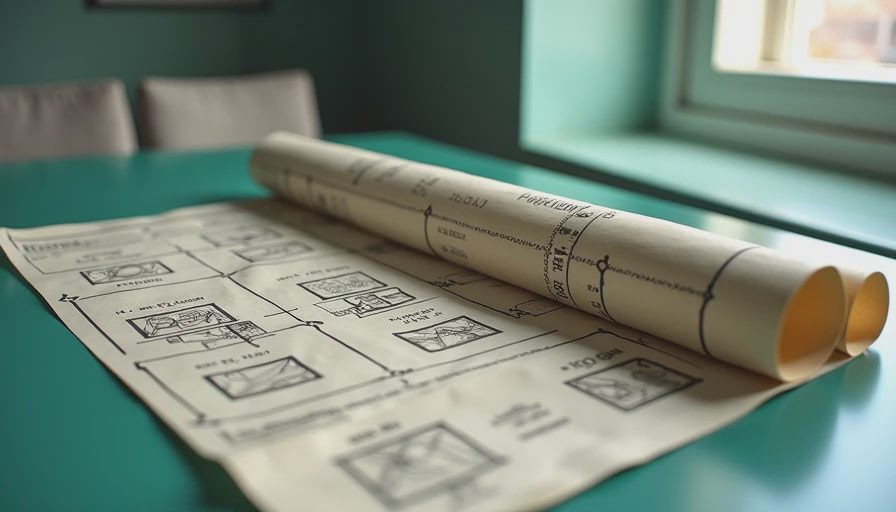
Plan the layout around code and real furniture
The best basement finishing plans begin with the mechanical equipment, stairs, columns, and existing plumbing, not an imaginary open rectangle. Leave service access around the furnace, water heater, electrical panel, cleanouts, and sump pit. I have seen homeowners frame a beautiful wall directly in front of a shutoff valve, then discover that one leaking fitting requires demolition.
Measure ceiling height after flooring and drywall, because the finished height is what matters. Code requirements differ by location, and basement bedrooms commonly need an emergency escape and rescue opening, often called an egress window. A typical egress window opening requires enough clear width, height, and area for a person to exit, plus a window well with usable space outside. Local rules control the exact numbers, so ask the building department before ordering the window. Cutting foundation concrete can easily run $2,000 to $5,000 or more depending on access, wall thickness, and drainage.
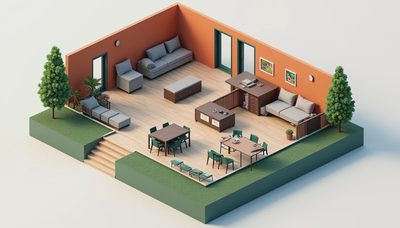
Use painter's tape to mark sofas, a television, desks, and door swings on the slab. A room that measures 12 by 15 feet can feel cramped once a wall, closet, and sectional are added. Keep walkways close to 36 inches where possible, and avoid placing a television where glare from a window will make it useless.
Insulate without trapping moisture
Basement finishing fails most often behind the wall. Fiberglass batts pushed against a damp concrete foundation are not a moisture strategy. They can absorb condensation, lose performance, and create a hidden mold problem. First inspect the foundation, then choose an insulation assembly that suits your climate and local code.
Rigid foam or closed-cell spray foam can reduce condensation against the foundation. Many contractors use continuous foam board with taped seams, followed by a framed wall and additional cavity insulation. The required R-value varies by climate zone and jurisdiction, so do not copy a detail from a warmer or colder state without checking. Foam products also require the correct fire protection; exposed foam is generally not an acceptable finished surface.
Frame walls slightly away from the concrete when the detail allows it, keeping wood from direct contact with a potentially wet surface. Use pressure-treated lumber wherever wood contacts concrete, and separate dissimilar materials properly. Do not install polyethylene sheeting on both sides of the wall. That can trap moisture between layers. A building official or experienced local contractor can confirm the vapor-control approach for your area.
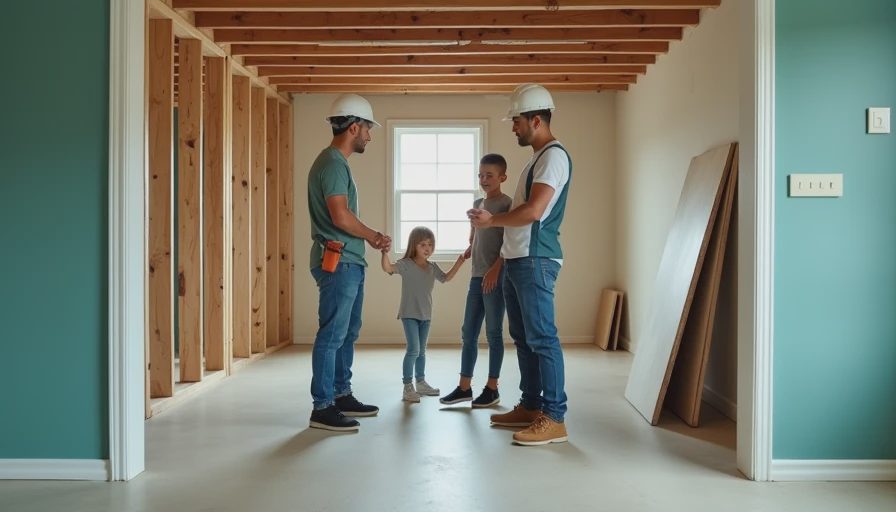
Treat electrical and plumbing as structural work
A finished basement usually needs more circuits than homeowners expect. Plan outlets before framing closes the walls: television equipment, office computers, a freezer, a refrigerator, a wet bar, a bathroom, and a dehumidifier all compete for power. A dedicated 20-amp circuit is common for many countertop or utility loads, while bathroom receptacles require ground-fault circuit-interrupter protection. Electrical requirements vary, so have the wiring inspected before insulation and drywall hide it.
Run low-voltage cable before closing walls, too. Cat6, speaker wire, coaxial cable, and a doorbell or security line are inexpensive during framing and frustrating afterward. Take photographs with a tape measure visible before drywall. Those pictures prevent a future screw from finding a cable or pipe.
If you want a basement bathroom, confirm the sewer elevation first. A gravity drain may work, but a below-grade fixture often needs an ejector pump. That pump requires access, ventilation, a proper check valve, and an alarm strategy. Do not bury it permanently under a built-in cabinet. Service access is not optional equipment; it is part of the design.
Choose finishes that can survive a basement
Luxury vinyl plank is popular because it handles occasional moisture better than solid hardwood and can be installed over a suitable, level substrate. That does not make it waterproof against flooding. Carpet tiles are easier to replace than wall-to-wall carpet if a sump failure ruins one section. For walls, moisture-tolerant drywall products can be useful in selected areas, but no drywall product should be treated as a waterproofing system.
Use a dropped ceiling where access matters more than maximum height. It is less sleek than drywall, but replacing a valve or adding a cable is much easier. If you drywall the ceiling, add access panels at shutoffs, junction boxes, dampers, and equipment connections. Spend money on solid doors, durable trim, and good lighting before expensive decorative panels. Four-inch recessed lights are not automatically better; place fixtures to avoid dark corners and ceiling obstructions.
A practical order of operations
For basement finishing, my sequence is simple: solve exterior water, test the sump, verify humidity, confirm code requirements, rough in plumbing and electrical, insulate, frame, inspect, drywall, install flooring, then trim and paint. Photograph every concealed run and label circuits at the panel. Schedule inspections at the stages your jurisdiction requires instead of guessing that a permit is unnecessary.
Budget honestly. A modest open rec room can land around $25,000 to $45,000 when much of the work is DIY, while a bathroom, egress window, upgraded electrical service, or major waterproofing can push the project past $60,000. Labor rates, access, finishes, and local permits create the spread. Get quotes for the work that can damage the house, especially foundation cutting, sewer connections, and waterproofing.
The best basement finishing project is not the one with the fanciest bar. It is the one that stays dry, passes inspection, leaves equipment serviceable, and still feels comfortable in January. Above grade is for the real estate photos. Below grade is where you actually live. Do the unglamorous work first, and your basement will reward you every day instead of demanding a demolition weekend later.

No letters yet — be the first guest to write.