Hiring a basement finishing contractor is not like hiring someone to paint a bedroom. Below-grade work hides problems behind walls, and those problems tend to wait until the warranty is gone. Before you compare estimates, understand what the contractor should inspect, what the contract should include, and which shortcuts create expensive rework.
I have seen plenty of basements that looked finished until the first heavy spring rain. One had carpet glued directly over a slab with a hairline crack. Another had fiberglass batts stuffed against damp concrete block. Both rooms smelled fine during the walkthrough. Neither one was fine a year later.
Start with the basement, not the design
A good basement finishing contractor begins with moisture, structure, and safety. The first visit should include a look at foundation walls, floor cracks, sump equipment, plumbing penetrations, floor drains, utility shutoffs, and the grading outside. If somebody arrives with a cabinet catalog but never checks the sump pump, show them the door.
A dry basement still needs a moisture plan. That can mean exterior grading, downspout extensions, crack injection, an interior drainage system, or simply monitoring a known stable crack. It does not automatically mean an expensive interior waterproofing system. A dry, well-drained 1998 basement in Indianapolis does not need a $3,000 sump pump just because a salesperson says it is premium.
Ask whether the contractor has found active water in similar homes and how the proposed assembly handles it. Get photographs of the wall before framing. If the foundation has a horizontal crack, bowing, staining that returns after rain, or a wall that is visibly out of plumb, stop discussing drywall and bring in a qualified structural or waterproofing specialist.
The concrete slab deserves attention too. Test for dampness, especially around edges and plumbing penetrations. A basement finishing contractor who proposes carpet, vinyl plank, or engineered flooring should explain the underlayment and expansion gaps. Flooring cannot solve hydrostatic pressure underneath the slab.
Compare estimates line by line
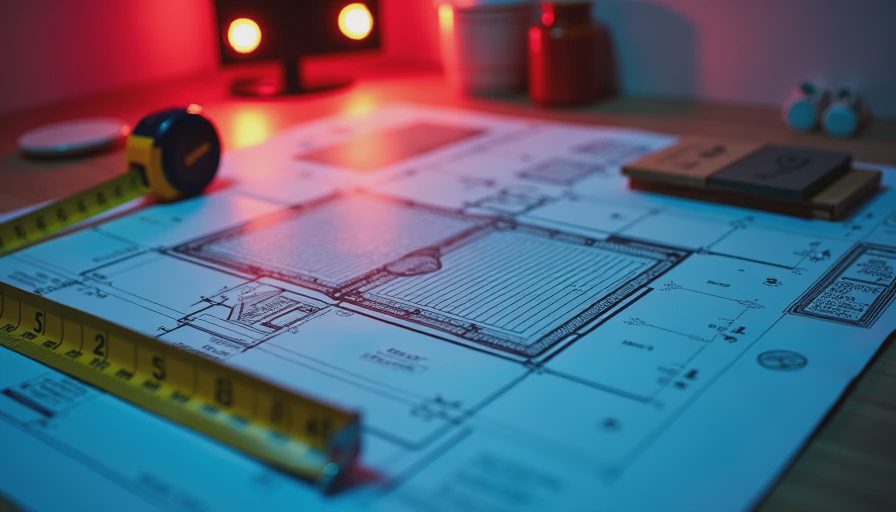
A basement estimate is useful only when you can compare the same scope. One contractor may quote $45,000 for a 900-square-foot finish while another quotes $28,000, but the cheaper number may exclude electrical, permits, trim, painting, a bathroom, or insulation upgrades. Ask for a room-by-room scope and a written list of allowances.
For a straightforward 700- to 1,000-square-foot basement, a broad planning range might run from roughly $35,000 to $75,000, depending on location, finishes, plumbing, egress work, and the amount of demolition. A simple recreation room costs far less than a bedroom, full bathroom, wet bar, and custom stair rail. Treat that range as a starting point, not a promise.
Your proposal should identify framing dimensions, insulation type and R-value, drywall thickness, ceiling system, flooring, doors, trim, paint, fixtures, electrical devices, HVAC work, cleanup, and permit fees. It should also explain who pays for concealed conditions. “Additional work as needed” is not a useful budget category. Require a written change order with the reason, labor, materials, and revised price.
When reviewing a basement finishing contractor, ask for two recent projects and one older project. A fresh walk-through shows craftsmanship. An older project tells you whether doors still work, baseboards stayed tight, and the room survived a few humid summers.
Insulation, framing, and ceiling height
Basement walls need an insulation strategy that respects the foundation. In many climates, rigid foam or closed-cell spray foam is used against concrete because it limits condensation risk. Fiberglass batts placed directly against a cold masonry wall are a common failure. The exact assembly depends on climate zone, local code, and the wall condition, so have the contractor identify the approved method rather than casually adding a plastic vapor barrier.
A basement finishing contractor should measure ceiling height before promising a bedroom, office, or legal living area. Existing beams, ducts, plumbing, and soffits can reduce clearance. Codes vary by state and municipality, but habitable rooms commonly have minimum ceiling-height and emergency escape requirements. Do not assume a low spot under a duct can be ignored because the rest of the room is taller.
Leave access panels for shutoff valves, cleanouts, junction boxes, filters, and sump equipment. I once opened a finished wall where a homeowner had buried the main water shutoff behind glued paneling. The repair involved cutting a hole in a brand-new wall for a part that should have been accessible from day one.
Bedrooms, egress, and electrical details
If you want a basement bedroom, discuss egress before framing. An emergency escape window generally needs a clear opening large enough for a person to exit, with minimum width, height, and sill-height rules that vary by code. A tiny hopper window is not automatically acceptable because it opens. Window wells also need usable space, drainage, and a ladder or steps where required.
Window installation can add several thousand dollars once concrete cutting, excavation, drainage, the window, well, insulation, and interior trim are included. It is still cheaper to solve egress at the beginning than after drywall and flooring are installed.
Electrical planning should happen before insulation. Decide where receptacles, switches, television wiring, internet equipment, smoke alarms, and carbon monoxide alarms belong. A basement finishing contractor should identify dedicated circuits for bathroom equipment, a freezer, a sump pump, or a future bar refrigerator. Avoid a room with one overloaded circuit and an extension cord running behind the sofa.
Bathrooms bring another layer of planning. Confirm drain locations, venting, cleanouts, waterproofing, and whether the existing plumbing is high enough for gravity drainage. An upflush toilet can solve a difficult layout, but it adds maintenance and noise. Sometimes moving the bathroom is worth the concrete cutting; sometimes it is not.

How the contract protects the project
Before work starts, verify licensing and insurance requirements for your area, then ask for certificates rather than relying on a logo on a truck. The contract should list payment stages tied to completed work, not vague calendar dates. I prefer deposits that cover initial materials, followed by payments after framing, rough inspections, drywall, and completion.
Never pay the full amount before the final inspection and punch list. Keep enough money outstanding to correct missing plates, loose trim, paint damage, failed doors, or an inaccessible shutoff. The final payment should follow permit sign-off where permits are required.
Clarify who pulls permits and schedules inspections. Electrical, plumbing, structural changes, and egress work commonly trigger permit requirements, but rules differ by jurisdiction. A basement finishing contractor who says permits are unnecessary without checking your building department is giving you a warning, not a convenience.
A practical hiring checklist
Interview at least three contractors, but do not choose from price alone. Ask each one these questions:
- What moisture problems did you find, and what evidence supports the proposed fix?
- What insulation assembly will you use against the foundation?
- Who handles permits, inspections, and utility coordination?
- Where will every shutoff, cleanout, junction box, and sump component remain accessible?
- What is excluded from the estimate?
- How are change orders priced and approved?
- Can I see a project that is at least two years old?
- What warranty covers labor, materials, and water-related work?
The best answers will be specific. “We always do it this way” is not enough when your basement has a different wall, slab, climate, or plumbing layout. A reliable basement finishing contractor can explain the method in plain language and point to the detail on the plan.
Bottom line
Finish a basement in the right order: water management, code and layout, insulation, framing, rough electrical and plumbing, inspections, drywall, flooring, and trim. Do not let attractive renderings push those decisions backward. Above grade is for the real estate photos. Below grade is where you actually live.
Choose a basement finishing contractor who studies the existing basement before selling the finished room. Spend money on drainage, insulation, egress, access, and properly permitted work before upgrading countertops or theater speakers. That approach is less flashy on day one, but it is how you avoid ripping out the basement twice.


No letters yet — be the first guest to write.