A bare basement looks like a cheap blank canvas until you find the sweating water line, the low duct, or the foundation crack hiding behind the old shelving. The best DIY basement ideas on a budget start with boring work: controlling moisture, planning electrical runs, and measuring every ceiling obstruction before buying materials. I have fixed enough rushed basement remodels to know that saving $400 on preparation can create a $4,000 tear-out later.
You do not need a designer finish or a $30,000 entertainment room. You need a dry shell, a sensible layout, and materials that tolerate below-grade conditions. Work in that order, and a basement can become a family room, office, workout area, or guest space without turning into a permanent construction zone.
Start with moisture, not drywall
Before choosing paint colors, leave the basement empty through a wet week. Look for damp corners, white mineral deposits on concrete, rust around metal posts, and a musty smell that returns after running a dehumidifier. Tape a square of clear plastic to the slab and foundation wall for 48 hours. Condensation on the room side points toward humid air; moisture behind the plastic suggests water moving through the concrete. It is not a laboratory test, but it tells you where to investigate.
A dehumidifier that holds the room near 45 to 50 percent relative humidity is a reasonable first step in a dry basement. A basic 35-pint unit often costs $180 to $300. Do not use carpet, cardboard-backed paneling, or ordinary fiberglass batts against a damp foundation wall. Fix exterior grading, gutters, downspouts, plumbing leaks, or active seepage first. A crack that leaks after rain needs more than paint and optimism.
Check your sump pump before framing. Pour several gallons of water into the pit and confirm that the pump starts, moves water through the discharge line, and stops without short-cycling. A battery backup is useful if your basement depends on that pump, but you do not need an expensive commercial system for every dry home.

Cheap basement finishes that hold up
One of the most practical DIY basement ideas on a budget is to finish only the part of the room that earns its cost. Leave the mechanical area, storage shelves, and water shutoff accessible. A clean 12-by-16-foot family room is more useful than a messy attempt to finish every square foot.
For walls, I prefer a small air gap and rigid foam or a basement-rated wall system over fiberglass pressed directly against concrete. Two-inch extruded or expanded polystyrene can provide roughly R-10, depending on the product, and reduces the chance of warm indoor air reaching a cold wall. Seal seams according to the product instructions. Local requirements differ, so confirm the required R-value, flame spread protection, and fastening method with your building department before covering anything.
Frame interior walls with 2-by-4s, but measure around pipes and posts before setting the first plate. Use pressure-treated lumber where wood contacts concrete, and isolate it from the slab with an approved sill gasket. That inexpensive strip helps prevent moisture transfer and costs far less than replacing a swollen bottom plate.
Ceilings are where budgets disappear. A painted open ceiling can look intentional if you bundle wires neatly, paint the underside dark, and leave shutoff valves visible. If you need sound control or a cleaner appearance, use removable acoustic tiles rather than drywall under every pipe. Drywall is cheaper per sheet, but access repairs can cost more than the original savings.
Floors, lighting, and storage without a fancy remodel
Concrete does not have to become a problem disguised as flooring. Test for moisture before installing luxury vinyl plank. Many click-floor products tolerate normal basement conditions, but installation instructions still require a suitable slab and expansion space. Vinyl plank commonly lands around $2 to $5 per square foot for materials, while inexpensive carpet tile can work in a genuinely dry room and allows you to replace one stained square instead of the whole floor.
Skip laminate and solid hardwood below grade unless the manufacturer specifically permits the installation. They can look great for the first season and then swell at seams when humidity changes. A simple painted slab, sealed with a compatible concrete coating, is often the lowest-cost temporary finish and makes future work easier.
Lighting changes a basement more than expensive furniture. Use several LED fixtures instead of one bright bulb in the center. Four-inch or six-inch slim LEDs are useful where joists are shallow, but plan junction boxes and switch locations before closing the ceiling. Add plug-in lamps at seating areas and keep extension cords out of permanent use. Electrical work often requires permits, and new circuits, bathroom wiring, and panel changes are jobs where a licensed electrician is cheap insurance.
For storage, build shelves from plywood or use metal utility shelving that can be moved. Keep storage at least a few inches away from foundation walls, and never block the electrical panel, furnace, water heater, cleanouts, or sump pit. These small decisions are among the best DIY basement ideas on a budget because they prevent you from paying to undo your own finish.
A practical room-by-room budget
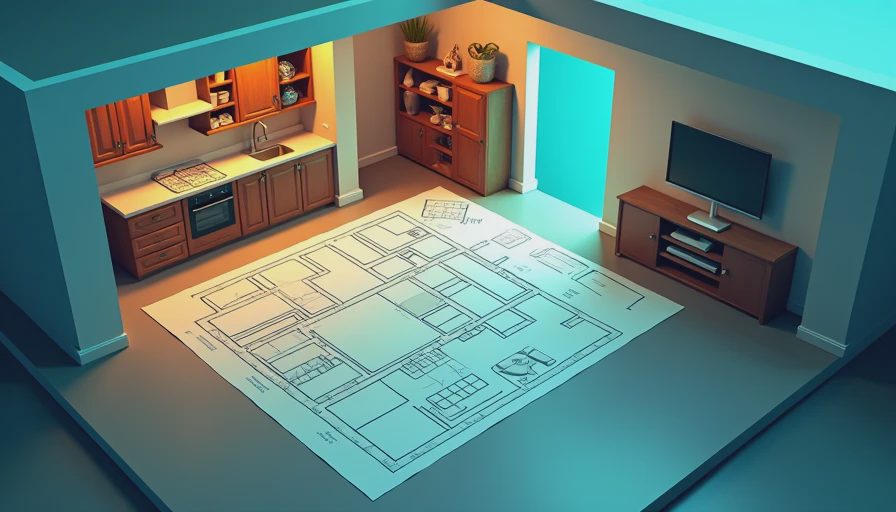
A modest basement refresh does not need to happen all at once. Spend first on the conditions that protect the house. A moisture inspection, dehumidifier, sealing supplies, and basic sump maintenance might total $300 to $800 if there is no active leak. Framing and insulation for one finished room can run $1,000 to $3,000 in materials, depending on size and insulation system. Flooring may add $500 to $1,500, and lighting, outlets, trim, and paint can add another $600 to $1,800.
Those ranges exclude major drainage, egress windows, plumbing relocation, and permits. An egress window is not a decorative upgrade; where a basement bedroom is involved, local code commonly requires a window large enough for emergency escape and rescue, with specific opening, height, and window-well rules. The exact requirements vary by jurisdiction. Get approval before framing a bedroom that cannot legally function as one.
I would divide the work into three weekends: first moisture and layout, second framing and rough electrical, and third insulation, flooring, trim, and paint. That pace is slower than an online makeover video, but it gives you time to discover the pipe you forgot and the door that needs a 34-inch path.
Mistakes that make a cheap basement expensive
The first mistake is framing before measuring. Mark the lowest duct and the tallest person in the household. A finished ceiling that drops below a comfortable walking height can make the room feel worse, not better. The second mistake is burying shutoffs and cleanouts. Build removable panels or keep those areas unfinished.
The third is treating every foundation crack as cosmetic. Hairline vertical cracks can be harmless, but widening cracks, horizontal movement, bowing walls, displaced masonry, or repeated water entry deserve professional evaluation. Do not hide structural movement behind foam and drywall.
The fourth is buying materials before making a cut list. Write down each wall length, outlet location, door swing, ceiling height, and obstruction. Add a realistic 10 percent waste allowance for flooring and framing. That list prevents the Saturday hardware-store loop that quietly adds hundreds of dollars.
My bottom line
The strongest DIY basement ideas on a budget are not the ones that look cheapest in a photo. They are the choices that remain accessible, dry, repairable, and comfortable after three winters. Test the basement, solve water, plan the layout, then finish one useful room with durable materials. Leave the complicated plumbing, structural repairs, gas work, and uncertain electrical changes to the appropriate professionals.
Above grade is for the real estate photos. Below grade is where you actually live. Build the basement for that reality, not for a weekend reveal video.



No letters yet — be the first guest to write.