A small basement remodel can turn a cold storage area into an office, playroom, guest space, or television room, but the order of work matters more than the paint color. I have fixed enough failed basement projects to know that most expensive mistakes begin before the first stud is installed. Water, low ceilings, poor lighting, and undersized electrical circuits will not disappear because you added drywall. Solve those problems first, then build the room around the basement you actually have.
Start with moisture, not floor plans
Before measuring furniture, inspect the slab, foundation walls, rim joists, sump pit, and floor drains. Look for white mineral deposits, dark staining, peeling paint, musty odors, and cracks that change after heavy rain. A dry basement should smell like concrete and lumber, not wet cardboard. Run a dehumidifier for several days and keep indoor relative humidity near 30% to 50%.
Hairline shrinkage cracks are common. A crack that widens, leaks, has horizontal movement, or is accompanied by a bowing wall needs a qualified structural inspection. Do not cover it and hope for the best. Likewise, do not frame directly against a wall that has active seepage. Interior drainage, exterior grading, downspout extensions, or sump improvements may be necessary before finishing.
In one Indianapolis basement, a homeowner had installed carpet over a slab that looked dry in August. The first spring storm pushed water through a joint near the back wall. They removed carpet, tack strips, and part of the drywall within a year. A $40 tube of sealant was not the real answer, but neither was a $3,000 pump. The correct fix was improving the discharge line and sealing the wall-floor joint.
Choose a layout that fits the actual room
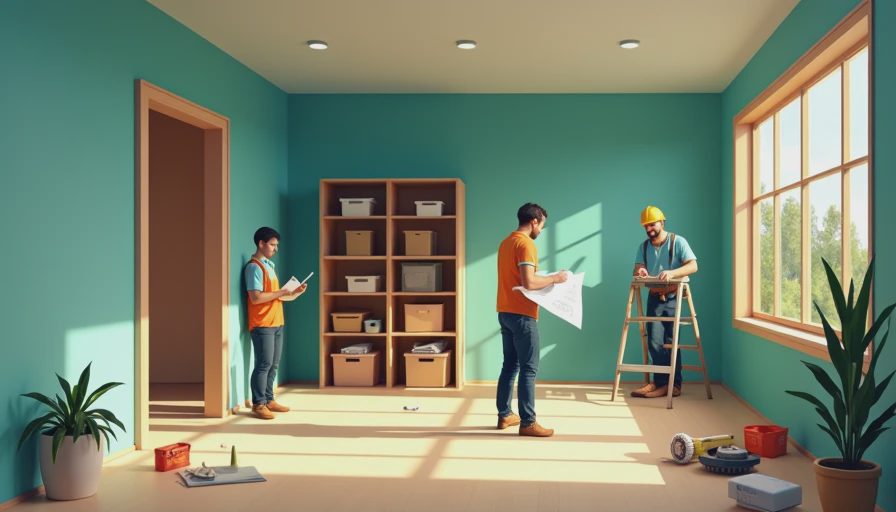
The best small basement remodel usually has one clear purpose. Trying to create a bar, bedroom, gym, office, laundry room, and home theater in 500 square feet produces narrow walkways and furniture that blocks everything. Pick the activity that earns the most use, then allow storage and circulation around it.
Measure finished dimensions, not foundation dimensions. A 12-by-20-foot basement can lose 8 to 12 inches along each wall after framing, insulation, drywall, and trim. Mark proposed walls on the slab with painter's tape. Place cardboard boxes where a sofa, desk, or bed will go. Walk the taped layout while carrying laundry baskets and opening imaginary cabinet doors. This catches problems that a drawing misses.
For a small basement remodel, a flexible room is often smarter than several tiny rooms. A desk along one wall can serve as homework space, while a sleeper sofa handles overnight guests. Built-in shelves under a stair landing can hold toys or tools without consuming the center of the room. Keep the main walking path at least 36 inches wide when possible, and avoid placing a television where glare from a small window makes it difficult to watch.
Handle ceiling height and egress early
Measure from the concrete floor to the lowest obstruction, not just the joists. Ductwork, beams, plumbing, and recessed lights can create a low spot that controls the entire design. Building codes vary by location, and habitable rooms often have minimum ceiling-height requirements. Local officials may allow limited exceptions under beams or sloped areas, but do not assume an online plan applies to your jurisdiction.
If you are creating a bedroom, egress is a separate issue. The window must provide an emergency escape opening with required clear width, clear height, and opening area. It also needs a usable window well when below grade. A typical egress window project can run roughly $3,500 to $8,000 or more after excavation, cutting concrete, drainage, permits, and window installation. It is not a weekend trim upgrade.
Windows also affect comfort. An older single-pane basement window can lose heat and admit condensation. Replacing it before framing is usually easier than rebuilding a finished wall later. Do not install a bedroom door or partition until you understand the local requirements for emergency access, smoke alarms, and any required carbon monoxide alarms.

Insulate and frame without trapping moisture
For most concrete foundation walls, I prefer a continuous moisture-tolerant insulation approach rather than fiberglass batts pressed against bare concrete. Rigid foam or closed-cell spray foam can reduce condensation risk, but the acceptable assembly depends on your climate, local code, and wall condition. Many basements need a thermal barrier over foam, commonly half-inch drywall, though the exact requirement belongs to the building department.
Keep wood framing off the slab with a pressure-treated bottom plate or an approved sill gasket system. Use masonry fasteners rated for the job, and inspect the plate for gaps before standing walls. Around windows, pipes, and electrical boxes, plan for enough depth to maintain insulation instead of stuffing scraps into every opening.
Do not automatically add polyethylene sheeting on the interior side of a basement wall. In some assemblies it can trap moisture between two low-permeability layers. Basement vapor-control requirements vary by climate and construction, so follow the approved assembly rather than copying a product video from another region.
Budget the work in the right order
A practical small basement remodel often falls between $15,000 and $35,000 when the space is dry, the electrical service is adequate, and no major structural work is needed. A basic office or rec room with one finished room may cost less. New plumbing, an egress window, a bathroom, leveling work, or extensive waterproofing can push the project well beyond $40,000.
Break the budget into phases: moisture and drainage, framing and insulation, electrical and plumbing, drywall and paint, flooring, trim, and furniture. Reserve at least 10% for surprises. Older homes commonly reveal abandoned wiring, unsupported plumbing, cracked drain lines, or a slab that slopes more than expected.
Keep expensive choices where they improve reliability. Spend on drainage, proper electrical work, and insulation before upgrading to a fancy projector or custom cabinets. Luxury vinyl plank is popular because it handles ordinary basement humidity better than carpet and is easy to replace, but it still should not be installed over an actively wet slab. Use an appropriate underlayment only when the flooring manufacturer allows it.
Electrical, lighting, and finishing details
A finished basement needs more than one overloaded extension cord. Plan receptacles around the room perimeter, dedicated circuits for office equipment or a refrigerator, and suitable protection for areas required by local code. Bathrooms, laundry zones, and damp locations commonly have additional ground-fault protection requirements. Have a licensed electrician handle panel work and verify permit rules before closing walls.
Use several layers of lighting instead of one bright ceiling fixture. Recessed lights can work when joist depth allows, while surface-mounted LED fixtures solve low-clearance problems. Add wall sconces or task lighting near a desk, reading chair, or stair landing. Keep access to shutoff valves, cleanouts, junction boxes, sump equipment, and furnace service panels. A removable panel is much cheaper than cutting drywall during an emergency.
For a small basement remodel, finish with durable materials and restrained trim. Light wall colors help, but they cannot fix a dark layout by themselves. A solid-core door reduces sound better than a hollow one. MDF trim is inexpensive, but it needs careful sealing near a damp slab; PVC trim is useful in locations likely to see moisture.
A sensible project sequence
The safest sequence is inspection, moisture correction, design, permits, rough plumbing and electrical, insulation, framing, inspections, drywall, flooring, trim, and furniture. Photograph every wall before covering it. Label shutoffs and keep leftover flooring, paint, and trim for future repairs.
Do not rush the drying period between concrete work, primer, and flooring. Concrete can look dry while still releasing moisture. Follow the flooring manufacturer's moisture-test requirements, especially before installing glued products. If your small basement remodel includes a bathroom, test the drain and supply lines before drywall, not after the vanity is installed.
The bottom line is simple: build the useful room, not the fantasy floor plan. Fix water first, protect the foundation assembly, preserve service access, and confirm code requirements before framing. Above grade is for the real estate photos. Below grade is where you actually live.


No letters yet — be the first guest to write.