A basement makeover is not a paint-and-furniture weekend if the room is unfinished, damp, or full of exposed utilities. The order matters. Fix water first, plan the mechanical systems second, then frame, insulate, wire, and finish. I have seen homeowners spend $25,000 on drywall and flooring only to discover a foundation leak behind the new wall. Above grade is for the real estate photos. Below grade is where you actually live, so build the lower level to survive real life.
Start With Water, Height, and the Concrete Slab
Before measuring rooms, spend a wet week inspecting the basement. Look at the floor-to-wall joint, plumbing penetrations, window wells, sump pit, and every visible foundation crack. A dry white mineral deposit is evidence that water has traveled through the concrete or masonry before. It is not automatically a disaster, but it is a reason to investigate.
Run a dehumidifier and aim for indoor humidity around 30% to 50%. Check whether the sump pump discharges well away from the foundation and whether the backup pump works during a power outage. If water appears after rain, correct grading, gutters, downspouts, exterior drainage, or foundation problems before closing the walls. Interior paint marketed as waterproofing is not a substitute for drainage.
Then measure usable height in several locations. Older basements often lose 3 to 5 inches where the slab slopes, ductwork drops, or beams cross the ceiling. Building codes vary by location, and finished ceiling height, stair geometry, smoke alarms, and emergency escape requirements can affect the plan. Call the local building department before demolition. A quick conversation can prevent an expensive inspection failure.
For a basement makeover, the slab deserves attention too. Small hairline cracks are common, but displaced edges, persistent moisture, or a crack that grows should be evaluated before flooring goes down. Luxury vinyl plank handles ordinary basement conditions better than solid hardwood, but no floor survives a wet slab indefinitely.

Draw the Layout Around What Cannot Move
The furnace, water heater, main drain, support posts, cleanouts, electrical panel, and sump pit are the fixed points. Do not draw a perfect rectangle and pretend those items will disappear. Instead, turn awkward areas into useful zones. A boxed-in support post can become the end of a media wall. A low duct chase can define a hallway. A utility room can hold storage, a freezer, and workshop shelving without stealing the best light from the living area.
Leave access panels where valves, shutoffs, backflow devices, and pump controls need service. I once opened a finished wall because a homeowner had framed directly in front of a cleanout. The repair took less than an hour; removing the drywall, trim, and carpet took most of a day.
Decide how the space will be used before buying finishes. A television room needs comfortable seating, outlets, lighting, and sound control. A guest room needs privacy and a legal emergency escape route. A playroom needs durable flooring and storage that can tolerate markers, toys, and muddy shoes. Combining every use into one open room sounds flexible, but simple zones usually work better.
A practical basement makeover often costs between $20,000 and $60,000 for a moderate finished area, depending on plumbing, electrical work, egress windows, insulation, and finish quality. Doing demolition, painting, and trim yourself can reduce labor, but it does not make code-required electrical or structural work optional.
Insulation, Framing, and the Walls That Stay Dry
Basement walls need a moisture-aware assembly. In many homes, rigid foam board or closed-cell spray foam against the foundation helps control condensation, while a framed wall creates space for wiring and insulation. The correct vapor-control approach depends on climate, wall construction, and local code. Do not automatically staple interior polyethylene over every basement wall; trapping moisture between layers can create the mold problem you were trying to prevent.
Use pressure-treated bottom plates where wood contacts concrete, with an appropriate sill gasket or separation method. Keep framing straight, leave service access, and avoid burying inspection points. A 2-by-4 wall is common, but it consumes valuable inches along every foundation wall. In a narrow basement, a thinner approved assembly can preserve walking space, though it may provide less room for insulation and wiring.
Do not cover an active leak with insulation. That is not finishing; it is hiding evidence. A basement makeover should make future inspection easier, not harder. Before drywall, photograph every wall showing pipes, cables, blocking, and measurements from permanent landmarks. Those photos will save you when you need to drill for a cabinet or find a shutoff five years later.
Electrical, Lighting, and Egress Details
Basements feel dark because builders usually install one bare bulb and call the job done. Plan layered lighting instead. Recessed fixtures or low-profile LED lights work well for general illumination, while wall sconces, task lights, and under-shelf lighting make specific areas more comfortable. Use damp-location-rated fixtures where conditions require them, and keep junction boxes accessible.
Outlet placement should follow local electrical rules, not furniture guesses. Add outlets where a sofa, desk, game table, freezer, or television will actually sit. Arc-fault and ground-fault protection requirements vary by jurisdiction and circuit type, so have the design reviewed before wiring. A dedicated circuit for a large refrigerator, sump pump, or workshop tool can prevent nuisance trips.
If a room is intended for sleeping, an egress window or exterior door may be required. Requirements typically involve opening dimensions, sill height, and a window well with enough clearance for escape and rescue, but exact rules vary by state and municipality. An egress window can cost several thousand dollars once excavation, cutting concrete, drainage, and finish work are included. Price it before you commit to a bedroom layout.
Floors, Ceilings, and Finishes That Tolerate Basement Life
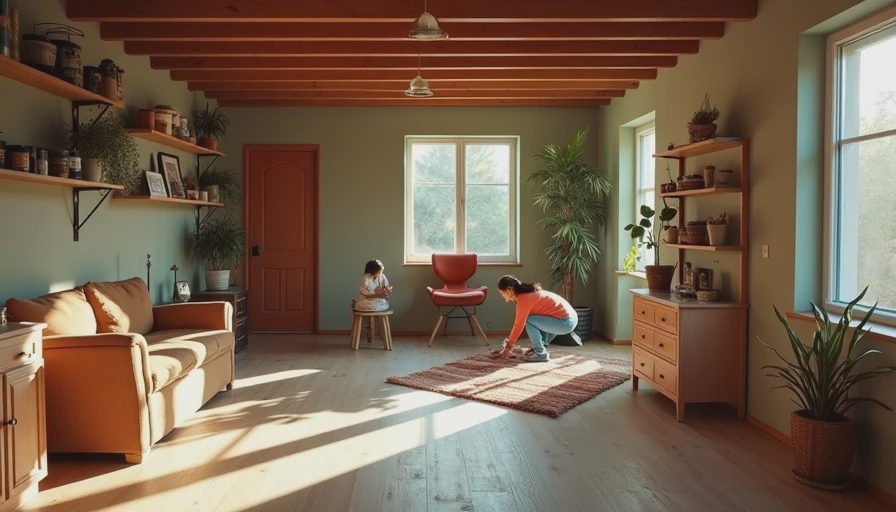
For flooring, luxury vinyl plank is a practical choice because it is durable, easy to clean, and available in floating systems. Carpet can make a dry family room feel warmer, but use a basement-suitable pad and understand that a plumbing leak will be more disruptive. Ceramic tile is durable and moisture-resistant, though it can feel cold and requires a slab that is reasonably flat.
Avoid fastening ordinary wood flooring directly to a concrete slab without an appropriate moisture strategy. Also avoid thick carpet or built-up flooring where ceiling height is already marginal. Losing even 1 inch can make a stair landing feel cramped.
Ceilings are a tradeoff. Drywall looks clean and improves sound control, but it makes future repairs harder. A suspended ceiling provides access to plumbing and wiring, although it reduces height and can look dated if poorly installed. In my own basement, I would drywall the main room and use carefully placed removable panels beneath the plumbing-heavy areas.
Choose paint that handles normal humidity, but do not expect paint to solve a moisture problem. Light colors improve brightness, while darker accent walls can make a media room feel intentional instead of unfinished. Spend more time on straight trim lines and proper door clearances than on expensive decorative panels.
A Practical Budget and Build Sequence
A reliable basement makeover follows a sequence that protects completed work. First, solve exterior and interior water issues. Second, verify permits, ceiling heights, egress, and the mechanical layout. Third, rough-in plumbing and electrical. Fourth, install insulation and frame the walls. Fifth, complete inspections before insulation and drywall are covered. Then install drywall, flooring, doors, trim, lighting, and furniture.
Keep a contingency of at least 10% to 20%. Older homes often reveal a buried junction box, undersized drain, damaged duct, or slab problem once walls are open. A basic finish with painted drywall, vinyl flooring, simple trim, and standard lighting can stay near the lower end of the budget. A bathroom, wet bar, custom built-ins, heated floors, or major window work pushes the number upward quickly.
Do not buy every finish at the beginning. Confirm the wall thickness, outlet locations, door swings, and floor height first. That prevents the familiar cascade where a thick tile undercuts the door, the trim no longer fits, and the new vanity blocks an outlet.
The bottom line is simple: a good basement makeover starts with the invisible work. Keep water out, preserve access to equipment, follow local code, and choose finishes that can handle a concrete slab below grade. Do that, and the finished room will be useful instead of merely photogenic.


No letters yet — be the first guest to write.