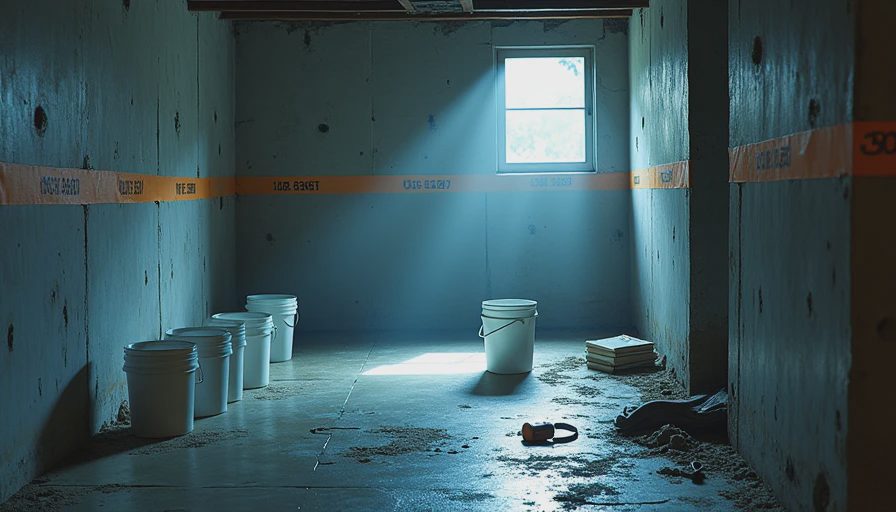
The Reality of Starting My Own Basement Project
Hey everyone, Ben Harlow here. It’s time for another entry in the Project Log — the real, unfiltered story of finishing my family’s 1998 colonial basement in suburban Indianapolis.
Year One wasn’t glamorous. There were no dramatic before-and-after reveals. Instead, I spent most of that first winter doing something that sounds boring but was incredibly valuable: watching for leaks and learning how water actually moved through our specific foundation.
Why I Didn’t Rush to Finish
Most homeowners want the pretty stuff done fast. I knew better from 300+ other basements. Rushing below grade almost always leads to expensive regrets. So when we bought the house, I made a deliberate choice to slow down and observe.
Kate thought I was crazy at first. “We’ve got a dry basement,” she’d say. But I’d seen too many “dry” basements turn into problems during the first few seasons.
What I Did During That First Winter
Every weekend and most evenings I’d head downstairs with a flashlight, notebook, and moisture meter. Here’s what I learned:
Small seepage at the base of the north wall during heavy rains
Condensation issues near the rim joist on cold nights
One hairline foundation crack that opened slightly with freeze-thaw cycles
How the grading around the house directed water toward one corner
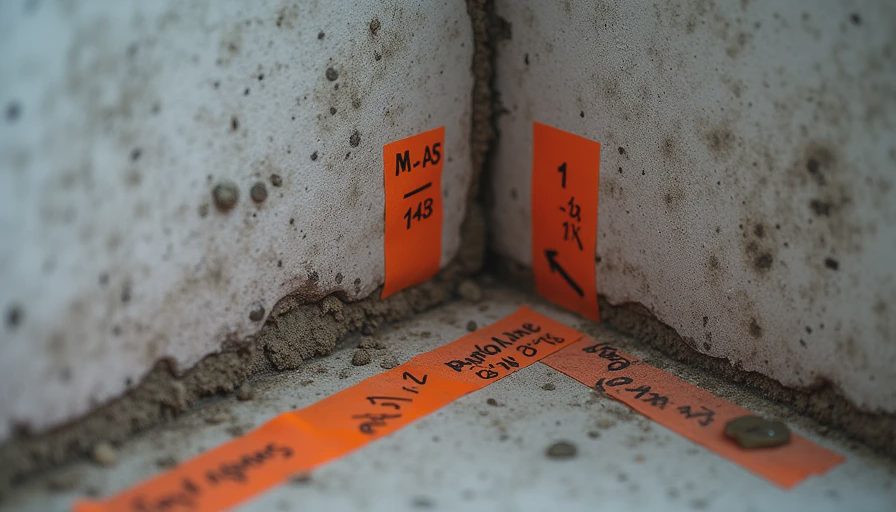
I didn’t fix everything immediately. I documented it. Marked spots with tape and dates. Took photos with my phone. This data became gold when I finally started making permanent repairs.
The First Real Fixes
Once I understood the patterns, I started small:
Regraded the exterior in two problem areas (cheap and surprisingly effective)
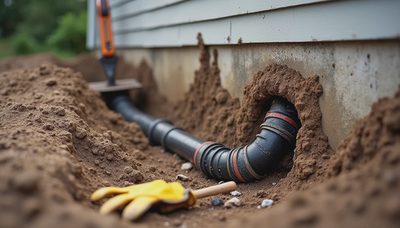
Installed temporary French drains in the worst spots
Sealed a few obvious cracks with hydraulic cement
Added better gutter downspout extensions
Total spend that first year: under $800. But the knowledge I gained was worth way more.
Family Life in the Half-Finished Space
Charlie (then 6) and Emma (3) thought the basement was their giant playground. We had tarps, buckets, and tools everywhere. Kate made me promise the kids wouldn’t get hurt by my “science experiments.”
We still managed to have movie nights on folding chairs. The space wasn’t pretty, but it was ours. And every time it rained, I’d sneak down to check my observation points.
Key Lessons from Year One
Water tells the truth. Watch where it wants to go before fighting it.
Small fixes early prevent big problems later.
Documentation is everything when you’re doing this yourself.
Patience in year one saves money in year three.
Your basement has its own personality — respect it.
I tell this to every homeowner I advise: spend at least one full season watching before you start the pretty work.
The Emotional Side
There were moments of doubt. Nights when I wondered if I should just hire a crew and be done with it. But fixing other people’s basements for years taught me that doing it right on my own house would be incredibly satisfying.
Kate’s support was huge. She understood this was an investment in our family’s future living space, not just a weekend project.
Where We Ended Year One
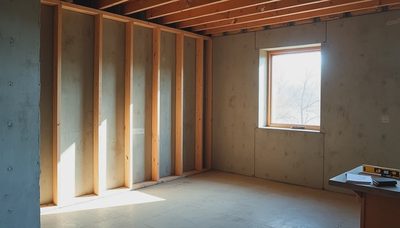
By spring, I had a solid map of our basement’s behavior. I knew exactly where the sump pump pit needed to go, which walls needed closed-cell foam, and where I could safely frame.
No finished rooms yet. But the foundation for success was set — literally.
Looking Back
That first year felt slow while I was living it. Now I see it as the most important phase of the entire project. Rushing would have created problems I’d still be fixing today.
If you’re just starting your basement journey, I strongly encourage you to do the same. Watch, document, learn. Your future finished space will be better for it.
Next up in the Project Log: the day I discovered our weeping tile issues. It’s a good one.
Until then — keep it dry down there.
Above grade is for the real estate photos. Below grade is where you actually live.

No letters yet — be the first guest to write.