Outdoor cement flooring looks simple from the yard, but the slab that stays clean, flat, and crack-resistant is the one that was planned from the dirt up. I’ve torn out enough bad patios and walkout pads to know the problem usually starts before the concrete truck shows up. If water has nowhere to go, the finish will fail faster than the mix ever will. Above grade is for the real estate photos. Below grade is where you actually live, and the same logic applies outside: control water first, then worry about color, texture, or stamp patterns.
What Outdoor Cement Flooring Needs Before You Pour
The first thing to get straight is that outdoor cement flooring is really concrete, not straight cement. Cement is the powder in the mix; concrete is the finished slab. For a patio, stoop, or pool deck, the slab needs support, drainage, and the right thickness. A common residential pour is 4 inches thick over 4 to 6 inches of compacted gravel. If you expect vehicles, load-bearing equipment, or a wide span with weak soil, that changes fast.
Slope matters more than most homeowners think. A good rule is about 1/4 inch of fall per foot, pitched away from the house so water does not sit against the foundation or run back toward a walkout door. In freeze areas, you want an air-entrained mix and control joints laid out before the pour, not after the crack shows up. I have seen brand-new slabs pop in the first winter because someone skipped the base compaction and thought the finish would save them. It won’t.
If you are pouring beside a basement wall, keep an eye on downspouts, window wells, and any step-down door threshold. A pretty slab that funnels water toward the house is expensive yard art.
The Base Is Where Most People Save the Wrong Money
The base under outdoor cement flooring is not the place to get cute with shortcuts. A couple inches of loose stone dumped on soft soil is not a base. You want subgrade that is stripped of organics, shaped correctly, and compacted in lifts. On a decent residential job, I like clean crushed stone because it locks better than round gravel and gives the slab a steadier bed.
If the soil is clay-heavy, wet, or recently disturbed, it needs extra attention. Clay holds water, swells, and shrinks, which is how patios crack along the house or settle at the corners. Around older homes, I have also found buried brick, tree roots, and random fill from prior projects. That kind of junk makes the slab look fine for six months and then starts telegraphing movement.
For a homeowner budget, the bad number is the one where someone offers a cheap square-foot price without talking about base work, control joints, or cleanup of the old slab. The right number depends on access, excavation, thickness, and finish, but in many markets a plain broom-finished patio runs far less than a decorative stamped install. If you want a long life, spend on prep before you spend on pattern.
Finish Choices That Actually Hold Up Outside
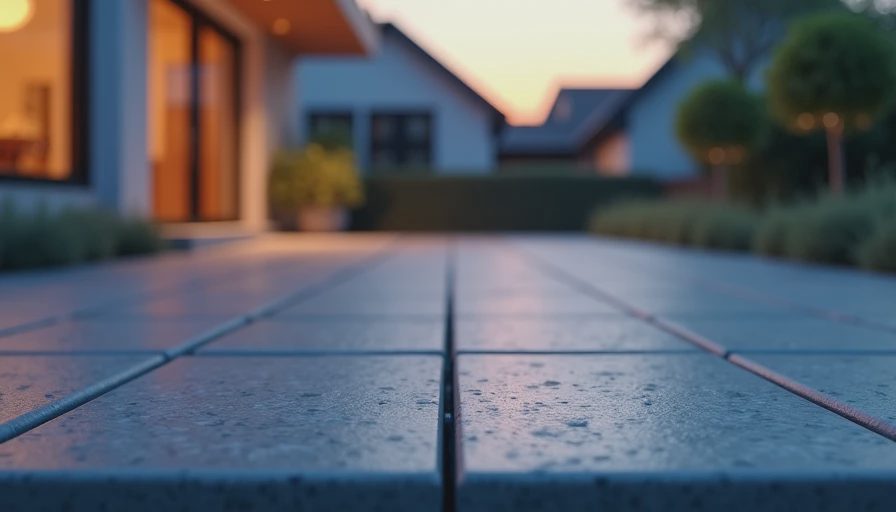
The finish you choose should match how the space gets used. A broom finish is still the workhorse because it gives traction when wet, especially on steps, pool decks, and north-facing slabs that stay damp. A salt finish can look sharp, but it is more about appearance than durability. Stamped concrete can be a good choice for a front porch or entertaining area, but it needs sealing on a schedule and it shows wear faster on traffic lanes.
Outdoor cement flooring near a garage door or side entry also needs a practical edge detail. A too-smooth surface is slick when leaf tannins, algae, or winter slush build up. A too-rough surface is miserable on bare feet. If you want color, integral pigment is usually more consistent than trying to stain a slab after it has already cured poorly. Sealers help resist water and oil, but they are not magic. If the concrete underneath was overwatered or poorly cured, the sealer just gives you a shinier bad slab.
I have repaired more than one stamped patio where the owner loved the first year and hated year four because the sealer wore unevenly. If you want low drama, keep the design simple and the drainage honest.
What to Do With an Old Slab That Is Cracked or Ugly
Not every bad surface needs a full tear-out. Sometimes outdoor cement flooring can be saved with grinding, patching, resurfacing, or a coating system. Small random cracks that do not move can often be filled with a polyurethane crack filler or routed and patched. A slab that is pitching the wrong way, sinking at one corner, or breaking apart at control joints is a different animal and usually needs replacement.
If the surface is sound but ugly, a bonded overlay or decorative coating can make sense. That said, overlays fail when the slab below is dirty, moving, or holding moisture. I have seen homeowners spend a few thousand dollars on a coating only to watch it peel where water vapor pushes up through the concrete. That is the same mistake people make in basements with bad prep: they try to cover a moisture problem instead of fixing it.
For mild repairs, common products from Quikrete, Sakrete, or Sika-type sealants are fine for the right job, but the surface has to be clean and dry. For bigger work, get honest about the life left in the slab before you keep throwing money at it.
Costs, Bids, and the Number That Usually Makes Sense
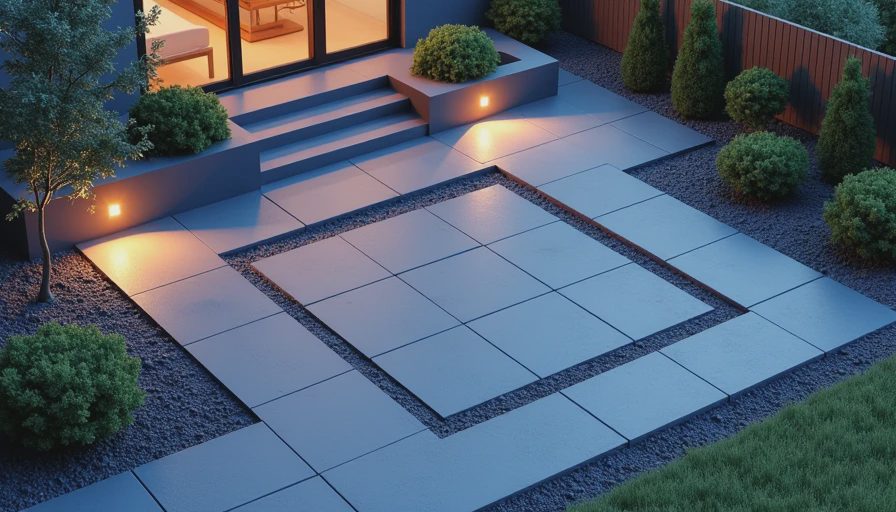
For a basic patio, homeowners often look at pricing by the square foot, but the real bid depends on demolition, hauling, access, reinforcement, thickness, and finish. A plain slab is usually the cheapest way to get a durable surface. Stamped concrete, exposed aggregate, and heavy decorative borders cost more because they take more labor and more risk. If a contractor gives you one neat number without asking about slope or drainage, that number is probably built on assumptions.
When I look at a bid, I want to know three things: how the base is being built, how water is leaving the slab, and what happens at the edges. A cheap patio that traps water under a door threshold is not cheap. Neither is a decorative slab that needs sealing every year because nobody planned for sun, salt, or freeze-thaw cycles. For many homes, the smartest move is a clean broom finish with one or two control lines, good joints, and a sealer every few years.
If you are comparing bids, ask who handles excavation, who handles saw cuts, and whether cleanup and disposal are included. Those missing lines turn into surprise bills fast.
The Short Checklist I Use Before I Tell a Homeowner to Pour
I want the subgrade compacted, the slope pointed away from the house, the slab thick enough for the load, and the finish matched to the weather and the use. I want control joints planned before the pour and a real answer about what is happening at the perimeter. I also want the homeowner to understand that outdoor cement flooring is a system, not just a color and a texture.
If you do it right, you get a patio, walkway, or porch that stays useful for decades. If you do it wrong, you get standing water, spalling, and a repair bill that would have bought the better job in the first place. Do the base work, keep the finish practical, and do not let anyone talk you into decorative extras before the slab itself is right.
Above grade is for the real estate photos. Below grade is where you actually live.

No letters yet — be the first guest to write.