Bunker living sounds like a concrete fantasy until you are standing in an unfinished basement with a flashlight, a dehumidifier, and water staining the floor. Done correctly, bunker living can turn dead space into a quiet office, guest room, storm shelter, or full apartment. Done carelessly, it creates a dark, damp box that smells like wet cardboard by the third summer.
I have worked on enough below-grade projects to know the concrete is rarely the hardest part. The hard part is dealing with moisture, limited daylight, low ceilings, drainage, ventilation, and building rules before drywall hides the evidence. Above grade is for the real estate photos. Below grade is where you actually live.
Start with the basement, not the fantasy
Before planning bunker living, spend a wet week observing the room. Look at the walls after heavy rain. Check the floor around the sump pit, plumbing penetrations, floor drains, and foundation corners. A hairline crack that stays dry is a different problem from a crack with a white mineral trail or damp dirt beside it.
Use a moisture meter on the concrete and wood framing, but do not treat one low reading as a clean bill of health. Basements change with weather. Put cardboard squares under suspicious areas overnight, inspect the sump pump discharge, and make sure the outlet sends water well away from the foundation. If the basement has a history of flooding, solve the water path before discussing finishes.
A basic dry-basement setup can include a properly sized sump pump, a battery backup, exterior grading, and an interior drainage system where needed. You do not need a $3,000 pump for every dry basement, but you do need a pump you can test and reach. Covering a known water problem with vinyl plank is not renovation. It is hiding evidence.
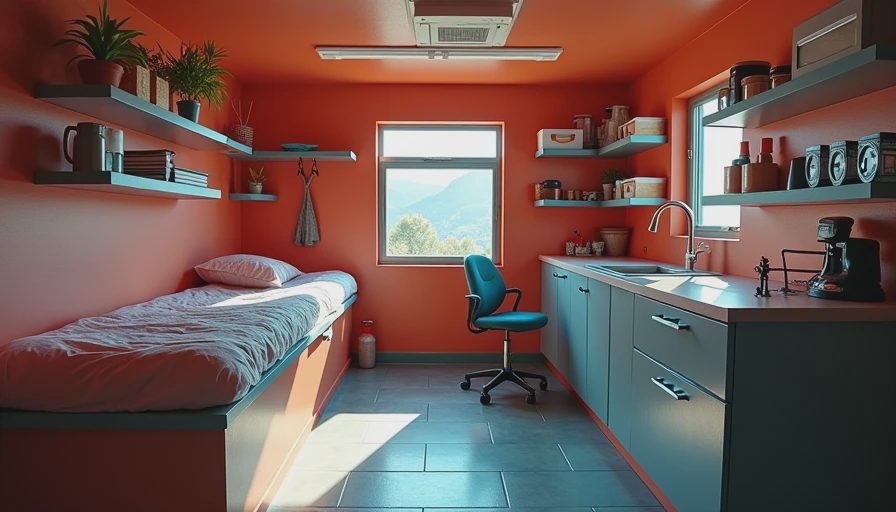
Bunker living needs air, light, and an exit
The appealing part of bunker living is privacy, but privacy cannot replace life-safety requirements. A bedroom generally needs a code-compliant emergency escape and rescue opening. Exact requirements vary by local jurisdiction, but common residential standards call for an operable window with at least 5.7 square feet of clear opening, a minimum 20-inch width, a minimum 24-inch height, and a sill no more than 44 inches above the floor. Some jurisdictions apply different rules, so verify before ordering the window.
An egress window is not simply a small basement window. The opening may need a window well, drainage, a ladder or steps, and enough clearance for a person wearing winter clothing. In central Indiana, a straightforward installation can easily run several thousand dollars once excavation, cutting, steel reinforcement, gravel, drainage, and finish work are included. The price is painful, but a bedroom without a proper exit is a bad bargain.
Ventilation matters just as much. A basement can feel cool while still carrying high humidity. Aim to keep indoor relative humidity roughly between 30 and 50 percent. A portable dehumidifier with a continuous drain is useful during construction, but finished bunker living usually deserves planned air exchange. Tie into the home's HVAC system only after confirming return-air and supply-air rules; do not cut random grilles into a furnace room wall.
Insulation and framing without trapping moisture
Concrete walls are cold, and warm indoor air will find them. That is where many basement projects go wrong. Standard fiberglass batts pressed directly against a damp foundation wall can absorb moisture and create a hidden mold farm. Test the wall first, repair leaks, and use an insulation approach approved for your climate and local code.
For many existing basements, rigid foam board or closed-cell spray foam against the foundation is a better starting point than bare fiberglass. Foam board joints need to be sealed, and the assembly usually needs a thermal barrier such as drywall. Do not automatically add a sheet plastic vapor barrier on the interior. In several cold-climate assemblies, putting plastic in the wrong location can trap moisture between layers. The correct detail depends on climate zone, wall construction, and local code.
Keep framing off the concrete floor with pressure-treated bottom plates. Use a sill gasket below the plate, anchor the wall correctly, and leave room around cleanouts, shutoff valves, electrical panels, and the sump. I once opened a finished basement where the framing boxed in the main water shutoff. The homeowner paid for demolition just to turn off his own water. Five minutes of layout work would have prevented it.
Electrical, plumbing, and fire separation
Bunker living tends to accumulate equipment: a refrigerator, television, workstation, treadmill, server rack, and dehumidifier. Plan circuits instead of plugging everything into one old basement receptacle. A dedicated 20-amp circuit is common for a utility load, but the actual circuit plan should follow the equipment and local electrical code. Ground-fault protection is required in many basement locations, especially near sinks, unfinished areas, and utility equipment.
Keep electrical panels accessible and maintain the working clearance required by code. Do not run a permanent extension cord behind a wall because the outlet is inconvenient. If you are adding a bathroom, treat the plumbing layout as a major project. A basement bathroom may require a sewage ejector, a pump basin, or careful gravity drainage. The cheapest-looking location can become the most expensive once concrete cutting begins.
Fire separation also deserves attention. A furnace room may require a rated door and walls, and foam products cannot simply be left exposed. Smoke alarms, carbon monoxide alarms, and a clear route upstairs are basic equipment, not finishing touches. Bunker living should feel protected, not sealed off from every warning system in the house.
What bunker living actually costs
A modest basement refresh can cost around $15,000 to $30,000 when the slab is sound, the walls are dry, and the homeowner handles demolition and painting. A full finish with new electrical work, insulation, drywall, flooring, a bathroom, and an egress window can move past $50,000 quickly. Waterproofing, structural repairs, underpinning, or a new exterior stairwell can push the budget far higher.
The order of spending matters more than the finish brand. Put money into drainage, electrical capacity, insulation, ventilation, and exits before buying expensive flooring or built-in cabinets. Luxury vinyl plank is forgiving and practical, but it cannot rescue a basement with a wet slab. A $4,000 bathroom vanity does not improve air quality. Spend first on the parts you will not be able to inspect later.
For a realistic budget, divide the work into three columns: must solve, must pass, and nice to have. Water management belongs in the first column. Egress and required electrical work belong in the second. A wet bar, theater seating, and acoustic wall panels belong in the third. This simple separation keeps a project from consuming every dollar before the safety work is complete.
A practical order of operations
For bunker living, the sequence is straightforward even when the work is not. First, inspect the foundation, drainage, utilities, and ceiling height. Second, resolve water entry and confirm the sump system. Third, finalize the room layout with access panels and egress locations. Fourth, complete rough plumbing, electrical, HVAC, and low-voltage wiring. Fifth, install insulation and framing, then have required inspections completed before closing walls.
After drywall, seal and paint carefully, install flooring with the slab manufacturer's requirements in mind, and keep mechanical equipment accessible. Run the dehumidifier through a proper drain rather than dumping its bucket every morning. Test smoke alarms and the sump backup. Mark shutoff locations and leave photographs of concealed wiring and plumbing in a project folder.
The best bunker living space is not the one with the darkest paint or the most concrete. It is the one that stays dry after a hard storm, has a legal escape route, gets fresh air, and lets you service every important system without tearing out a wall. Do this in the right order. Do not close the walls until the basement has earned the right to disappear behind them.



No letters yet — be the first guest to write.