Subterranean living can add a useful floor to your house, but only if you treat the basement like a structure that has to manage water, temperature, and air. A finished basement is not just a room below ground with drywall on the walls. It is a small building envelope surrounded by concrete, soil, pipes, and several ways for moisture to get inside.
I have worked on more than 300 basements, and the failures usually start before anyone picks a paint color. The homeowner skips a moisture inspection, frames tight against a damp foundation wall, or buries an old plumbing leak behind finished surfaces. Three years later, the carpet smells, the drywall is soft, and the remodel starts again. Good subterranean living begins with the unglamorous work you cannot see.
Start with water, not framing
Before planning a bedroom, bar, or home theater, visit the basement after a hard rain. Look at the floor-to-wall joint, corners, utility penetrations, window wells, and around the sump pit. White powder on concrete is usually efflorescence, which indicates moisture movement. It is not mold, but it is a warning that water is traveling through the foundation.
A dry basement should have a working sump pump with a reliable discharge line, a sealed lid, and an outlet protected by a ground-fault circuit interrupter where required. Test the pump by pouring five gallons of water into the pit. The float should rise, the pump should start, and the discharge should carry water away from the foundation. A battery backup can cost roughly $200 to $500 and is sensible if one failed pump could flood a finished floor.
Do not solve an active leak by coating the inside wall with a miracle waterproofing paint. Hydraulic cement can patch a small crack temporarily, but recurring water usually needs an exterior drainage solution, interior drain tile, grading correction, or a professional structural review. Subterranean living and uncontrolled water do not coexist for long.
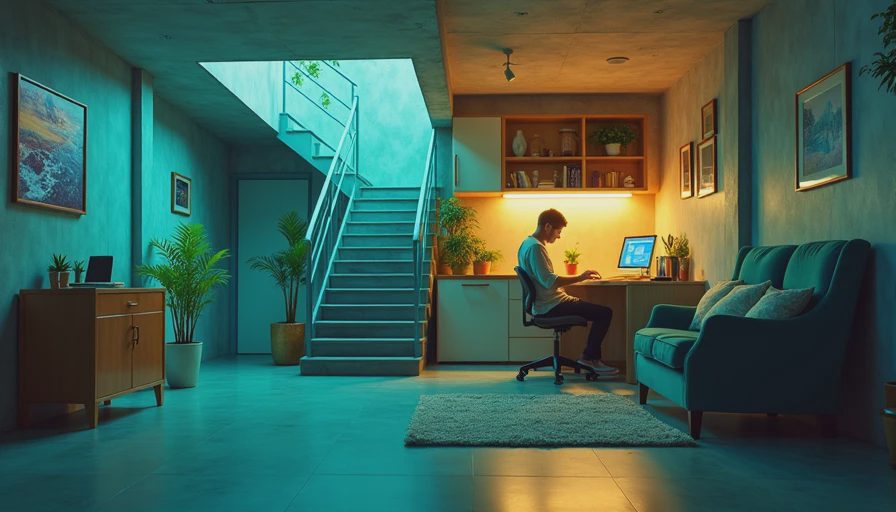
Insulation and framing details that matter
Concrete walls are cold because the ground stays cool year-round. If you frame directly against the foundation, you create pockets where humid air can condense. Leave a small gap where appropriate, use pressure-treated lumber for the bottom plate, and install a capillary break between the plate and slab. A sill gasket is inexpensive insurance.
The insulation choice depends on the wall condition and local code. Closed-cell spray foam resists air movement and handles irregular masonry, but it is expensive and difficult to modify later. Rigid foam board can work well when seams are carefully sealed, while insulated basement wall systems simplify installation at a higher material cost. Fiberglass batts placed against bare concrete are a common mistake; they can hold moisture against the wall.
For many homes, a framed wall with rigid foam or properly installed spray foam provides a practical balance. Do not blindly add a polyethylene vapor barrier. In some climates and assemblies, trapping moisture between two low-permeability layers creates a problem instead of preventing one. Basement insulation rules vary by climate zone and local code, so confirm the required R-value and vapor-control approach before closing the wall.
A typical basement ceiling can lose 4 to 6 inches once you account for framing, drywall, ductwork, and lighting. Measure the lowest beam and duct, not the tallest part of the room. Subterranean living feels cramped when a homeowner promises a generous ceiling height that exists only in the center of the floor.
Egress, electrical, and plumbing before drywall
A basement bedroom generally needs an emergency escape and rescue opening, commonly called egress. Exact dimensions and sill-height limits vary by jurisdiction, but many codes use a minimum net clear opening near 5.7 square feet, with a smaller allowance for grade-level openings. A window that looks large from the outside may not provide enough clear space once it opens.
An egress window project can cost about $3,000 to $8,000 or more because it may involve cutting foundation concrete, installing a window well, adding drainage, and repairing exterior grading. Get the permit before cutting. A bedroom without legal egress is not a bedroom just because a bed fits inside it.
Plan electrical circuits before framing hides the routes. A basement family room may need separate circuits for receptacles, lighting, a sump pump, and a future office. Keep junction boxes accessible, use protected receptacles where required, and avoid running cables through places where future shelving will crush them. Plumbing cleanouts and shutoff valves also need access panels. I have seen homeowners remove finished cabinets because a valve was buried behind them.
Choosing a layout that earns its cost
The best basement plans use the space for something the main floors cannot provide. A 12-by-18-foot area can become a family room, gym, workshop, or office, but forcing every use into one room usually produces awkward furniture and poor circulation. Draw the stairs, mechanical equipment, posts, windows, doors, and code-required clearances first. The leftover shape is your real floor plan.
Keep noisy equipment away from sleeping areas. A laundry room beside a bedroom will make every spin cycle part of the evening routine. A furnace room needs required clearances and combustion-air considerations, not just a decorative door. Leave working space around the electrical panel, water heater, and furnace. Subterranean living should make maintenance easier, not turn every repair into demolition.
For finishes, luxury vinyl plank is forgiving around occasional humidity and easy to replace one plank at a time. Carpet is warmer underfoot but less forgiving after a leak. Standard drywall is not automatically wrong, but moisture-resistant board in appropriate locations can improve durability. Avoid building a full bathroom until you understand the drain elevations; an ejector pump may be required when gravity cannot carry waste to the main sewer line.

A realistic basement budget
Costs vary by region and how much work you do yourself, but a useful planning range for a basic 700-square-foot finish is roughly $35,000 to $70,000. That can cover framing, insulation, electrical, drywall, flooring, doors, trim, and paint when the slab and foundation are already sound. Add $5,000 to $15,000 for substantial water-control work, and an egress window can add several thousand dollars by itself.
DIY labor can reduce the bill, especially for demolition, framing, painting, and trim. It does not make permits, inspections, structural changes, or electrical hazards disappear. I would rather see a homeowner spend $1,500 on an electrician and finish the trim personally than save that amount by improvising a panel connection.
Build a 15 percent contingency into the budget. Basements reveal surprises: a buried cleanout, undersized wiring, a cracked drain line, or a foundation wall that is not as straight as it looked under dust. Subterranean living becomes much less stressful when the budget has room for the first surprise.
The order I would use on my own house
First, inspect after rain and solve exterior drainage, leaks, and sump problems. Second, map the mechanical equipment, plumbing, posts, windows, and ceiling obstructions. Third, confirm permits, egress requirements, fireblocking, insulation rules, and electrical needs with the local building department. Fourth, rough in electrical and plumbing before insulation and drywall. Fifth, insulate and frame without trapping known moisture. Sixth, inspect before covering the work. Finally, install drywall, flooring, doors, trim, and paint.
Take photographs of every wall before drywall goes up. Include a tape measure in the frame so future you can locate pipes and cables. Label circuits at the panel and leave access to anything that may need service. This documentation costs nothing and can prevent an hour of exploratory cutting later.
The bottom line is simple: do not rush to make the basement look finished. Make it dry, serviceable, code-compliant, and insulated first. Then build the rooms. Above grade is for the real estate photos. Below grade is where you actually live, so build your subterranean living space like you expect it to last.



No letters yet — be the first guest to write.