
Crawl space cleaning is not glamorous work. It is dark, dirty, and usually performed while lying on a sheet of plywood with a flashlight between your teeth. But the space under your floor affects indoor air, floor temperature, humidity, insulation, plumbing, and sometimes the smell of the whole house. Before you finish a basement or replace flooring above, deal with what is happening underneath.
I have crawled through enough older homes to know that the visible debris is rarely the main problem. A few scraps of lumber are harmless. Standing water, sagging insulation, rodent droppings, an open dirt floor, or a disconnected duct are not. Good crawl space cleaning starts with inspection and ends only after the moisture source is under control.
Start with a Safe Inspection
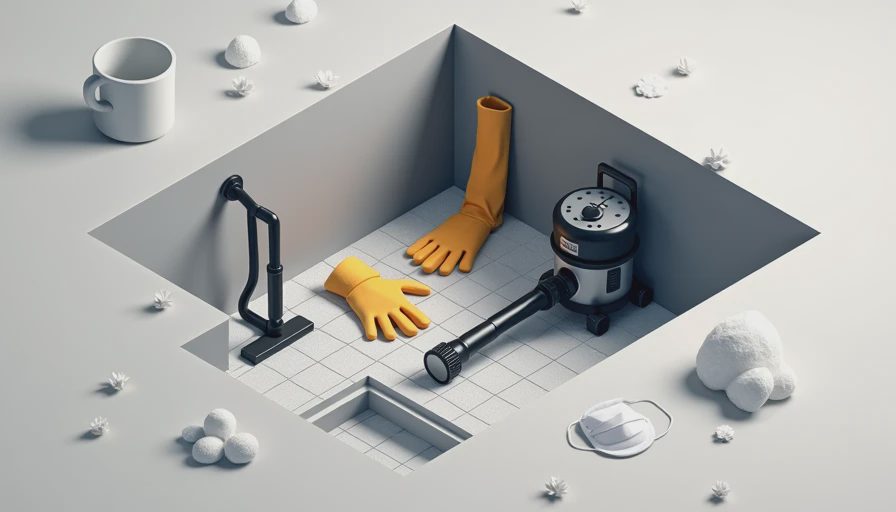
Before beginning crawl space cleaning, shut off the electrical circuit serving lights or outlets in the area if water is present. Wear gloves, safety glasses, disposable coveralls, and a respirator rated for mold or fine particles. A cheap dust mask is not enough when you are disturbing insulation or droppings. Use knee pads, a bright LED work light, and a phone in a sealed bag for photographs.
Look from the access opening before crawling inside. Check for standing water, exposed wiring, damaged ducts, animal nests, and signs that the soil has shifted. If you see extensive mold, a strong sewage odor, a dead animal, or droppings spread across the floor, stop and identify the hazard first. Cleaning around an active sewage leak or a large rodent infestation is not a Saturday afternoon repair.
Measure the space at several points. Note the height, the location of plumbing shutoffs, and whether the access door closes tightly. A six-inch opening beside a furnace may be enough for inspection but not enough for safe removal of old insulation. Photograph every corner before moving anything. Those pictures help you distinguish old staining from new leaks.
Remove the Right Material, Not Everything
The first physical stage of crawl space cleaning is removing loose trash. Pull out construction scraps, cardboard, broken plastic, old carpet, fallen mortar, and anything that can hold moisture. Bag small debris as you go. Long boards and metal should be carried out separately so they do not tear vapor barriers or damage plumbing.
Do not automatically remove sound insulation. Fiberglass batts that are dry, firmly attached, and free of animal contamination can sometimes stay. Insulation that is wet, compressed, hanging from the floor, or covered with droppings belongs in sealed bags. Wet fiberglass does not recover its insulating value just because it dries; it usually stays dirty, saggy, and poorly supported.
One crawl space cleaning job I inspected had insulation draped over every water line. The homeowner thought it was protecting the pipes. In reality, it hid a slow leak at a compression fitting for months. Removing the loose material exposed the problem before it destroyed the subfloor. That is the point of cleaning: access and visibility, not an empty room for its own sake.
Find and Fix Moisture Before Cleaning Deeply
Moisture is the reason many crawl spaces become dirty again. Check downspouts, grading, foundation walls, plumbing joints, HVAC condensate lines, and the ground after a storm. A damp smell without visible water can still indicate high humidity. Use a basic hygrometer for a few days; readings that stay above roughly 60 percent deserve attention, especially during warm weather.
Exterior fixes come first. Extend downspouts at least several feet from the foundation, correct soil that slopes toward the house, and repair leaking hose bibs or supply lines. If water enters through a wall, the answer might be exterior drainage, a sump system, or foundation repair. Spraying bleach on a damp wall does not solve the water path.
For an exposed dirt floor, a sealed ground vapor barrier is usually more useful than another layer of fiberglass. Heavy polyethylene should overlap at seams and run up foundation walls where local practice allows. Tape and seal penetrations around piers, pipes, and supports. In some houses, a sealed crawl space with controlled ventilation or dehumidification makes sense; in others, code and climate requirements point toward a different approach. Follow local building rules rather than copying a video from another state.
Deal With Mold, Pests, and Odors
Small areas of surface mold on framing can sometimes be cleaned after the moisture source is fixed. Scrub affected wood with a suitable cleaner, remove contaminated porous materials, and dry the area completely. Never mix cleaning chemicals, and do not create a cloud of spores by aggressively sanding moldy wood. A large area, recurring growth, or mold inside HVAC components calls for a qualified remediation plan.
Animal contamination requires more caution. Rodent urine and droppings should be lightly dampened with an appropriate disinfectant before removal so particles do not become airborne. Do not sweep dry droppings with a broom or use a household vacuum. If there is extensive contamination, remove people and pets from the work area and bring in pest and remediation professionals.
Odor usually follows a source. Dead animals, wet insulation, sewer gas, and mold each require a different repair. Fragrance sprays and ozone machines are not substitutes for removing contaminated material. After crawl space cleaning, the space should smell neutral, not like chemicals covering a damp basement.
Insulation, Pipes, and Ducts Need a Second Look
Once debris is out, inspect the underside of the floor. Insulation should be supported with proper wire, netting, or approved fasteners rather than loose twine. Keep insulation away from heat-producing equipment, recessed lights that are not rated for contact, and access points that need service. Do not bury shutoff valves or electrical junction boxes.
Look for torn flexible duct, disconnected dryer vents, crushed air-conditioning lines, and uninsulated water pipes. A crawl space is not a safe place to vent a dryer; lint and moisture belong outside through a proper termination. A disconnected supply duct can waste conditioned air under the house while making the rooms above uncomfortable.
If pipes have frozen before, insulation alone may not be enough. Air sealing drafts, protecting exposed lines, and maintaining adequate heat may be necessary. Never wrap a leaking pipe and call the job finished. Repair it first, then insulate after the area is dry.
When to Hire Help and What It Should Cost
DIY crawl space cleaning can make sense when the area is dry, accessible, lightly dirty, and free of hazardous contamination. Expect to spend roughly $100 to $300 on protective equipment, bags, lighting, and cleaning supplies, not counting repairs. Rent a HEPA-capable vacuum only when you understand what material you are removing and how to keep the exhaust from spreading dust.
Professional prices vary widely because access and contamination matter more than square footage. A straightforward debris removal might run several hundred dollars. Removing contaminated insulation, installing a vapor barrier, adding drainage, or correcting mold can push the project into the low thousands. Get a written scope that separates cleaning from waterproofing, insulation replacement, pest treatment, and encapsulation.
Be suspicious of anyone who recommends a full encapsulation before finding a leak. Encapsulation can be a good system, but it should not become an expensive lid placed over an active plumbing or drainage failure. Ask how the contractor will handle seams, piers, access doors, sump discharge, and future service access.
A Practical Final Check
After crawl space cleaning, return with the same flashlight and camera used at the beginning. Confirm that debris is gone, insulation is supported, the access door closes, plumbing remains reachable, and no duct or wire was damaged. Look for fresh moisture after the next substantial rain. Check humidity again during a warm week rather than trusting one dry afternoon.
If you are finishing a basement above the crawl space, inspect before framing and again before drywall. It is cheap to correct a missing vapor barrier or loose duct while everything is exposed. It is expensive to discover the problem after flooring, cabinets, and finished walls are installed.
The bottom line is simple: crawl space cleaning is valuable when it reveals and corrects the conditions damaging your house. Remove debris, control water, handle contamination safely, and leave serviceable systems accessible. Do not spend thousands making a wet crawl space look neat. Fix the water first, then build the clean, dry space your floors have been waiting for.


No letters yet — be the first guest to write.