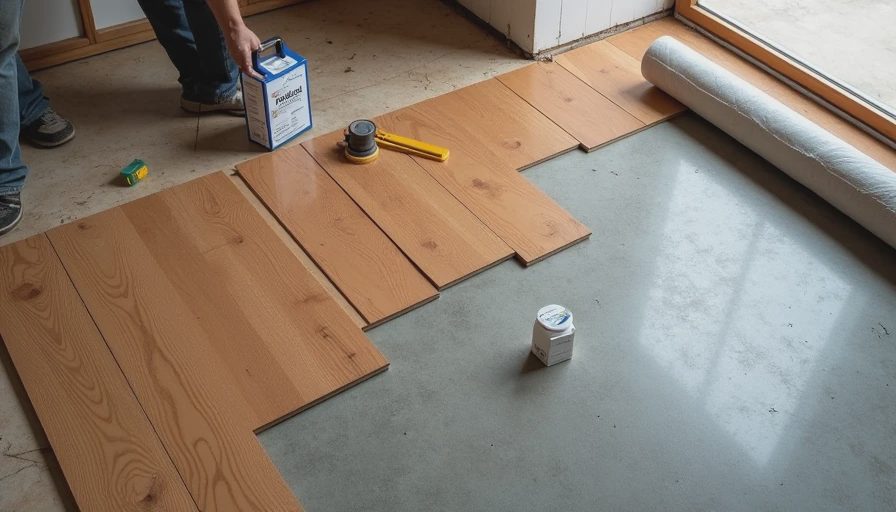
The Allure and the Danger
Hey, Ben Harlow here. Laying new flooring directly over your basement concrete slab sounds simple and cost-effective. Many manufacturers make it sound foolproof. After installing and fixing flooring on hundreds of concrete slabs, I’m here to tell you the truth.
Concrete is porous, it moves, and it holds moisture. Ignore that and your beautiful new floor won’t last.
The Critical Moisture Test Most People Skip
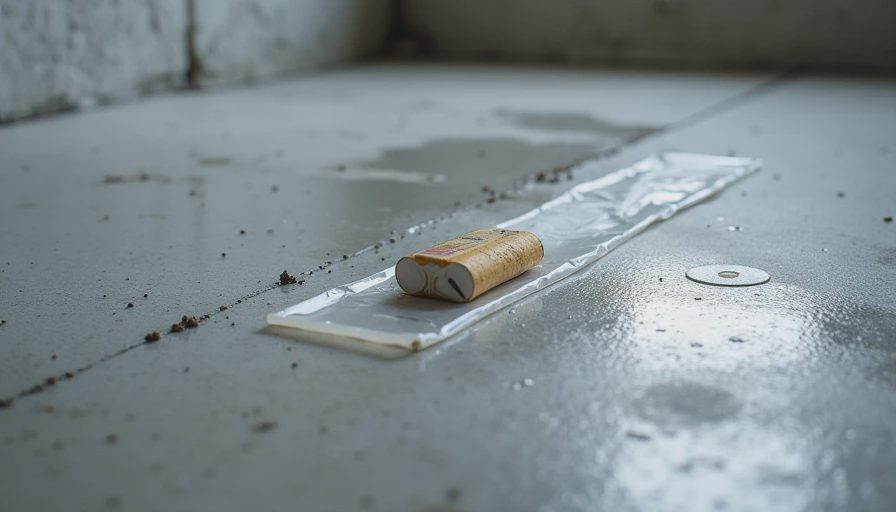
The single most important step is a proper moisture test. I use both the plastic sheet method and calcium chloride tests.
I’ve seen brand new LVP buckle because the owner trusted the “it feels dry” method. Concrete can feel dry on the surface while still emitting vapor that destroys flooring over time.
Rule of thumb: If your test shows high moisture, you must address it before installing any flooring.
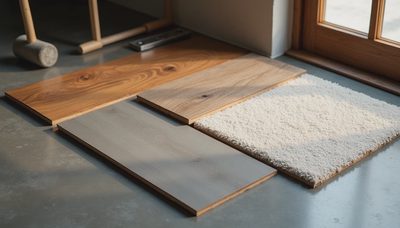
What Actually Works on Concrete
My ranking after real-world experience:
Rigid core LVP with good underlayment — Best balance for most basements
Properly installed porcelain tile — Most durable if prepped right
Engineered hardwood (with caveats) — Risky but possible in very dry slabs
Carpet — Only with excellent moisture barriers and in low-risk areas
Never install regular laminate or floating hardwood directly if you have any moisture concerns.
Manufacturer Warranties vs Reality
Those 25- or 50-year warranties look great on paper. Read the fine print. Most require:
Specific moisture readings
Approved underlayment
Perfectly flat substrate (within 3/16" in 10 feet)
Proper expansion gaps
I’ve replaced plenty of “warranted” floors that failed because real basement conditions weren’t considered.
Key Installation Lessons
Always grind or self-level high spots
Use vapor barriers rated for concrete slabs
Acclimate materials properly (longer than you think)
Leave proper expansion space around the perimeter
Consider radiant floor heat compatibility
In my own basement, we spent extra time ensuring the slab was flat and properly sealed before installing the LVP. Two years later it still looks perfect.
Common Failure Points I Fix
Buckling at seams from moisture
Clicking or loose planks from uneven substrate
Mold growth underneath due to trapped vapor
Cracked grout on tile from slab movement
All of these are preventable with proper prep.
Cost vs Longevity Math
Spending an extra $1,500–$3,000 on proper prep and quality materials usually saves $8,000+ in future replacement costs. I’ve done the math on too many repair jobs.
My Honest Recommendation
Test your slab thoroughly. If moisture levels are acceptable and the surface is flat, quality rigid core LVP is hard to beat for basement living spaces. For wetter areas, go with tile.
Don’t trust marketing hype. Trust real performance in below-grade conditions.
What type of flooring are you considering? Tell me your slab conditions and I’ll give you my practical recommendation.
Above grade is for the real estate photos. Below grade is where you actually live. Make sure your floor lasts where it matters most.
No letters yet — be the first guest to write.