
Horizontal wall cracks are not automatically a disaster, but they are the foundation crack I take most seriously in an unfinished basement. A vertical hairline crack can come from normal concrete shrinkage. A horizontal break through a poured concrete wall often means the wall has been pushed sideways by soil outside. That is a different problem, especially if you are planning to frame, insulate, and bury the evidence behind drywall.
I have seen homeowners spend $12,000 finishing a basement, then discover a bowing wall behind their new family room. The drywall hid the warning signs, but it did not stop the soil pressure. Before you buy framing lumber or a gallon of waterproofing paint, inspect the crack, the wall around it, and the ground outside.
Why Horizontal Wall Cracks Happen
The most common cause is lateral soil pressure. As wet soil freezes, expands, or becomes saturated after heavy rain, it pushes against the foundation. Clay soil is especially aggressive because it swells when wet and shrinks as it dries. Poor grading, clogged gutters, and a failed footing drain can keep that pressure focused on one section of wall.
Horizontal wall cracks can also appear when a concrete wall shrinks during curing, though those cracks are usually narrow and stable. Block foundations are a little different. The mortar joints may crack horizontally, or several blocks may show a stair-step pattern. A long crack through the middle of a poured wall deserves more attention than a short surface line near a corner.
Look for a wall that bows inward, not just a line in the concrete. Stretch a tight string across the wall or use a long straightedge to check the center. A deflection of roughly 1 inch over an 8-foot span is enough to stop a finishing project and get a structural evaluation. Smaller movement still matters if the crack is growing, leaking, or accompanied by bulging.
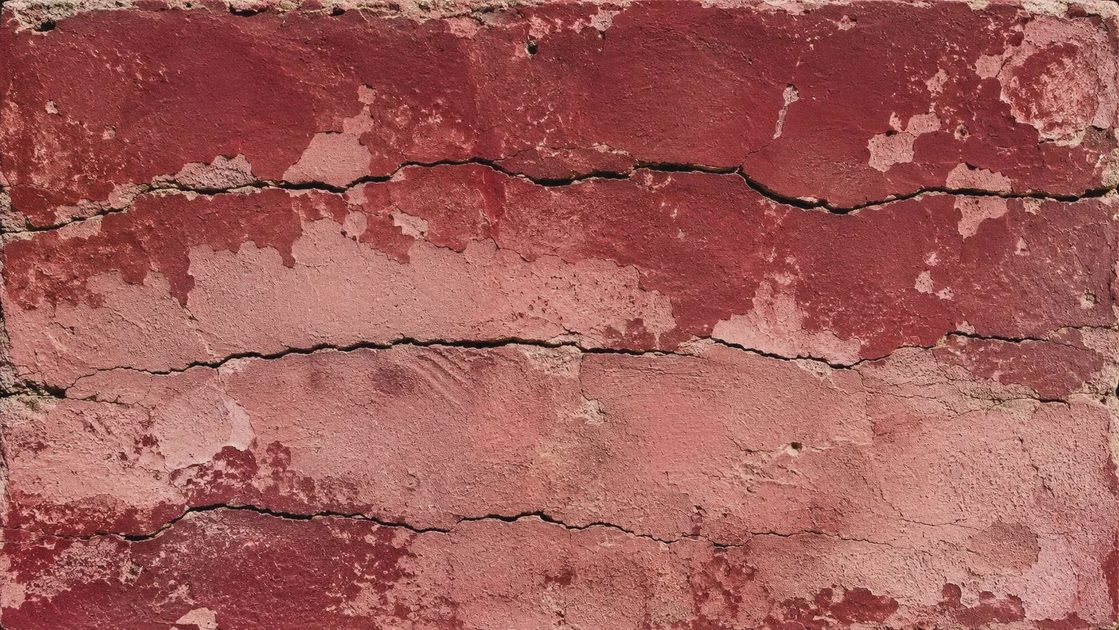
Horizontal Wall Cracks Versus Cosmetic Cracks
The crack itself is only part of the diagnosis. Measure its width with a ruler, mark both ends with pencil, and write the date beside the mark. Take a photo with a tape measure in the frame. Repeat the measurement after several weeks and after a major storm. A crack that changes is giving you useful information; do not cover it because the information is inconvenient.
Horizontal wall cracks that stay under about 1/16 inch, remain dry, and show no displacement may be shrinkage cracks. That does not guarantee they are harmless, but it lowers the urgency. A crack wider than 1/8 inch, a visible offset between the two sides, rust staining, dampness, or a musty smell moves the problem into repair territory.
Check the floor-to-wall joint too. Water can enter where the wall meets the slab even when the wall crack looks dry. Outside, make sure downspouts discharge at least 6 feet from the foundation, soil slopes away from the house, and no patio or driveway is directing runoff toward the wall. Fixing drainage will not straighten a bowed wall, but it can stop adding pressure.
A Practical Inspection Before You Finish the Basement
Start inside with a bright flashlight. Scan from floor to ceiling and from corner to corner. Mark every crack, not only the largest one. Look at utility penetrations, window openings, and corners because stress often concentrates around those locations. Open and close basement windows. A frame that sticks can indicate movement, although swollen wood and old hardware can cause the same symptom.
Next, check whether floor joists are bearing normally on the sill plate. You are looking for obvious gaps, twisted framing, or a rim joist that has shifted. Do not jack or brace the house yourself based on an internet diagram. Temporary support in the wrong location can transfer load into a wall or beam that was never designed to receive it.
If you find horizontal wall cracks, call a licensed structural engineer or a foundation contractor with real repair experience before framing. An engineer typically charges several hundred dollars for an inspection, depending on location and documentation. That is cheap compared with removing drywall, flooring, electrical work, and cabinets later.
Repair Options and Realistic Costs
The correct repair depends on movement, access, and the foundation type. Carbon-fiber straps are commonly used for a slightly bowing poured wall when the wall is otherwise stable. Materials and installation often land around $4,000 to $8,000 for a basement, though a small repair can cost less. Straps help resist additional movement; they do not push a badly bowed wall back into place.
Steel I-beams or wall braces provide a heavier solution. They can cost roughly $5,000 to $15,000, especially when the basement ceiling, utilities, or floor layout complicates installation. Helical anchors or wall anchors may be used when the exterior yard is accessible. Those systems can run from several thousand dollars upward because excavation, engineering, and restoration are part of the job.
Horizontal wall cracks with active water intrusion may require drainage work as well. Exterior excavation and waterproofing can easily reach $10,000 to $25,000 for a section or full side of a house. Interior drain tile and a sump system can cost less, but they manage water after it reaches the foundation rather than removing soil pressure outside. Do not confuse waterproofing with structural repair.
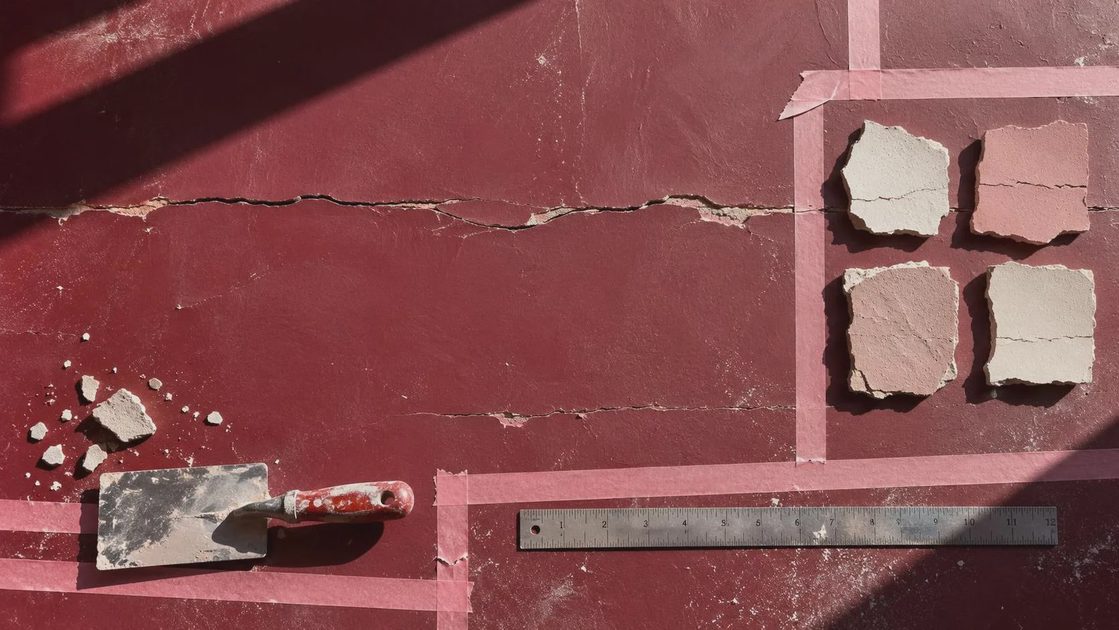
What Not to Do With Horizontal Wall Cracks
Do not smear hydraulic cement over a moving crack and call the wall fixed. Hydraulic cement can stop a small leak temporarily, but it does not restore structural capacity. Epoxy injection has a place in certain stable concrete cracks, yet it is not a cure for a wall that is bending under pressure. If the two sides of the crack are offset, sealing the surface is treating the symptom.
Do not frame a new wall tight against a damaged foundation. A basement wall needs clearance for inspection, moisture management, and any future repair system. Framing also makes the original wall harder to see. I have removed perfectly good finished walls to reach braces installed behind them, and the demolition cost more than the original inspection would have.
Do not let a waterproofing salesperson diagnose a structural problem by selling only an interior drain. Get photographs, measurements, and a written explanation of what is moving and why. A reputable contractor should be able to explain whether the proposed work controls water, stabilizes the wall, or does both.
Can You Still Finish the Basement?
Yes, but the foundation has to be boring first. After repair, monitor the wall through at least one wet season if the engineer or contractor recommends it. Keep the basement humidity around 30% to 50% with a properly sized dehumidifier, and route condensate to a drain or pump. Maintain gutters and downspouts instead of treating them as optional landscaping accessories.
When you frame, leave access to braces, anchors, cleanouts, sump pumps, and shutoff valves. Use basement-appropriate materials and follow local requirements for insulation, electrical work, ceiling height, and egress windows. Code rules vary by state and municipality, so the permit office is the final word. Never bury an inspection point behind permanent cabinets or drywall.
A finished basement should look clean, but it must also remain serviceable. Above grade is for the real estate photos. Below grade is where you actually live, and hidden foundation movement is not a design feature.
The Bottom Line
Horizontal wall cracks deserve measurement, monitoring, and an honest look at the soil and drainage outside. A narrow, dry, stable line may be manageable. A widening crack, bowed wall, offset concrete, or water intrusion needs professional evaluation before you finish the room.
Spend the money on diagnosis before spending it on drywall. Correct the water source, stabilize the foundation when required, and preserve access to the repair. Do this in the right order and your basement can become useful living space. Cover the warning signs first, and you may be paying to demolish your finished room a few years from now.



No letters yet — be the first guest to write.