If you're learning how to install wooden flooring on concrete, don't start with the boards. Start with the slab. Concrete can look dry and still push enough moisture to swell wood, curl edges, and ruin a nice weekend. In an older house, especially a basement or slab-on-grade room, the floor you want is only as good as the surface under it. I have torn out plenty of pretty floors that were installed over a slab nobody bothered to test. That mistake gets expensive fast.
The good news is that this is a very manageable DIY job if the slab is dry, flat, and sound. The bad news is that wood is less forgiving than laminate or vinyl, so the prep matters more than the saw work. Above grade is for the real estate photos. Below grade is where you actually live.
Check the slab before you buy the flooring
Before you spend a dollar on finish material, check the concrete for moisture, flatness, and cracks. A simple plastic-sheet test can tell you if the slab is sweating. Tape down a 2-foot square of clear plastic for 24 to 48 hours. If you see darkening under it or condensation on the concrete, you need to slow down and figure out why. A basic moisture test kit is cheap, and a more formal test is even better if the room has a history of dampness.
Flatness matters just as much. Most wood flooring wants the slab within about 3/16 inch over 10 feet, and some products are pickier than that. Use a long straightedge or a level and mark the high spots with chalk. High spots get ground down. Low spots get patched with a cementitious floor patch or self-leveling compound. Cracks that are hairline and stable are usually not a problem, but moving cracks or signs of seepage are a different conversation.
Choose the right wood and installation method
For concrete, engineered wood is usually the smarter call. Solid hardwood and concrete do not get along well unless the floor is built a certain way, and most older basements are not set up for that. Engineered planks handle changes in humidity better because the layers move less than a solid board. That does not make them waterproof. It just makes them more realistic for a slab.
You also need to pick the installation method. Floating floors are the easiest DIY option, especially with click-lock planks. Glue-down floors feel more solid underfoot and can be a good fit for wide planks, but the slab has to be flatter and drier. Nail-down only makes sense if you have a plywood subfloor over the concrete or a framed sleeper system. For most homeowners, the safest route is engineered wood with a vapor-rated underlayment or a glue-down system approved for concrete.
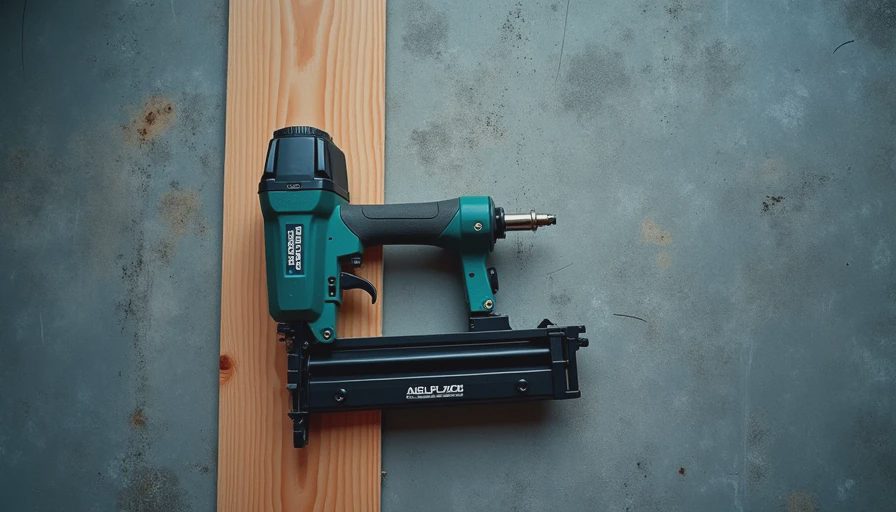
How to install wooden flooring on concrete without trapping moisture
This is the part people rush, and it is the part that gets them later. Once the slab passes your moisture check and is flat enough, vacuum it well and scrape off paint drips, drywall mud, and old adhesive. Then install the underlayment or adhesive system the flooring manufacturer actually calls for. Some floating floors want a thin foam pad with a vapor barrier. Others want separate 6-mil polyethylene underlayment. Do not assume every slab needs the same sandwich of plastic and foam, because some systems will trap moisture instead of managing it.
If you are gluing the floor down, use the right trowel size and work in small sections so the adhesive stays open long enough to bond. A urethane adhesive is common for wood over concrete because it stays flexible. Keep the room temperature steady, and keep the wood in the house for at least a couple days before installation so it can acclimate. Most manufacturers want the planks in the space for 48 to 72 hours, sometimes longer. Read that part. It is not optional.
Layout, cuts, and expansion gaps
The first row sets the whole job up or wrecks it. Snap a straight reference line, then check that the walls are actually straight before you trust them. Concrete rooms are rarely perfect rectangles. Leave an expansion gap around every wall, typically 1/4 inch, and more if the manufacturer asks for it. That gap gives the floor room to move when humidity changes. Baseboard or shoe molding hides it later.
Stagger end joints so the floor does not look like a ladder. A common target is at least 6 inches between end seams, but follow the plank instructions if they are stricter. Cut door jambs so the flooring slides underneath instead of butting into them. That small detail makes the finished work look like it belonged there all along. Use a tapping block and pull bar, not a hammer and wishful thinking.
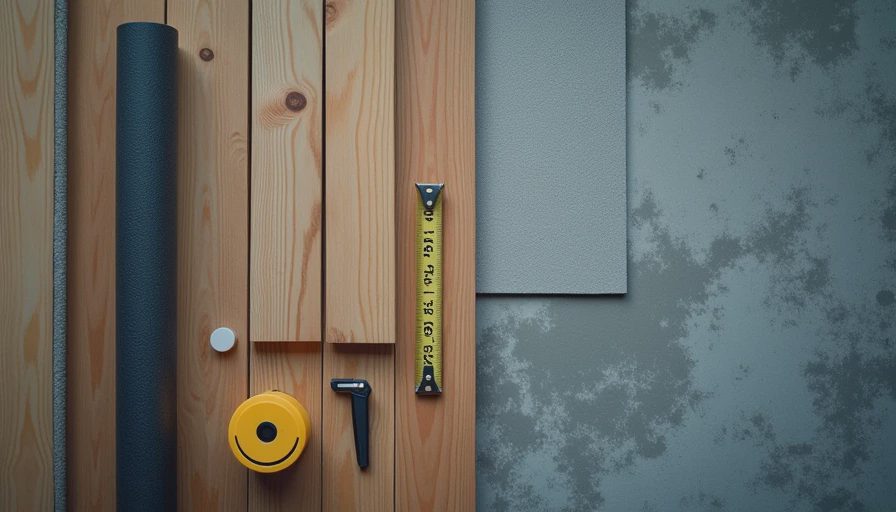
The mistakes that ruin a good floor
The big failure points are easy to name because I have seen them over and over. First, people skip moisture testing because the slab feels dry. Concrete can fool you. Second, they install solid wood on a basement slab and wonder why the boards gap, crown, or cup by spring. Third, they do not level the floor enough, so the planks bounce, squeak, or separate at the seams. Fourth, they forget the expansion gap and then pin the floor under cabinets or trim.
I once walked a finished basement where the owner had glued down a beautiful oak floor over a slab with no vapor barrier. It looked great for about one season. By the following summer, the edges were lifting and the finish had gone cloudy in the middle of the room. The tear-out cost more than the original material. That is the kind of lesson you only want to learn once.
What it costs and when to stop DIYing
For a typical 200 to 400 square foot room, engineered click-lock flooring can run roughly $3 to $8 per square foot for material, with underlayment, patch, and trim adding another dollar or two. Glue-down systems often cost a little more once you factor in adhesive and prep. If the slab needs serious grinding or leveling, the budget can climb fast. A dehumidifier, moisture meter, patch compound, spacers, and a good saw are part of the real cost too.
Once you understand how to install wooden flooring on concrete, the job is mostly discipline. Test the slab. Fix the flatness. Use the right wood. Leave room for movement. If the room stays dry and the concrete is reasonably true, this is a solid DIY project. If the slab is damp, cracked, or badly out of level, spend your money on prep before you spend it on oak. Do that, and the floor will outlast the weekend you put into it.

No letters yet — be the first guest to write.