Basement design software is useful when you are trying to turn a cold concrete box into a family room, office, bedroom, or combination of all three. I have walked through plenty of finished basements where the owner spent money twice because the first plan ignored a support post, furnace clearance, or low duct. Drawing the space before buying lumber will not solve every problem, but it exposes a lot of them while they are still cheap to fix.
The goal is not a pretty rendering for social media. The goal is a workable layout with accurate measurements, sensible traffic paths, enough electrical planning, and furniture that fits after drywall steals roughly 5 inches from each framed wall. Good basement design software gives you a place to test those decisions before you carry one sheet of drywall downstairs.
What basement design software should actually do
Start with a program that lets you draw an irregular room, not just a perfect rectangle. Most basements have mechanical rooms, steel columns, stair openings, bulkheads, floor drains, sump pits, and foundation jogs. If the software cannot represent those obstacles, its attractive 3D view is not worth much.
The important tools are a dimensioned floor plan, adjustable wall thickness, doors that swing correctly, windows, stairs, columns, and simple electrical symbols. A good program should let you switch between a top-down plan and a three-dimensional view. The plan catches measurement errors; the 3D view helps you see whether a sofa blocks the stair landing or a television ends up beneath a window.
RoomSketcher, Floorplanner, SketchUp, and Chief Architect Home Designer are common options with different learning curves and prices. Free tools can handle a basic rec room. Paid software becomes worthwhile when you need several rooms, multiple ceiling heights, saved revisions, or detailed cabinet and furniture layouts. Do not pay for photorealistic textures if the program cannot show a 7-foot-2-inch ceiling accurately.
Measure the basement before opening the program
Measure the concrete floor first, then verify the dimensions against the foundation walls. Older basements are rarely square. Record every projection, crack, pipe, cleanout, window, and door. Measure from two fixed corners to each obstruction so you can place it accurately in the drawing instead of estimating its location.
Ceiling height deserves special attention. Measure from the slab to the underside of the lowest joist, then mark ducts, beams, and plumbing that hang below it. A basement with 8-foot joists can lose several inches to a dropped ceiling, flooring, framing, and drywall. Put those layers into the model. A room that looks generous in an unfinished photo can feel cramped after the ceiling is finished.
Measure window openings, sill heights, and the distance from each window to the floor. If a bedroom is part of the plan, verify emergency escape requirements with your local building department. Egress rules vary, but they commonly address clear opening dimensions, window well access, and maximum sill height. Software can show the window; it cannot approve the permit.
Use the model to find expensive mistakes
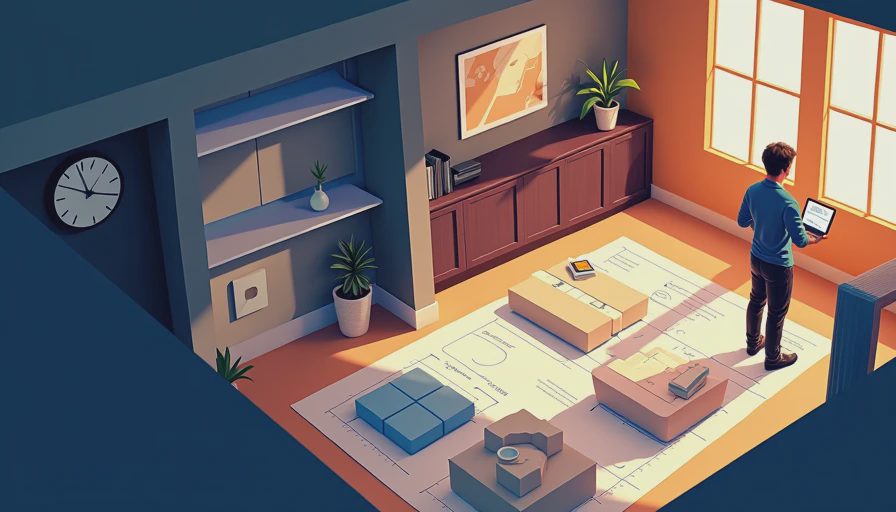
The best use of basement design software is running uncomfortable tests. Put a 36-inch-wide door at the bottom of the stairs and swing it open. Place a standard 84-inch sofa in the intended living room. Add a 30-inch-deep bar cabinet, then leave a practical walking path rather than squeezing people between furniture.
For a basement bathroom, draw the toilet, vanity, shower, and door swing at real sizes. A compact toilet may fit on paper while leaving no comfortable space in front of it. Mark the existing drain locations before choosing fixtures. Moving a toilet across a concrete slab can involve cutting concrete, changing the drain slope, and adding vent work. That is a very different budget from installing a fixture near an existing rough-in.
Do the same with the utility room. Keep service access around the furnace, water heater, electrical panel, sump pump, and shutoff valves. I once saw a beautiful basement plan that wrapped cabinets around a furnace. The cabinets looked great until the homeowner learned that a technician needed clear working space in front of the unit. The fix was a cabinet demolition job before the room was even finished.
Plan insulation, wiring, and lighting in layers
Basement design software is not a substitute for an insulation plan, but it helps you see where framing changes the usable room. Draw the foundation wall, insulation system, framed wall, drywall, and finished surface as separate layers when the program allows it. A 2-by-4 wall with rigid foam or another approved basement assembly can reduce the room by more than a simple sketch suggests.
Mark outlets on the plan instead of adding them as an afterthought. Put receptacles where a desk, television, treadmill, or workbench will actually sit. Show dedicated circuits for equipment that needs them, such as a freezer, sump pump, bathroom exhaust fan, or home theater gear. Electrical requirements differ by location and project, so use the drawing to communicate with the electrician rather than treating it as a permit set.
Lighting deserves a similar treatment. Recessed lights are not the only answer, especially under low joists. Use the model to test surface fixtures, wall sconces, and task lighting near a desk or workbench. Keep lights away from duct chases where access panels may be needed. A few extra fixtures are cheaper before drywall than after it.
Compare layouts before you commit
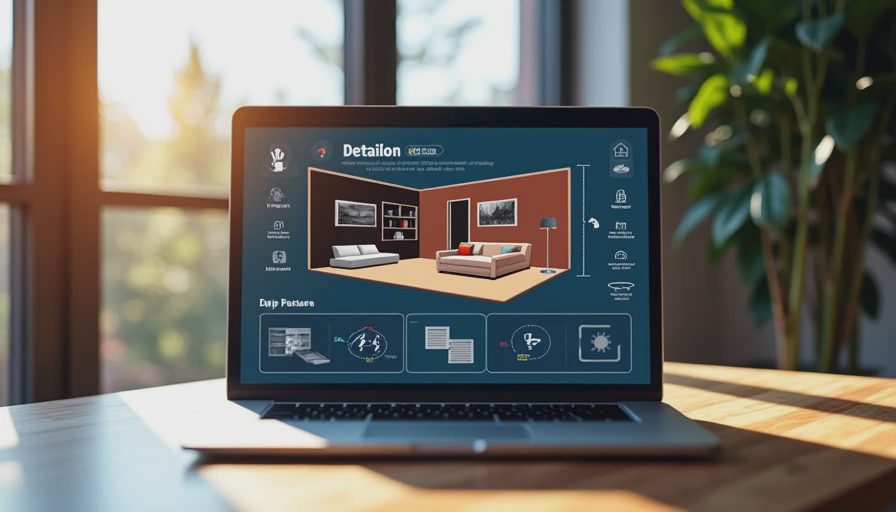
Create at least three versions of the plan. In the first, prioritize one large open family room. In the second, divide the space into a television room, office, and storage area. In the third, put the bathroom and utility functions near existing plumbing and leave the largest uninterrupted area for flexible use.
Then compare the plans using actual household behavior. Where will wet coats land? Can someone carry laundry from the stairs without crossing the television area? Will children run through the office to reach the bathroom? Can you move a replacement water heater through the finished doorway? These questions matter more than whether the rendering looks like a showroom.
A family room usually needs about 30 to 36 inches of clear walking space around major furniture. A desk may need 24 inches of chair clearance, while a small home gym needs enough room for the equipment and the movement around it. Enter those clearances into the drawing. A plan that works only when every chair is pushed against a wall is not a working plan.
Where software stops and field checks begin
A digital model cannot detect hydrostatic pressure, musty insulation, a foundation wall that bows inward, or a drain that backs up during heavy rain. Before framing, solve moisture problems and confirm the basement is suitable for finishing. Inspect cracks, wall staining, sump operation, grading outside, and downspout discharge. Covering a wet wall with insulation and drywall simply hides the evidence until the repair costs more.
The program also cannot confirm local code requirements. Ceiling height, bedroom egress, stair handrails, smoke alarms, carbon monoxide alarms, fireblocking, plumbing vents, and electrical work all deserve a conversation with the building department or qualified tradesperson. Code details can vary by state and municipality, particularly in older homes where existing conditions complicate the work.
Print the final plan and mark it on the concrete with chalk. Snap the proposed walls, doors, bathroom fixtures, and utility clearances full size. Walk through it for a day or two. If the chalk line makes the room feel too narrow, changing the software is free. Moving a framed wall after insulation and electrical work is not.
The bottom line
Use basement design software as a measuring and decision tool, not as a replacement for field judgment. Build the model from real dimensions, include wall and ceiling finishes, test furniture clearances, and preserve access to every mechanical component. Then verify moisture conditions and code requirements before framing.
The best plan is usually less ambitious than the first one. A dry, comfortable rec room with useful storage beats a crowded basement bedroom, bar, theater, and gym that nobody enjoys. Above grade is for the real estate photos. Below grade is where you actually live. Draw it carefully, mark it on the slab, and only then start buying materials.

No letters yet — be the first guest to write.