Basement planning software can save you from the kind of mistake that only becomes obvious after the drywall is up. A doorway lands behind the sofa, the bathroom door hits the vanity, or the new wall blocks access to the shutoff valve. I have seen all three. Before you buy lumber or rent a dumpster, use a digital plan to measure the slab, place the mechanical equipment, and test the room layout.
The software will not tell you whether your foundation leaks after a hard August storm. It will not replace a permit review or an electrician. It will do something valuable: let you make cheap mistakes on a screen instead of expensive mistakes with a saw in your hand.
What basement planning software should actually do
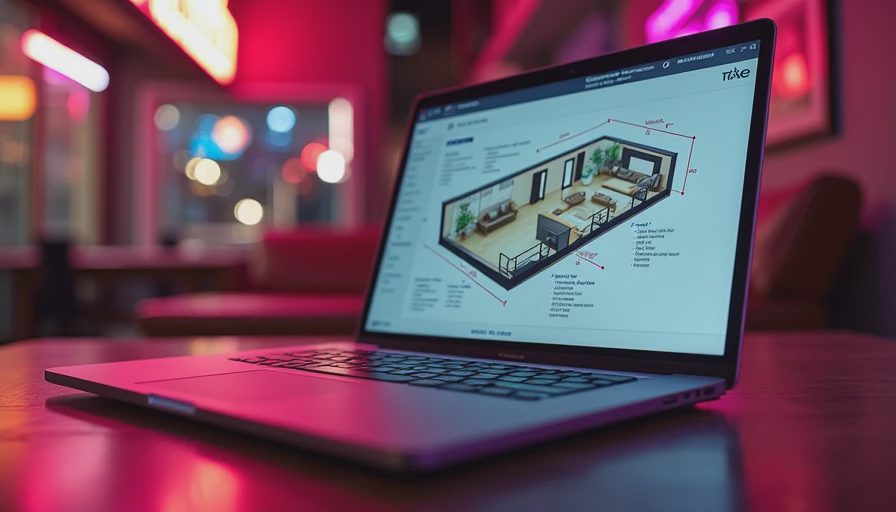
The useful programs start with a measured floor plan. You should be able to draw foundation walls, interior partitions, columns, stairs, windows, doors, ductwork, plumbing stacks, sump pits, and electrical panels. If the program only produces a pretty three-dimensional rendering, it is decoration, not planning.
Look for tools that let you enter exact dimensions in inches, switch between a two-dimensional plan and a 3D view, and create multiple versions of the same basement. A basic plan might show a family room and storage. A second version could add a bathroom. A third might reserve space for a future bedroom with an egress window.
The ability to label unfinished areas matters more than fancy furniture libraries. Mark the furnace clearance, water heater, cleanouts, drain access, and the path to the main shutoff. I leave service space around every machine because somebody will eventually need to replace it. A furnace is not a decorative object you can bury behind a wall.
Cost depends on the program. Free browser tools can handle a straightforward rectangle. Paid options often run from about $30 to $100 per year, while professional drafting packages cost considerably more and are usually unnecessary for a homeowner. Spend money on a laser measure before spending it on software.
Measure the basement before drawing anything
Basement planning software is only as accurate as the measurements you feed it. Start with the outside dimensions of the foundation, then measure each jog, bump-out, pier, and stair opening. Record ceiling height in several locations. Older slabs are rarely level, and a beam that measures 7 feet 2 inches at one end may drop to 6 feet 10 inches at the other.
Measure from the slab to the bottom of beams, ducts, pipes, and cable bundles. Take note of low points near the stairs and under the main floor framing. In many jurisdictions, finished habitable rooms have minimum ceiling-height requirements, but the exact rule and allowed exceptions vary by state and local code. Do not assume a low ceiling is acceptable because another basement in town has one.
Windows deserve their own measurements. Record sill height, opening width, opening height, and the distance from the window to the floor. A future bedroom generally needs an emergency escape and rescue opening, commonly called egress. The opening must meet local requirements for clear size, operation, and window-well access. A normal small basement window is not automatically an egress window.
Photograph every wall before you close it. Put a tape measure in the frame so the scale is obvious. Mark water stains, cracks, outlets, hose bibs, and floor drains on the plan. Software cannot detect a hairline foundation crack, but it can remind you where you buried it.
Use the plan to solve code and access problems
One reason basement planning software earns its keep is that it exposes crowded layouts. A bathroom needs more than a toilet symbol and a sink. You need door swing clearance, a usable path, venting, supply lines, a drain route, and access for repairs. If the main sewer line runs high across the room, gravity drainage may not work without a sewage ejector system.
Keep required access in mind around electrical panels, furnaces, water heaters, and sump pumps. Typical electrical-panel working space is about 30 inches wide and 36 inches deep, with additional height and clearance rules. Those numbers are common code references, not permission to build blindly; the adopted local code controls. Put the panel on the drawing, then draw the keep-clear zone around it.
Columns also need honest treatment. I once walked into a basement where a homeowner had framed around a steel post and left a sharp corner pointing into the walkway. The room technically existed, but every trip to the laundry area involved clipping a shoulder. A plan lets you compare a square chase, a built-in shelf, or a wider corridor before the problem is covered with drywall.
Compare layouts by walking through them
Do not judge a plan from the sofa symbol. Trace the route from the stairs to the furnace, from the entry to the bathroom, and from the family room to the storage area. Imagine carrying a replacement water heater through the space. Imagine moving a couch around the stair landing. If the route only works on paper, it is not a working basement.
Basement planning software is especially helpful for furniture scale. Draw the actual sectional, ping-pong table, desk, or treadmill instead of using generic icons. A pool table can consume roughly 16 feet by 13 feet when you include cue clearance, depending on table size. That can turn a promising recreation room into a narrow hallway with a table in it.
Test door swings in both directions. A bathroom door that opens into a corridor steals useful width and creates a collision point. Pocket doors can help, but they require a suitable wall and do not solve every privacy or sound problem. For storage, draw shelving at its real depth. Twelve inches of shelves along two walls can remove nearly two feet from the usable width.
Save the best two or three versions and compare them in person with painter's tape on the concrete. Mark proposed walls, the edge of furniture, and the door swings. A ten-minute walk through a taped layout is often more revealing than an hour rotating a 3D model.
Plan moisture control and utilities first
A finished basement is not a moisture-management project with a living room added later. Before framing, confirm that gutters discharge away from the foundation, grading moves water away from the house, and the sump system works during a test. Look for efflorescence, damp joints, musty odors, and fresh staining after rain.
Use basement planning software to map drainage and utility routes before selecting finishes. Mark the sump pit, cleanouts, floor drain, plumbing rough-ins, and any proposed dehumidifier drain. Keep storage away from the sump so a box collapse cannot block the pump. If you need a new bathroom, sketch the shortest practical drain route, then have a qualified plumber confirm slope, venting, and pump requirements.
Insulation choices also belong in the early plan. Concrete walls are cold and can transfer moisture. Many basement assemblies use rigid foam or closed-cell approaches, but the right vapor-control strategy depends on climate, wall condition, local code, and the framing system. Do not staple ordinary fiberglass batts directly against a damp foundation wall and hope paint will fix it. That is how hidden mold gets started.
A practical workflow for your basement plan
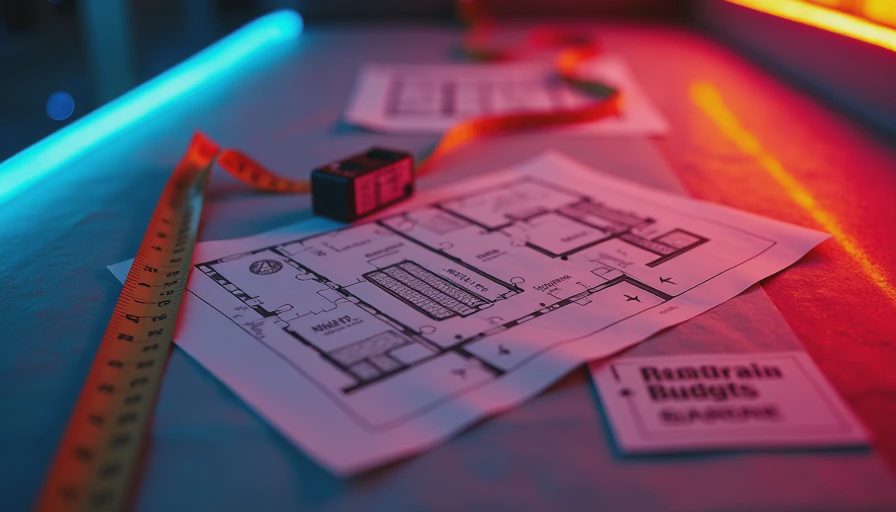
Begin by drawing the existing basement exactly as it is, including ugly pipes and the old workbench. Next, create a no-finish layer showing equipment access and moisture concerns. Then add walls, doors, windows, and room labels. After that, place plumbing fixtures and electrical locations. Only when those items work should you add furniture, flooring, paint, and lighting.
Print the plan at a readable scale and write questions directly on it. Is the bedroom window large enough? Can a technician remove the water heater? Does the bathroom door clear the toilet? Where will a return-air grille go? Take that marked-up drawing to your building department before ordering materials. Requirements for egress, smoke alarms, insulation, electrical circuits, and ceiling height can differ locally.
Keep a materials estimate beside the drawing. Count wall length, not just room area. A 500-square-foot basement can still need 150 or more linear feet of framing, plus corners, blocking, doors, soffits, and waste. Add separate allowances for insulation, drywall, flooring, trim, electrical supplies, plumbing, and permits. A rough plan that misses a $1,500 sewage ejector or a $2,000 egress window is not a budget plan.
The bottom line is simple: use basement planning software to test decisions, not to make a wet basement look finished. Measure carefully, preserve service access, verify code details, and walk the layout with tape on the slab. Above grade is for the real estate photos. Below grade is where you actually live, so plan the part nobody sees before you build the part everybody notices.
No letters yet — be the first guest to write.