
A DIY basement transformation can add a family room, office, gym, or bedroom without moving the exterior walls of your house. It can also create a very expensive mold box if you cover wet concrete, trap humid air, or skip the permits. I have worked on more than 300 basements, and the mistakes are remarkably consistent: homeowners start with drywall instead of water control, frame too close to the foundation, and discover the problem after the furniture is in.
The right order is not complicated, but it is not glamorous. Test the basement, solve water problems, plan the layout, rough in utilities, insulate, frame, and only then close the walls. Above grade is for the real estate photos. Below grade is where you actually live.
Start With Water, Not Walls
Before planning a DIY basement transformation, spend at least two rainy weekends inspecting the space. Look for standing water, white mineral deposits, damp cardboard, rust on the bottom of metal posts, and dark lines where the slab meets the wall. A basement can smell dry in January and still take on water during spring rain.
Check the sump pump by pouring water into the pit until the float activates. The pump should discharge well away from the foundation, and the outlet should not depend on a loose extension cord. A backup pump or battery system is useful if your basement contains valuable equipment, but you do not need a $3,000 system for a dry basement with a reliable primary pump.
Hairline cracks in poured concrete are common. A crack that grows, leaks, or has a visible offset deserves a structural opinion before you frame. Do not paint over it and call the wall waterproof. Exterior grading, downspouts, interior drainage, crack injection, and sump improvements each solve different problems. The cheapest fix is often moving a downspout 10 feet farther from the house.
Measure the Space and Check Code Early
A successful DIY basement transformation starts with a tape measure and your local building department, not a flooring sample. Record ceiling height from the slab to the lowest obstruction, including beams, ducts, pipes, and wires. A finished ceiling commonly needs about 7 feet, but requirements vary by location and room type. Get the actual local rule before ordering materials.
Bedrooms usually require an emergency escape and rescue opening. A small hopper window does not automatically qualify. Egress rules commonly address opening width, height, net clear opening, sill height, and window-well clearance. If the sill is too high, cutting the foundation and installing a well can cost several thousand dollars. That expense needs to be in the plan before the room becomes a bedroom.
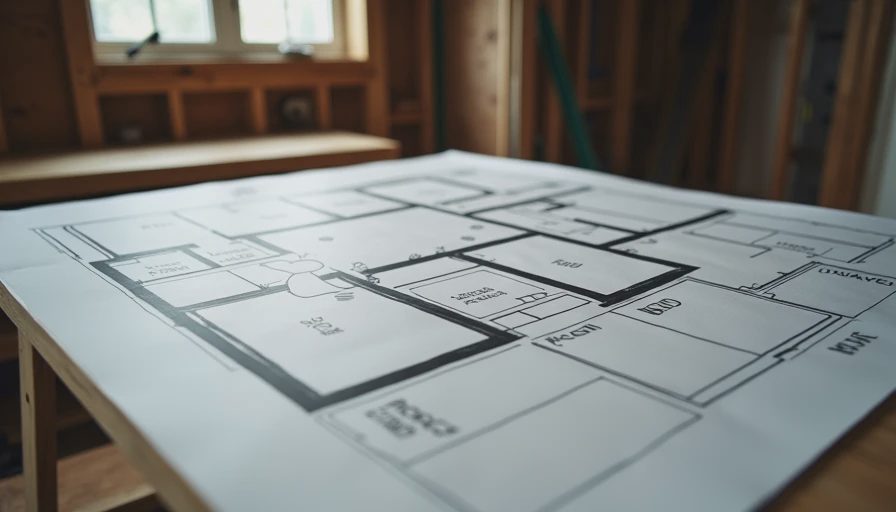
Draw the walls on graph paper. Mark the furnace, water heater, cleanouts, shutoff valves, electrical panel, sump pit, posts, and any low ductwork. Leave access panels where equipment needs service. A finished room that blocks the main water shutoff is not finished correctly; it is a future demolition project.
Insulation and Framing Details That Matter
For a DIY basement transformation, the foundation wall is the cold side of the assembly. In many climates, closed-cell spray foam or rigid foam board can provide a continuous thermal layer, while a framed wall adds room for wiring and a flat drywall surface. Foam products differ in thickness, fire rating, and installation requirements, so follow the product instructions and local code.
Do not automatically install interior polyethylene over basement walls. In many below-grade assemblies, the wrong vapor barrier traps moisture between the concrete and finished wall. The correct vapor-control approach depends on climate, insulation type, and code. A building official or experienced insulation professional can catch an assembly mistake before it is hidden.
Use pressure-treated lumber where wood contacts concrete, and separate framing from the foundation with an approved sill gasket or similar capillary break. Keep framing slightly inside the insulation plane rather than pressing bare studs against a damp wall. Leave enough room around electrical boxes and plan for plumbing access. A two-inch gap in the wrong place can be the difference between easy drywall work and cutting every panel around a pipe.
Electrical, Plumbing, and Ceiling Planning
Electrical work is where a DIY basement transformation can become unsafe quickly. Map circuits before adding outlets. A basement living area often needs general-purpose receptacles, dedicated circuits for heavy equipment, lighting, and ground-fault protection in locations required by code. Kitchens, wet bars, bathrooms, laundry equipment, and sump pumps can have separate requirements.
Do not bury junction boxes behind drywall, and do not run wiring through future screw paths without protection plates. Recessed lights are not always the best answer under floor joists packed with plumbing. Surface-mounted fixtures, slim LED lights, or a carefully planned soffit can provide better service access. Plan the ceiling around the lowest obstruction instead of pretending every inch of headroom will remain available.
Bathrooms need more than a toilet and a nearby water line. Confirm drain locations, venting, cleanouts, and whether the slab must be opened. An upflush toilet can reduce demolition, but it is not a magic solution and still needs proper venting and maintenance access. Call a licensed electrician or plumber for work outside your skill level. That is cheaper than correcting a hidden safety or drainage problem.
Choose Materials That Survive Basement Life
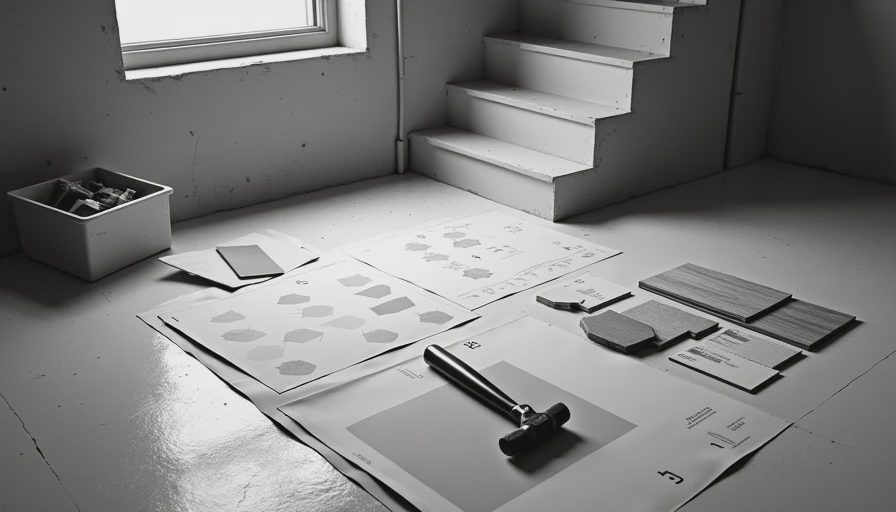
The best DIY basement transformation uses materials that tolerate small temperature swings and occasional humidity. Vinyl plank flooring is popular because it handles minor moisture better than solid hardwood and can be cleaned easily. Carpet tile allows individual damaged sections to be replaced, while engineered wood requires more careful moisture control and manufacturer-approved installation.
Use moisture-resistant drywall where appropriate, but do not treat it as waterproof. Keep drywall off the slab by about half an inch, using spacers while fastening it, then hide the gap with baseboard. For partitions, mineral wool can improve sound control and fire performance, while fiberglass batts are less expensive when installed correctly. Compression, gaps, and missing backing reduce the value of any insulation.
A basement bathroom needs a real exhaust fan vented outdoors, not into a joist cavity. A dehumidifier with a hose drain can keep humidity near the 30% to 50% range that is generally comfortable for a finished home. Give it a clear drain route and enough clearance for airflow. A cheap humidity monitor is useful insurance; put one near the sump and another in the finished area.
A Practical Order of Operations
For a manageable DIY basement transformation, finish one zone before attacking the entire floor. First clean and repair the slab, solve exterior drainage, and verify the sump. Next finalize the layout, apply insulation, frame walls, and rough in electrical and plumbing. Schedule inspections before insulation and drywall if your jurisdiction requires them.
After rough-in approval, install insulation, hang drywall, tape, and paint. Install trim before the final flooring when the flooring manufacturer recommends it, but follow the specific product instructions. Keep a photo record of every wall before closing it. Photograph outlets, pipes, blocking, and shutoffs with a tape measure in the frame. Those pictures are valuable when you need to mount a cabinet five years later.
Budget realistically. A basic 600-square-foot finish can easily run from $15,000 to $35,000 in materials and subcontracted work, while drainage repairs, a bathroom, egress windows, and upgraded electrical can push the number much higher. The savings come from doing clean, repeatable work yourself, not from buying the cheapest moisture-sensitive materials.
The bottom line is simple: do not cover a basement problem because the calendar says it is time for drywall. A durable DIY basement transformation is built around water management, code-aware planning, service access, and materials suited to below-grade conditions. Do the inspection first, leave room for the systems you will need to reach, and spend money where failure would mean demolition. Build it once. Then use the space.

No letters yet — be the first guest to write.