A basement design program is useful only if it helps you make construction decisions before materials arrive. I have seen homeowners draw a beautiful media room, then discover the furnace needs service clearance, the bedroom has no legal escape window, and the ceiling drops to 6 feet 5 inches under a duct. That is not a design problem. That is an expensive demolition problem.
Start with the basement as it exists: concrete floor, foundation walls, support posts, plumbing, mechanical equipment, stair location, windows, cracks, and any signs of moisture. Above grade is for the real estate photos. Below grade is where you actually live, so the plan needs to survive humidity, furniture delivery, code inspection, and a teenager dragging muddy shoes across the floor.
What a Basement Design Program Should Show
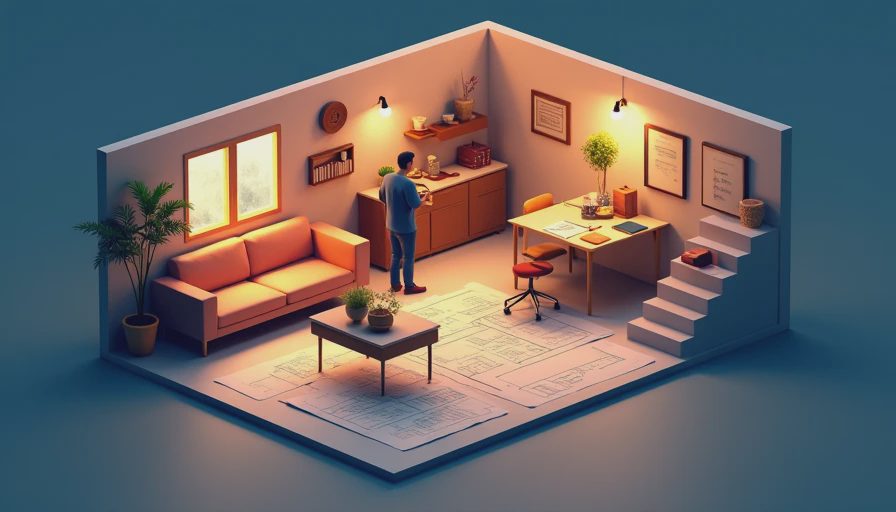
A useful basement design program is not just a colored floor plan. It should show measurements, proposed walls, door swings, ceiling heights, plumbing locations, electrical circuits, lighting, supply vents, return air, and the route to every piece of equipment that must remain accessible. Measure at several points because older foundations and poured walls are rarely perfectly square.
Draw the main rectangle first, then mark every obstruction. A 4-inch plumbing stack can steal more space than expected once you frame around it. A steel support post usually needs a framed column, which can turn a comfortable walkway into a shoulder-banging tunnel. Leave at least 36 inches for important walking paths when the room allows it, and do not place a door where the open slab cannot accommodate furniture.
Include the stair width and landing dimensions. Many plans look fine until someone tries to carry a sofa downstairs. Keep room labels practical: family room, office, storage, bathroom, bedroom, mechanical. Fancy names do not fix bad circulation. A program that lets you switch between a complete overview and a dimensioned construction view is worth paying for; a free app with attractive renderings is not automatically useful.
Solve Moisture and Ceiling Problems First
Before any basement design program gets detailed, confirm that the basement is dry. Check the floor after heavy rain, inspect the sump pit, look for white mineral deposits on masonry, and run a dehumidifier for several days. A musty smell is not a finishing style. It usually means moisture is entering through the slab, walls, plumbing, or humid air condensing on cold surfaces.
Do not bury a leak behind drywall because the drawing says the wall is finished. Repair active water problems first. Depending on the cause, that could mean grading soil away from the foundation, extending downspouts, sealing a small crack, improving a sump discharge, or calling for a more serious drainage evaluation. Interior paint marketed as waterproofing is not a substitute for controlling water outside.
Then measure from the concrete floor to the underside of joists, ducts, beams, and pipes. Building codes vary by location, but finished habitable rooms commonly require a minimum ceiling height near 7 feet, with limited exceptions for beams, ducts, and short areas. Verify local rules before framing. Lowering a floor to gain height can involve underpinning and structural engineering; it is not a weekend trenching project.
Place Bedrooms, Bathrooms, and Storage Correctly
A basement design program should identify which rooms need windows and which only need borrowed light. A sleeping room generally needs an emergency escape and rescue opening, commonly called egress. Requirements vary, but officials typically review clear opening size, sill height, window well dimensions, and ladder access where the well is deep. A small hopper window may provide daylight without providing a legal exit.
Plan the bathroom near existing drain lines when possible. Moving a toilet across the basement can require breaking concrete, installing a new trap and vent arrangement, and adding a sewage ejector system. That can turn a $6,000 bathroom allowance into a $12,000 or $15,000 plumbing job. A shower also needs adequate slope, waterproofing, and headroom; squeezing it beneath a low beam makes the room frustrating every day.
Put storage around the mechanical room rather than treating storage as leftover space. Keep furnace, water heater, electrical panel, cleanouts, sump equipment, and shutoff valves reachable. Many mechanical appliances need working clearance in front and above them. A framed wall that blocks a technician can force future demolition, even if the inspector accepts the original layout.

Plan Insulation, Wiring, and Lighting Together
Concrete foundation walls are cold and can transmit moisture. The correct insulation approach depends on your climate, wall condition, and local code. Many basements use rigid foam or closed-cell spray foam against foundation walls, followed by a framed wall, but thickness and vapor-control requirements differ. Do not install fiberglass batts directly against damp masonry and call the job finished. That assembly can hold moisture where you cannot see it.
Treat the electrical plan as part of the room layout. Mark dedicated circuits for a bathroom, sump pump, refrigerator, freezer, workshop tools, or entertainment equipment. GFCI protection is commonly required in damp locations and near utility areas, while smoke and carbon monoxide alarms must follow local placement rules. Put receptacles where furniture will actually sit instead of scattering them evenly across a drawing.
Use several lighting layers. Recessed fixtures are clean, but basement joists often contain plumbing and ducts that make every can light a wrestling match. Low-profile surface fixtures, wall sconces, and task lighting can solve the same problem with fewer holes. Keep lights away from access panels and use separate switches for the family room, stairs, bathroom, and storage areas.
Compare the Plan Against Real Construction Costs
A basement design program should carry a rough budget beside the drawing. Basic framing, insulation, drywall, flooring, trim, lighting, and paint can easily run $25 to $60 per finished square foot when hired out, with bathrooms, egress windows, structural work, and extensive electrical changes pushing the total higher. DIY labor can reduce the bill, but materials, permits, tool rental, and mistakes still count.
Price the unpleasant items before the fun items. A new egress window can cost several thousand dollars after excavation and installation. Concrete removal for plumbing can add substantial labor. A sump backup system, moisture repairs, or a required electrical service upgrade can change the project completely. Leave a contingency of at least 10 to 20 percent for hidden conditions in older homes.
Create two versions of the plan: the full wish list and the buildable first phase. Maybe the first phase finishes the family room, bathroom rough-in, storage, and electrical work while the future office stays unfinished. This protects the budget without forcing you to tear out completed walls later.
A Practical Review Before Framing
Print the plan and walk the empty basement with a tape measure. Stand where each wall will go. Open every proposed door. Mark the footprint of a sectional sofa, desk, toilet, shower, and storage shelf with painter's tape on the floor. If the route feels cramped with tape, drywall will not improve it.
Use the basement design program to check four questions: Can furniture reach every room? Can a plumber, electrician, or HVAC technician service equipment? Can occupants escape safely from sleeping rooms? Can you inspect for moisture without removing finished walls? If any answer is no, redraw before buying lumber.
Finally, take the plan to your building department or permit reviewer before construction. Code rules for ceiling height, egress, stairs, insulation, smoke alarms, electrical work, and plumbing vary by state and municipality. A contractor can help, but the homeowner still needs to understand what is being covered. Save the final drawing, inspection notes, product specifications, and photos of work behind the walls.
The bottom line is simple: use a basement design program to expose conflicts, not to produce a pretty rendering. Measure the ugly parts, solve water first, protect mechanical access, and price code-required work before choosing flooring. Do that, and your lower level can become useful space instead of the project you finish twice.

No letters yet — be the first guest to write.