How to Lay Insulation in Ceiling (The Right Way, From a Basement Contractor)
I've finished more than 300 basements, and the one question that comes up almost every time is whether to bother with the ceiling. When you're standing on a concrete slab looking up at a tangle of pipes, wires, and ductwork, insulation up there feels like a waste of time. It's not. Knowing how to lay insulation in ceiling cavities under a living room or a kid's bedroom is a big part of making the space below usable. Heat rises, sound travels, and the floor joists are the only thing between your basement and the rest of the house.
Why the Basement Ceiling Is Different
You insulate a basement ceiling for two reasons: temperature and sound. If the space above is unconditioned — a garage or crawlspace — you're leaking conditioned air and getting drafts. If it's a bedroom or living room, the problem is noise. A bare 2x8 floor joist transfers every footstep and chair scrape straight into the basement. Drywall alone won't stop that.
Run the numbers first. A 2x8 joist at 16 inches on center leaves about 7.25 inches for insulation. That's enough for R-19 fiberglass or R-21 mineral wool. For sound, use dense mineral wool batts — roughly $0.90 to $1.10 per square foot versus $0.55 for fiberglass. Worth it if you have a theater or workshop down there.
Before You Buy, Measure Twice
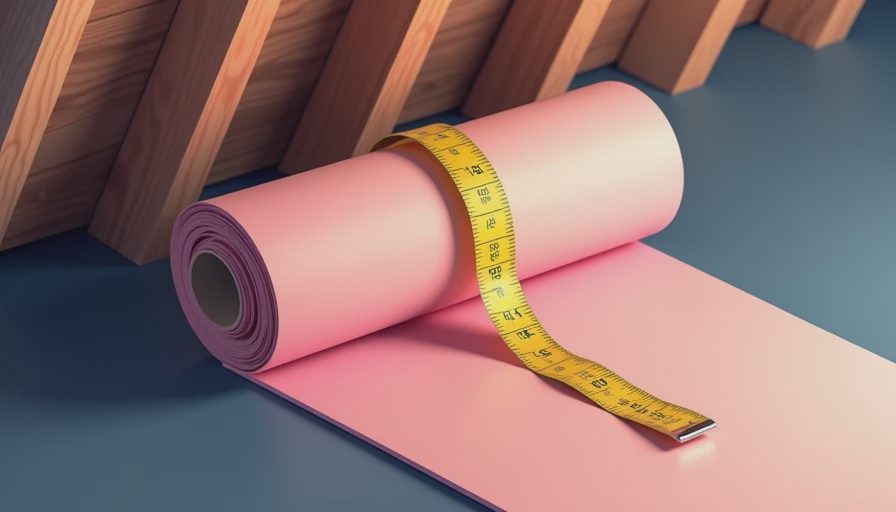
Measure your joist depth and clear gap before getting to the store. Standard 16-inch framing gives about 14.5 inches clear. Engineered I-joists or 19.2-inch spacing change the size. Buy batts that match the width. Stuffing a wider batt into a narrower cavity compresses it and cuts the R-value.
While you're up there, check for recessed lights not rated for insulation contact. Keep insulation at least three inches away from them. If you see moisture stains on the subfloor above, fix the leak first. Insulation doesn't stop water; it just holds it against the wood.
How to Lay Insulation in Ceiling, Step by Step
Here's the installation, plain and simple. Put on a dust mask, safety glasses, and long sleeves. Fiberglass and mineral wool both itch.
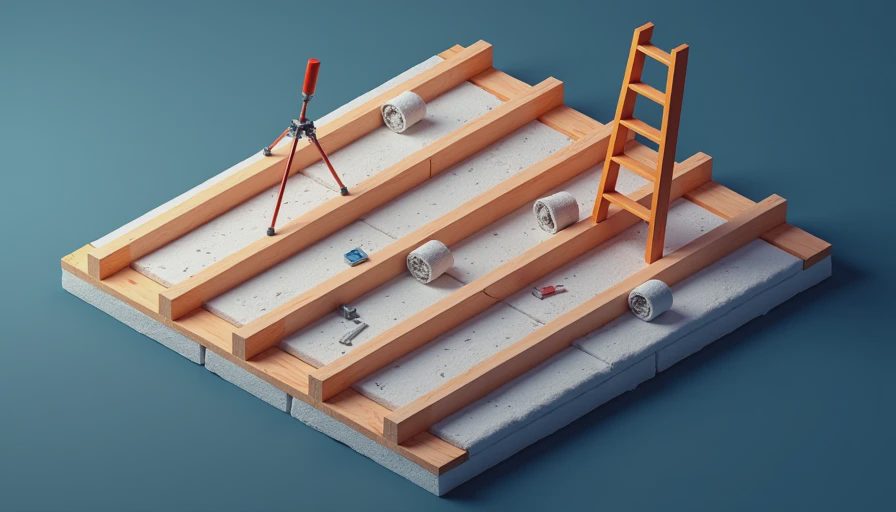
Start at one end and work across. For paper-faced fiberglass, push the batt into the cavity so the paper faces the subfloor above. The paper acts as a vapor retarder. Center its flanges over the joist bottoms so you can staple them later. Unfaced batts don't need orientation, but they do need support so they don't sag.
Push the batt in gently from side to side — don't compress it. Around pipes and wires, split the batt lengthwise and tuck it behind the obstruction. For mineral wool, the batt's friction holds it for now, but you'll still want staples or wire.
A pro tip: use a long straightedge or a scrap of plywood to push the batt into the cavity evenly. This keeps it from bunching at the far side and leaves a flat surface for drywall later.
Staple Flanges and Seal the Gaps
Fold the paper flanges over the joist's bottom edge and staple every six to eight inches. For unfaced batts, crisscross nylon twine between joists or use insulation support rods. These run about $1 each and stop sagging over time.
Then inspect every cavity with a flashlight. Gaps around wires, pipes, and boxes kill your R-value. Seal the edges with low-expanding spray foam. Don't use regular expanding foam — it can deflect the joists. And if you're mounting anything to the ceiling later, make sure it doesn't push the insulation out.
Common Mistakes to Avoid
The most common mistake is compressing the insulation to fit around wires, pipes, or ductwork. Compressed fiberglass loses a big chunk of its R-value, so your ceiling won't do its job. Second, people skip the support rods with unfaced batts, and six months later the batts sag and fall out. Third, they staple the paper facing on the wrong side, which traps moisture. I've seen all three in real basements, and all three are easy to fix if you catch them during installation. Also, don't run recessed lights that aren't IC-rated, and don't leave gaps at the edges. Air moves through tiny cracks and takes the heat with it.
The Vapor Intuition Trap
Basement ceilings usually don't need a separate vapor barrier if the space above is heated. If the floor above is a cold garage, put the vapor retarder on the warm side — meaning it faces down into the basement. Get it backwards and you'll trap moisture in the subfloor, which I've seen rot out. When in doubt, use unfaced mineral wool and rely on air sealing. Check local code before adding a smart vapor retarder.
The Bottom Line and What It Costs
For a typical 20x30 basement, you're covering about 600 square feet. Fiberglass runs around $330 total; mineral wool for sound is more like $550 to $650. Support rods, staples, and foam add another $50. Plan on a full weekend for a first-timer.
So yes, do this. If I had to choose between insulating the walls or the ceiling, I'd take the ceiling first — especially if any part of it is over a garage or if you want to watch a movie without hearing everyone upstairs. This is how to lay insulation in ceiling without making a mess you'll regret. Measure right, don't compress anything, seal every gap, and your basement will actually work.


No letters yet — be the first guest to write.