If you are shopping for vinyl flooring for uneven floors, start with the part nobody wants to hear: vinyl is forgiving, but it is not a miracle cure for a bad slab. In a basement, the floor usually has a little wave to it, a few humps from patch work, or a low corner where the concrete settled and nobody bothered to fix it. That does not automatically kill the project. It just means you need to know how flat is flat enough before you buy boxes of plank and a box of regret.
What Uneven Really Means
A lot of homeowners call a floor uneven when it is really just not perfect. What matters is flatness. Most rigid vinyl products are pretty clear about that. A common requirement is no more than 3/16 inch of variation over 10 feet, or 1/8 inch over 6 feet. Some products are stricter. If the plank maker says one thing and the box insert says another, follow the tighter number. I have seen people blow a weekend installing over a slab that looked fine until the click seams started popping at the hallway transition.
The tools are simple: a 6-foot level or straightedge, a pencil, and a flashlight. Drag the straightedge across the room and mark humps and dips. High spots matter more than low spots because vinyl will ride over a hump and telegraph that ridge to every board you install. Low spots are easier to fill. If you are seeing a dip you can drop a marble into, that is not close enough.
When vinyl flooring for uneven floors is the right call
This is the point where a floating rigid-core floor earns its keep. If the slab is dry and the floor is within the manufacturer’s flatness spec, a good click-lock plank can handle small imperfections better than tile or glued-down sheet vinyl. That is why vinyl flooring for uneven floors shows up in so many basement remodels. It is faster than ripping out concrete and cheaper than trying to make a rec room slab look like a showroom.
The catch is the word small. A floating floor can bridge tiny waves, not a roller coaster. Glue-down vinyl wants a flatter base, and ceramic tile wants even more. If you are trying to cover a slab with a half-inch belly in the middle of the room, the plank is not the fix. The fix is leveling compound, grinding, or both. Also, do not stack random foam underlayment under a product that already has an attached pad. Too much cushion lets the joints flex, and flex is what cracks click systems over time.
Some of the rigid-core lines sold at Home Depot and Lowe’s, including LifeProof, SmartCore, and Pergo styles, advertise easy residential installs for exactly this kind of room. That does not mean they all perform the same way. Check the flatness rule, the moisture rule, and the approved underlayment rule before you trust the box.
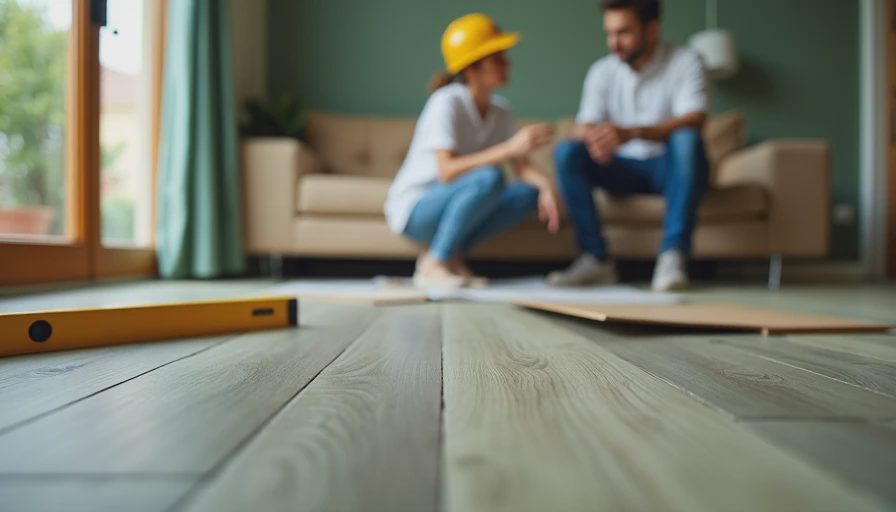
How to fix the slab before the planks go down
If the floor is out of spec, start with the concrete, not the flooring. Grind down the high spots with a diamond cup wheel and a vacuum attachment, then patch the low spots with a cement-based floor patch or self-leveling underlayment. For shallow dips, a feather-finish patch works fine. For a room with multiple low areas, self-leveling is usually the cleaner move. A bag of quality self-leveler usually runs $35 to $60, and primer adds another $15 to $25. That is not cheap, but neither is tearing out a bad install after the holidays.
Prep matters as much as the product. Concrete dust will ruin bond. Primer matters because self-leveling compound does not like dry, thirsty slabs. Mix it exactly to the water ratio on the bag, pour fast, and move it with a gauge rake or smoother. I have watched people try to save a bag by making it thick. That does not save anything. It leaves ridges, trowel marks, and a floor that looks like somebody poured oatmeal in a hurry.
If you are not sure where to stop, use a 6-foot level again and work the slab until the worst spots are inside the spec on the box. In a basement family room, that is usually the difference between a floor that clicks together cleanly and one that gets noisy every time someone walks across it in socks.
Basement mistakes that wreck vinyl later
Water is the first one. A dry-looking slab can still pass moisture through it, especially in an older basement after a wet spring. You do not need laboratory gear for a basic check. Tape a square of plastic to the slab for a day or two and look for condensation or darkening underneath. If you already know the basement gets damp enough to run a dehumidifier all summer, leave the dehumidifier in the plan. Vinyl tolerates humidity better than carpet, but standing moisture underneath any floor is trouble.
The second mistake is ignoring expansion space. Floating floors need a gap at the perimeter, usually around a quarter inch, so the planks can move with temperature swings. That gap gets covered by baseboard or shoe molding. If the planks are jammed tight against drywall or door jambs, they can buckle. I have seen that happen in finished basements where somebody was trying to be neat and skipped the gap.
The third mistake is assuming one room condition applies to the whole house. A front bedroom on wood framing and a basement slab are not the same animal. In the basement, check door thresholds, stair noses, and whether one room sits a little lower than the next. Those transitions decide whether the floor feels finished or just installed.

A practical install path for one room
Here is how I would do vinyl flooring for uneven floors in a normal 300 to 500 square foot basement room. First, clear the space and check moisture. Second, map the slab with a straightedge and mark every hump and dip. Third, grind the highs, patch the lows, and let the patch cure fully. Fourth, lay the flooring dry for a few rows to see how the seams behave at the worst spot. If the click joints look stressed before you even start, the prep is not done.
On a decent basement job, the prep materials can run anywhere from a couple hundred bucks to more than that if the slab needs serious leveling. I once worked a 420-square-foot basement where a 3/8-inch sag near the wall needed two bags of patch, three bags of self-leveler, primer, and a long afternoon with a grinder. Material cost stayed under $300 before the plank went down, and that was still cheaper than living with a hollow spot that would have telegraphed every step. The planks themselves are the bigger number, usually somewhere around $2.50 to $5.50 per square foot for decent rigid-core product, depending on wear layer and brand.
Bottom line: vinyl flooring for uneven floors works when you treat the concrete like part of the project, not an obstacle to ignore. Fix the humps, fill the dips, keep moisture under control, and use a floating plank that matches the slab’s real condition. Do that, and you get a basement floor that looks good and stays quiet. Skip the prep, and you will be back down here pulling boards apart while the rest of the house is watching football above you. Above grade is for the real estate photos. Below grade is where you actually live.


No letters yet — be the first guest to write.