If you are adding a bath below grade, basement bathroom rough plumbing is the part that decides whether the project feels smart or stupid six months later. The tile, vanity, and paint are the easy part. The hard part is getting the drain lines, venting, and any ejector system laid out so you do not end up jackhammering a finished floor because the toilet sits six inches off or the shower trap cannot reach the main stack. Above grade is for the real estate photos. Below grade is where you actually live.
Start with the bathroom location, not the pretty part
I always tell homeowners to stand in the basement with a tape, a marker, and the sewer line location before they start thinking about finishes. The cheapest bathroom is the one that lands close to the existing stack, water heater, or laundry drain, because every extra foot of pipe and concrete cutting adds labor. In a lot of older homes, the best spot is not the corner with the most headroom. It is the spot that keeps the toilet, shower, and lavatory within a sensible run of the main drain. If you move the toilet too far, the slope gets harder to maintain and the ceiling space for venting gets tighter. If you chase the prettier layout first, basement bathroom rough plumbing turns into a geometry problem with a saw blade.
A good rough-in starts with floor plan lines, not fixture shopping. Mark the finished wall lines on the slab, then mark the center of the toilet, shower, and sink. From there, you can figure out where the waste line needs to turn and where the vent can rise without fighting a beam or duct. That little bit of planning saves a lot of concrete dust.
What basement bathroom rough plumbing actually needs
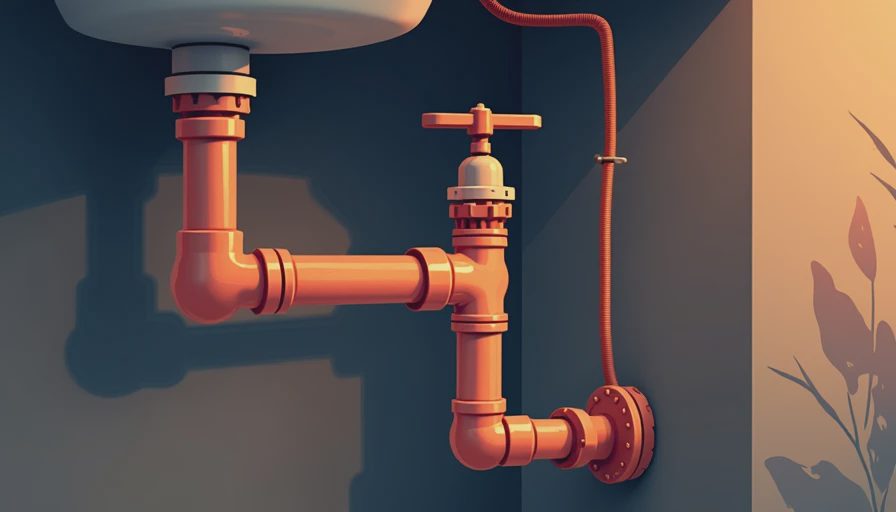
A basic basement bath usually needs three waste runs and one vent strategy. The toilet is commonly on a 3-inch drain, the shower is typically 2 inches, and the lavatory is usually 1.5 or 2 inches depending on the layout and local code. The trap arm slope is normally a quarter inch per foot on small-diameter horizontal runs, and that slope has to stay consistent once the floor gets framed and finished. If you lose slope because someone guessed at the height, the drain becomes a slow-motion clog.
The toilet flange location matters more than most people think. Measure from the finished wall, not the raw stud line, because drywall and wall tile eat space fast. A standard toilet rough-in is often 12 inches from the finished wall to the flange center, but you should confirm the fixture and the actual wall thickness before the concrete gets patched. Shower drains are more forgiving, but the trap still has to be where the pan or tile base expects it. For the sink, I like to keep the trap and stub-outs accessible in the vanity cabinet instead of burying them where a future leak ruins the cabinet floor.

When basement bathroom rough plumbing needs an ejector pit
If the bathroom sits below the level of the main sewer line, gravity alone will not move the waste uphill. That is when you need a sewage ejector system. It is not fancy, and it is not a place to get cute with an upflush toilet if you have room for a real pit. The pit collects the discharge, then a pump sends it up to the building drain. In a dry basement, the pit is still the honest answer when the toilet and shower are lower than the sewer exit.
This is also where a lot of bad installs happen. A homeowner sees one clean bathroom on the internet and assumes every basement can copy it. Not true. If the line has to cross the slab, under a footing, or around a beam pocket, you need to know that before any concrete gets poured back. You also want access to the pit lid after the floor is finished. Burying it under tile is the kind of mistake that feels fine until the pump needs service on a Friday night.
The mistakes that turn a cheap rough-in into a redo
The biggest mistake is pouring concrete before the plumbing is pressure tested and the layout is verified against the actual fixtures. I have seen a toilet flange land an inch too far into the room because somebody measured from the framing instead of the finished wall. I have also seen a shower drain miss the center of a pan because the trap was moved after the drain tile was already in place. Once the slab goes back, those errors get expensive fast.
Another common miss is forgetting that the vent route needs space above the drain line. If the ceiling is tight, you may need to rethink the bathroom location instead of forcing a vent through a joist bay that does not want it. That is one of those spots where basement bathroom rough plumbing either gets planned right or becomes a patchwork of offsets and compromises. Do not trust a sketch on the back of a box; lay it out full size on the slab and check it twice.
What the project should cost and where the money goes
For a straightforward rough-in that ties near an existing stack, I usually think in the low thousands, not the five-figure fantasy some contractors throw around to scare people. In a market like Indianapolis, a simple basement bathroom rough plumbing job can land around $2,500 to $6,000 if the drain path is short and the slab work is manageable. Add a sewage ejector pit and pump, and it is common to be more like $5,000 to $12,000 before you buy the toilet, vanity, shower base, tile, and trim. If the job needs long trenching, a lot of slab patching, or relocation of the main building drain, the number climbs fast.
The money goes into labor, concrete cutting, piping, fittings, venting, and the pump if one is needed. A homeowner can save real cash by keeping the bathroom close to existing plumbing and avoiding last-minute layout changes. That is where the budget slips away. One moved wall can mean one more trench, one more fitting, and one more half day of labor.
A simple pre-pour checklist that saves concrete
Before anyone closes the floor, I want the drain lines dry-fit, the toilet centerline marked, the shower trap confirmed, and every stub-out measured from the finished wall layout. I also want a water test or air test on the waste lines, depending on what local code allows. If the system uses an ejector, make sure the basin lid stays accessible and the pump discharge has a proper check valve. Leave room for the future service person, because that will probably be you.
This is the part where patience saves the project. If you are unsure about a vent path or the exact toilet rough-in, stop and confirm it before patching the slab. It is cheaper to buy one more fitting today than to rent a jackhammer later. That is the whole game with basement bathroom rough plumbing: get the ugly part right while the floor is still open, then let the pretty part be easy.
Do the rough plumbing before you frame around bad assumptions, test it before you cover it, and do not try to save money by making one drain line do three jobs.

No letters yet — be the first guest to write.