If you are staring at a damp basement wall and wondering whether the fix is paint, crack injection, or a basement drain tile system, start with the ground, not the wall finish. Water follows the path of least resistance. In older homes, that path is usually along the footing, through the joint where the wall meets the slab, or through a crack that looks harmless until a spring storm proves otherwise. I have torn out enough soggy framing to know this: you do not out-design water with drywall.
A basement drain tile system is the part of the waterproofing setup that collects groundwater before it gets a chance to pool under your slab or push through the foundation wall. In plain English, it is a trench, a pipe, washed stone, and usually a sump pit doing the boring work so your finished room does not smell like a wet cardboard box.
What the system actually does
A good basement drain tile system is not magic. It is a controlled leak path. Water that hits the outside of the foundation or builds up under the floor is intercepted, moved to the low point, and pumped or drained away. Interior systems are common in finished basement retrofits because they can be installed without excavating the whole house. Exterior systems can work well too, but they usually cost more, disturb landscaping, and turn a simple weekend project into a hole in the yard.
The details matter. The trench is usually cut next to the footing, not halfway across the room. The pipe sits in clean, washed stone so silt does not clog it. A sump pit collects the water, and a pump moves it outside through a dedicated discharge line. If a contractor tells you that any old pipe and some pea gravel are good enough, keep your wallet in your pocket. Water and mud will win that fight.
The houses that scare me are the ones with older clay tile or collapsed drain runs that were buried and forgotten. Those basements often look dry for years, then one wet season exposes the problem all at once. Above grade is for the real estate photos. Below grade is where you actually live.
Interior vs. exterior drainage
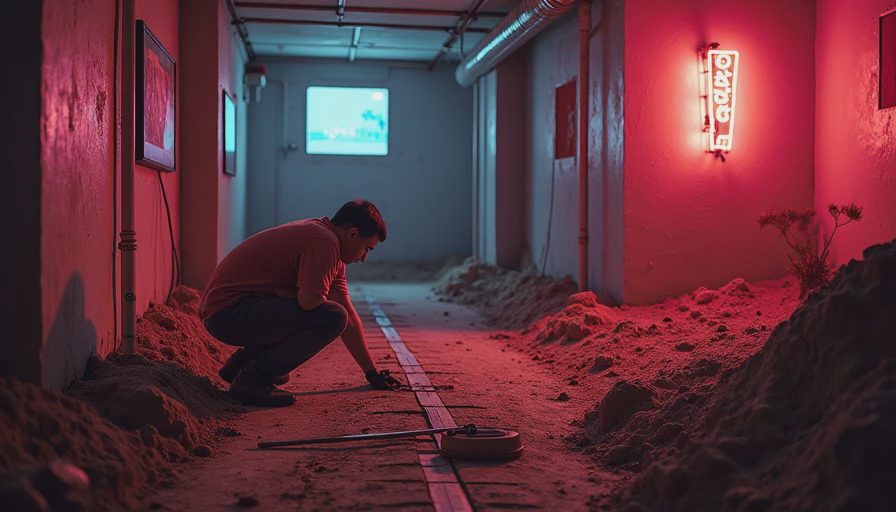
An interior basement drain tile system is usually the better retrofit in an older home with a finished or partially finished lower level. The crew removes a strip of slab, digs to the footing, installs the pipe, and ties it into a sump basin. It is ugly while it is open, but it is predictable, and that matters when you are trying to protect framing, carpet, and stored boxes.
Exterior drainage gets the water before it reaches the wall, which sounds cleaner on paper. The problem is access. If your yard is tight, if the driveway is close to the foundation, or if the house is already settled in and landscaped, the excavation alone can get expensive fast. I have seen homeowners spend more on digging than on the rest of the waterproofing package.
For a house with repeated seepage at the wall and floor joint, interior drainage is often the practical answer. For a new build or a major excavation anyway, exterior work can make sense. The point is not to pick the fanciest method. The point is to choose the one that solves the water problem without paying twice.

What a proper installation looks like
A clean install starts with demolition that is wide enough to work in, usually about a foot off the wall, and deep enough to reach the footing. The crew should remove loose concrete, mud, and any old debris that would block flow. Then comes the pipe, the stone, and in some systems a drainage board or dimple membrane on the wall to direct water downward.
I like systems that keep the water path simple. No goofy turns. No mystery cavities behind foam. Just a path from the wall and footing into the basin. If the wall is badly cracked, that crack still needs attention, but do not confuse crack repair with drainage. One is a bandage. The other is the route out.
The sump pit matters more than people think. A tiny basin fills too fast and cycles the pump too often. A larger basin, installed level and sealed reasonably well, gives the pump a calmer life. For many homes, a battery backup is not overkill. Power goes out during storms, which is exactly when groundwater shows up to the party.
I once saw a finished basement in an older Indianapolis ranch where the owner had paid for epoxy wall paint and a dehumidifier, then ignored the water line at the slab. Two years later, the base trim swelled, the carpet smelled like a storm drain, and the family room got ripped out anyway. The wall coating had done nothing because the water was coming from under the floor, not through a visible crack.
What it costs and where people cheap out
For a typical retrofit, a basement drain tile system can land anywhere from about $4,000 to $12,000 for a smaller or mid-size basement, and more if the layout is big, the concrete is thick, or the job includes wall membrane, sump backup, and electrical work. Exterior excavation can push the price higher fast. If someone quotes a number that sounds too good to be true, ask what is excluded. The exclusions are usually where the headache lives.
The most common place people save money in the wrong spot is the pump. A decent sump pump from brands like Zoeller, Liberty, or Wayne is not the place to bargain hunt like you are buying a toaster. You want reliable starts, the right horsepower for the water load, and a discharge line that is protected from freezing and backflow. A check valve and a proper outlet route are not optional accessories. They are part of the system.
Another mistake is covering the wall before the drainage path is proven. I have seen homeowners frame, insulate, and drywall around a bad water issue because the basement looked dry for a month in July. Then a wet October turned the new finish into a teardown job. The drain tile should be in place and tested before the pretty stuff goes up.
Signs you need more than patching cracks
If you see rust staining, efflorescence, musty smells after heavy rain, damp carpet edges, or water at multiple points along one wall, you are probably past simple crack repair. A basement drain tile system starts to make sense when the moisture is not isolated to one cosmetic defect. A single hairline crack can be sealed. Repeated seepage across a section of wall usually means the foundation is collecting water somewhere you cannot see.
Also pay attention to where the water shows up. Water at the wall and floor joint points to pressure at the footing. Water in the middle of the slab can mean a plumbing leak, a slab crack, or groundwater pushing up from below. That distinction matters. I have met more than one homeowner who spent money waterproofing a wall while a bad laundry line was doing the actual damage on the other side of the room.
How to think about the job before you spend the money
Start by finding out whether the basement ever gets water only during extreme storms or every time the snow melts. Then look for grading problems outside, clogged gutters, downspouts dumping beside the foundation, and any failed window wells. Fixing those basics will not replace drainage, but it can cut the load on the system and sometimes shrink the scope. A 4-inch downspout extension costs a lot less than tearing concrete.
If you are finishing the basement, build the water plan first. That means drainage, sump, backup power if needed, then framing and insulation that are compatible with the assembly. Do not trap moisture behind fiberglass and hope for the best. That is how you end up with a basement that looks great for the first winter and turns into a mold seminar by the third spring.
Bottom line: if your basement stays dry, do not invent a project. If it leaks, stop treating the symptoms and fix the path. A basement drain tile system is not glamorous, but it is often the difference between usable square footage and a recurring cleanup bill. Do this. Don't do that.



No letters yet — be the first guest to write.