If you are framing a basement bath, a bathroom sink rough in is one of those jobs that looks simple until the vanity shows up and the trap has nowhere to go. Get the drain, vent, and supply lines in the wrong spot, and you end up cutting drywall after the room is painted or buying a smaller cabinet than you wanted. I have opened up plenty of jobs where somebody centered the plumbing on the stud bay instead of the cabinet, and that is how a clean little bath turns into a half-day of rework. Above grade is for the real estate photos. Below grade is where you actually live.
Bathroom sink rough in dimensions that actually work
For a standard vanity, I like to plan the drain stub-out so the centerline lands about 18 inches above the finished floor. Hot and cold supplies usually sit around 22 inches above the finished floor, with the two lines spaced far enough apart for shutoff valves and a little hand room. That gives you room for a P-trap, a pair of quarter-turn stops, and the kind of flexible supply lines every trim plumber uses.
The cabinet matters more than the wall bay. A 24-inch vanity, a 30-inch vanity, and a wall-hung sink all want different layouts. If you are still in framing, measure the actual cabinet, not the brochure picture. Most bathroom sink rough in mistakes start with somebody assuming a standard setup and never checking the sink bowl location or drawer clearance. If the vanity has a full bottom drawer, the trap may need to be shifted or the drawer box will have to be notched.
If you are roughing in for a pedestal sink, follow the manufacturer template. Those sinks hide less plumbing and show every bad measurement. For a basement bath, I also like to keep the vent path as short and direct as the code allows, because long runs through new framing get crowded fast once insulation and blocking go in.
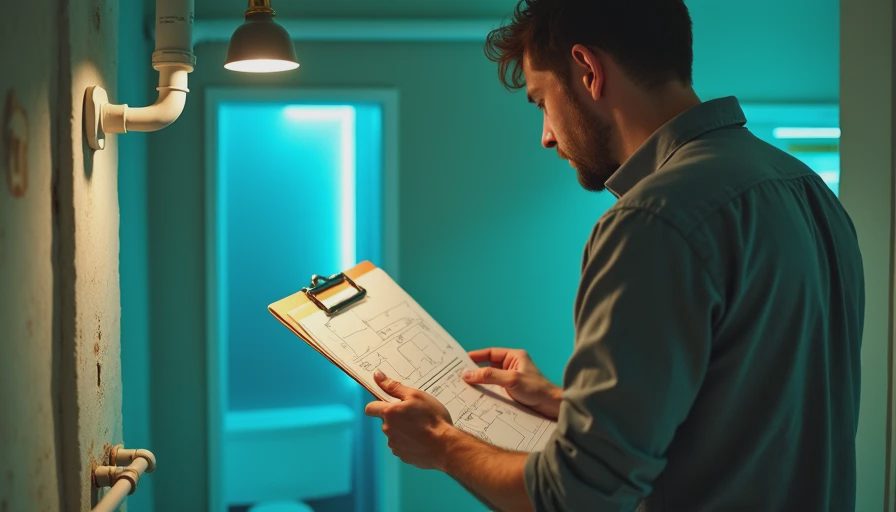
What needs to be in the wall before drywall
A clean rough-in is more than two water lines and a drain. You need the drain line sized right, the trap adapter in an accessible spot, and the vent handled the way your local code allows. For most lavatories, 1 1/2-inch drain pipe is the normal starting point, with 1/2-inch hot and cold supplies in PEX or copper. The trap itself stays under the sink, not buried in the wall, because somebody will need to service it later.
On a basement project, I also want nail plates anywhere a pipe passes close to the face of a stud. That keeps a drywall screw from turning into a leak months later. If you are drilling through a pressure-treated bottom plate or crossing a concrete wall, sleeve the line and seal the opening so you do not create a cold air path or a place for moisture to travel. A little blocking now is cheaper than opening a finished wall because a supply line vibrated loose.
Pressure-test the lines before insulation goes up. I have seen a new bath pass the eye test and still drip from a fitting tucked behind a stud. Ten minutes with a flashlight and some paper towels beats a ceiling stain six months later.
Common mistakes in a bathroom sink rough in
The biggest mistake I see is centering the plumbing on the framing and ignoring the cabinet. That works fine until the vanity arrives and the trap is dead center in a drawer stack. I fixed one basement bath where the drain was four inches too far left because the plumber laid it out from the stud bay, not the sink. The homeowner had already bought a 30-inch cabinet, and the only fix was to reopen the wall and move the stub-out. Nobody likes paying twice for labor they already watched happen.
The second mistake is setting the supply lines too low. If the shutoffs sit under the drawer face or behind a storage shelf, you have created a service problem for the future. Keep them high enough that a wrench can reach them, but not so high that they collide with the sink bowl. That balance changes with vanity height, sink style, and whether the cabinet has an open back.
The third mistake is forgetting that the trap arm still needs slope and room. You cannot cram the plumbing tight to the wall and expect it to behave. Give the pipes space, then dry-fit the cabinet before the wall gets closed. If the rough-in photo looks tidy but the vanity cannot slide into place, the photo is lying and the layout is wrong.
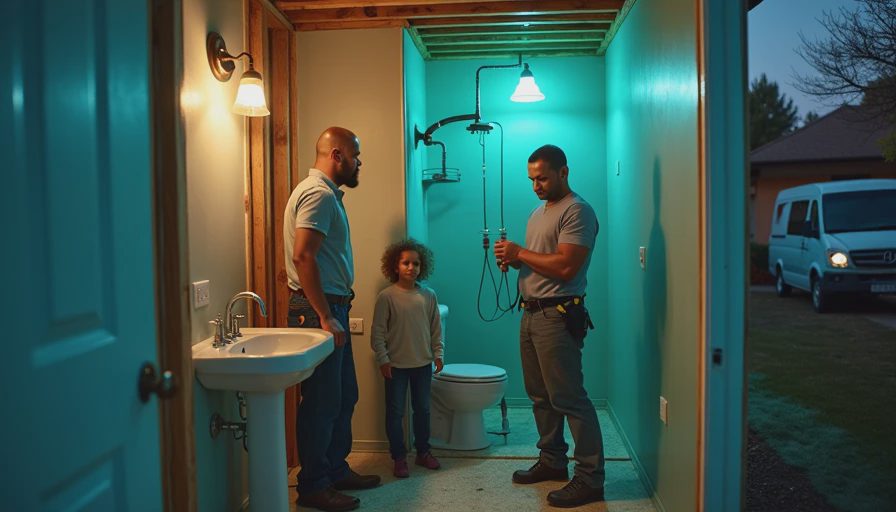
How to sequence a bathroom sink rough in so you do not redo it
Start with the finish floor height in mind, not the bare slab. That matters in basements because tile, underlayment, and thinset can steal more height than people expect. Mark the vanity centerline, then lay out the drain and supplies from that mark instead of from a random stud cavity. If the wall is still open, hang a scrap of plywood or the actual cabinet box against the studs and check where the trap will live before you cut pipe.
After that, install blocking where the vanity will screw in, because drywall alone is not enough once a loaded cabinet gets used for years. I like to keep the drain and water lines where a plumber can reach them without fighting the cabinet carcass. That usually means a few careful extra minutes now and a much easier trim-out later.
If you are tying this into a larger basement bath, coordinate the sink with the toilet and shower rough-ins before you glue anything. Moving one fixture can mess up the whole vent stack. That is why I tell homeowners to slow down right here. A half-inch on paper is not a half-inch once tile, drywall, and cabinet framing are all stacked together.
Final checks before drywall closes the wall
Before the sheetrock goes up, dry-fit the vanity if you can, snap a few photos with a tape measure in the frame, and write the dimensions on the stud with a marker. I also like to photograph the supply and drain locations from a couple angles so there is a record when trim-out day comes around. If an inspector needs to see the work, or if you ever have to open the wall again, those pictures are worth their weight.
This is the point where a lot of people get impatient and want to cover everything. Do not. A bathroom sink rough in is cheap to fix when the wall is open and expensive when the room is finished. Get the drain where the cabinet needs it, keep the supplies reachable, and leave the vent route clean.
Do that, and the sink will disappear into the background the way good plumbing should. Above grade is for the real estate photos. Below grade is where you actually live.



No letters yet — be the first guest to write.