Bathtub rough in framing is one of those steps you can rush and then pay for every time you step into the bathroom. I've torn out more than a few basement bath walls where the tub felt spongy because the studs didn't support the rim properly. Here's how I frame a tub alcove on my own projects so the install is solid, the pipes land where they need to, and the tile guy doesn't curse your name.
What Bathtub Rough In Framing Actually Means
Rough in is the plumbing, electrical, and framing work you do before the walls are closed up. Framing for a bathtub is the 2x4 skeleton that will carry the tub, the tile, and the shower valve for the next twenty years. In a basement bathroom you're usually building this wall on a bare concrete slab, so the bottom plate needs to be pressure-treated or placed on a foam sill sealer. If you skip that, even a small basement flood will wick moisture right up the studs.
Framing the Alcove: Stud Spacing and Tub Support
Use 2x4 studs, set 16 inches on center. That's standard for a bathroom wall, and it gives you zero deflection under the tub rim. The nailing flange on the tub is about a half-inch thick. If you run the studs flush, the flange sticks out past the face, which makes your drywall or tile pop out. The fix is to fur out each stud with shims or 1/2-inch plywood strips so the face of the stud is set back just enough for the flange.
The front edge of the tub—the apron—needs support too. For a fiberglass tub, a couple of 2x4s laid flat under the lip are enough. Cast iron tubs are a different beast; 300 pounds empty, so they need a reinforced floor and a level bearing surface. If you're putting a tub in a basement, I'd steer you to acrylic or fiberglass. They're a third of the weight and, set in a mortar bed, just as quiet.

Setting the Tub and Marking the Flange
Before you lock in the stud layout, set the tub in its alcove and get it level. Use a long level and shims under the rim until it's dead flat. Then mark the height of the flange on every stud. That mark tells you exactly where the backer board and tile will meet the tub. If you skip this step, you're guessing at the finished wall height, and you'll likely end up with a gap that's impossible to caulk or a wall that's too tight.
Where the Pipe Rough-Ins Go (Without Framing Over Them)
The drain line comes up through the floor, usually right in the middle of the alcove. Frame around it, not through it. If a stud lands exactly on the drain, shift the stud over by an inch or cut it and add a header above the pipe. I prefer to plan the stud layout around the plumbing—mark the drain and valve locations before you set the plates, then slide the studs to the next 16-inch mark.
The overflow drain needs blocking on both sides so it doesn't move when the tub is pushed in. A horizontal 2x4 between studs at that height works as a nailer for the pipe clamp. Supply lines for the mixing valve are typically stubbed out at 22 inches above the finished floor. The shower arm outlet is higher, usually 72 to 84 inches. Mark these heights on your studs before you hang drywall.
Blocking for the Valve, Handles, and Shower Arm
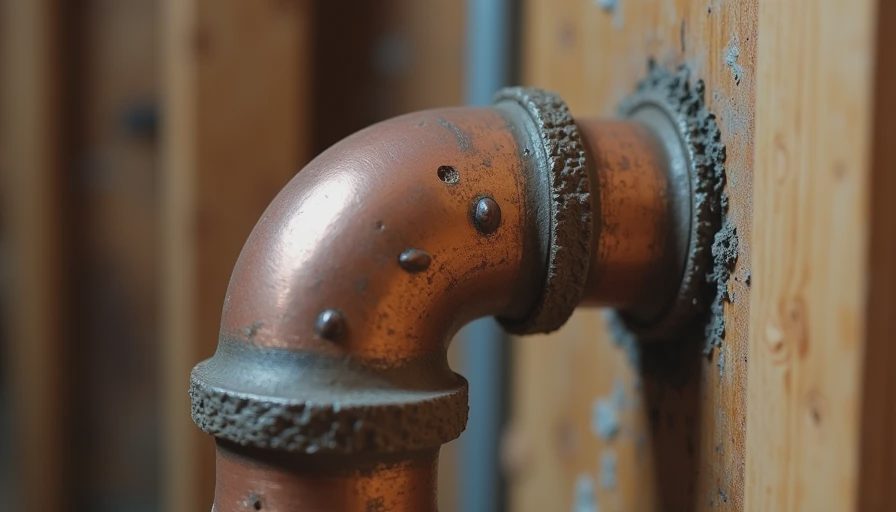
This is where most DIYers go wrong. They frame the wall wide open, then screw the mixing valve to thin plastic or just to drywall. That valve gets twisted every time someone turns the water on and off, so after a few years the joint leaks and the handle wobbles. You need solid blocking behind the valve: a pair of 2x6 or 2x8 blocks screwed tight between the studs. The shower arm needs a drop-ear elbow fastened to a block, not the drywall.
The Finished Look: Planning for Tile, Drywall, and a Tub Flange
When you're doing bathtub rough in framing, you're setting the stage for the finished wall. The nailing flange has to overlap the backer board, not the other way around. That means your backing board goes down to about one-quarter inch above the tub rim, leaving a gap filled with silicone caulk. If you send it down below the flange, water will wick up behind the tile and create mold. Also, the studs need to be perfectly flat; run a straightedge along the face and shim out any low spots.
Mistakes I See in the Field
One classic mistake is forgetting to notch the studs for the tub flange. Notch them, and the tile surface continues flat over the tub lip. Leave it, and you get a hump under the tile at the end wall. Another is missing blocking for the tub spout. That spout is a threaded pipe screwed into a drop-elbow soldered to the copper supply. Without a block to anchor the elbow, the spout gets loose, spins the pipe, and eventually causes a leak. Put a 2x6 block behind the spout wall at the spout height.
I once saw a tub where the flange was buried under cement board. Water had been running behind the tile for months, and the framing was black with mold. That repair cost over $4,000.
Final Bottom Line
Bathtub rough in framing is invisible when done right. Measure the actual tub, use pressure-treated bottom plates on concrete, set studs at 16 inches, and pack blocking wherever there's metal to screw into. Do that, and your tub will stay solid, your tile will stay flat, and you won't be tearing down a wall because a valve is spinning. Do it right once, and you'll never think about it again.


No letters yet — be the first guest to write.