Toilet drain pipe distance from wall is one of those measurements that looks easy until the drywall is up and the tank is kissing the paint. For a standard floor-mount toilet, the center of the closet flange usually lands 12 inches from the finished wall. That means finished wall, not studs, not block, not the face of your baseboard. In a basement bath, getting that number wrong is how you end up with a toilet that will not sit back far enough or a wall that has to be opened again.
What the standard rough-in actually means
The rough-in is the distance from the finished wall to the center of the closet flange, and that is the number that matters when you buy the toilet. If you frame a wall with 2x4s and hang 1/2-inch drywall, the centerline is 11 1/2 inches from the stud face. If you add 5/8-inch drywall, tile, or a thick wainscot, the number changes again. I have seen homeowners measure from the concrete wall and wonder why the toilet misses by an inch and a quarter. The toilet does not care about your framing plan; it cares about the finished face it will live against. Most toilets are built for a 12-inch rough-in, though 10-inch and 14-inch versions exist from Kohler, Toto, and American Standard.
If you are finishing a basement, that is why I always tell people to lock in the wall thickness before they set the drain. The toilet drain pipe distance from wall is easy to hit when the room is still open and annoying to fix once the slab, framing, and drywall all start stacking up.
How to measure before you close the wall
Snap the wall line first, then lay out the flange centerline. If the room is tight, I like a laser from the back wall to the center of the flange location and a tape from each side wall to make sure the bowl will not crowd a vanity or shower partition. Most plumbing layouts want at least 15 inches from the toilet centerline to a side wall or fixture and 21 inches of clear space in front, with 24 inches feeling a lot less cramped. Do not forget door swing. A bathroom can meet the rough numbers and still feel like a closet if the door smacks your knees.
If you are working from a basement slab, chalk the centerline on the concrete before you frame. That way the plumber, framer, and drywall crew are all looking at the same line. I have had jobs where the drain was centered beautifully to the slab but the wall got furred out for insulation and nobody rechecked the finish face. That is how a perfect rough-in turns into a toilet that sits too close to the backer board.
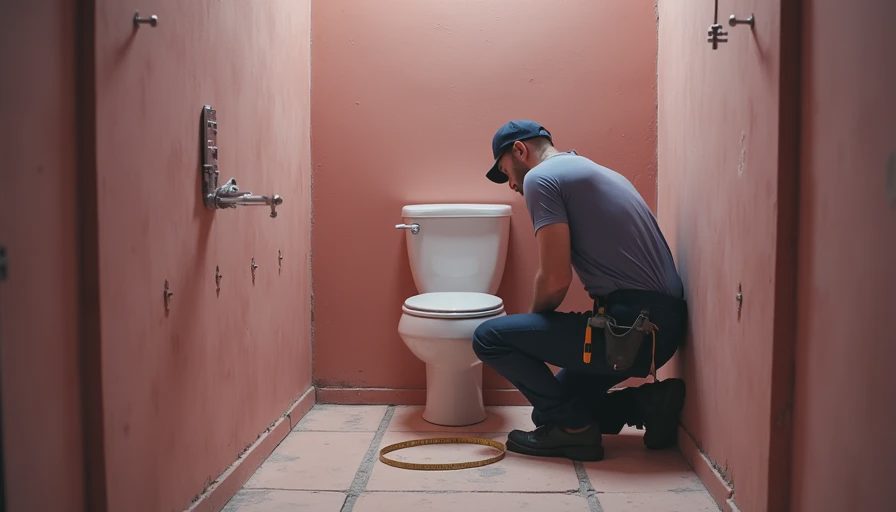
When the toilet drain pipe distance from wall is off
If the toilet drain pipe distance from wall is off by a little, the fix depends on which direction you missed. Too close to the wall and you may need a 10-inch rough-in toilet or an offset flange, which can buy you about 2 inches in one direction. Too far and a 14-inch rough-in toilet is the cleaner answer, though it gives you fewer style choices and usually costs more. A compact bowl from a big-box brand might run $180 to $350; a less common rough-in can tack on another $50 to $150. I would rather spend the extra money on the right bowl than make a standard toilet fight the wall.
On one basement job, the flange landed 11 1/8 inches from the finished wall because the installer measured to the studs and forgot the drywall. We still salvaged it with a 10-inch toilet and a small wall adjustment, but that was a $250 mistake that could have been avoided with a tape measure and ten extra minutes. That is the kind of error that snowballs in a basement, because one bad layout becomes a bad wall finish, then a bad trim detail, then a toilet that looks like it was squeezed in after the fact.
Basement mistakes that cost money
Basements add two wrinkles: slab work and floor build-up. If the concrete is already poured, the flange height still has to end up on or just above the finished floor, whether you are adding dimple mat, plywood sleepers, luxury vinyl, or tile. Too low and the wax ring does all the work. Too high and the toilet rocks, which is how you get leaks and loose bolts. I have torn out floors where the drain was perfect on paper and useless after 3/4-inch subfloor plus tile changed the finished height. Also, if the wall gets furred out for insulation or plumbing, recheck the measurement before you close the stud bay. A half inch sounds harmless until the tank hits it.
A lot of people also forget the little stuff that makes the room usable. If the toilet shares a tight basement bath with a vanity, leave room for the seat to lift without scraping a mirror or backsplash. If you are using a compact elongated toilet, it can save an inch or two in front space, which matters more than people think in a small basement bath. Those inches are the difference between a room that feels planned and one that feels squeezed.
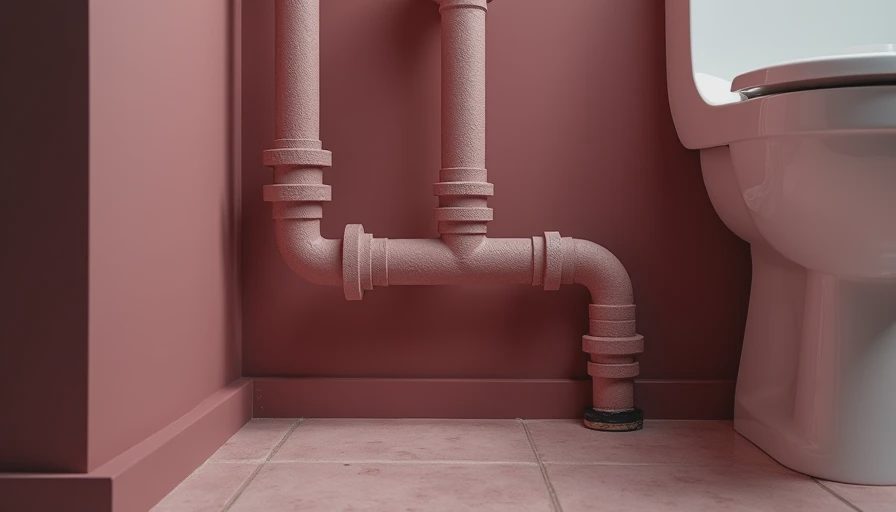
What to buy if the rough-in is already set
If your rough-in is already fixed, order the toilet around the room instead of pretending the room will change. Standard 12-inch models from Kohler, Toto, and American Standard are the easiest to source and usually the cheapest. If you are stuck with an odd rough-in, measure from the finished wall to the flange center, then buy the matching rough-in size or a compact model if the room is tight. Skip the temptation to make it work with trim alone. A toilet that sits too close to the wall looks amateur, and a tank that brushes the drywall will chip paint every time someone lifts the lid.
That is exactly why the toilet drain pipe distance from wall gets decided before the drywall crew leaves. If the wall has not been closed yet, you still have options. You can move the framing a little, adjust the drain line, or choose a different toilet before you lock yourself into a compromise that will bug you every time you clean the floor.
Bottom line for a clean basement bathroom layout
The simple rule I give homeowners is this: lock the wall line, then lock the flange line at 12 inches unless you have a good reason not to. If you already missed, fix the framing or buy the right rough-in toilet before you start layering on tile, trim, and excuses. In a basement, every inch matters because you do not have extra room to hide a bad layout. Measure from the finished wall, check the side clearances, and confirm the flange height before the floor goes in. Do that, and the toilet will feel built in instead of forced in.
Above grade is for the real estate photos. Below grade is where you actually live. Do the measurement once, do it clean, and move on to the part of the project that is harder to fix later.


No letters yet — be the first guest to write.